


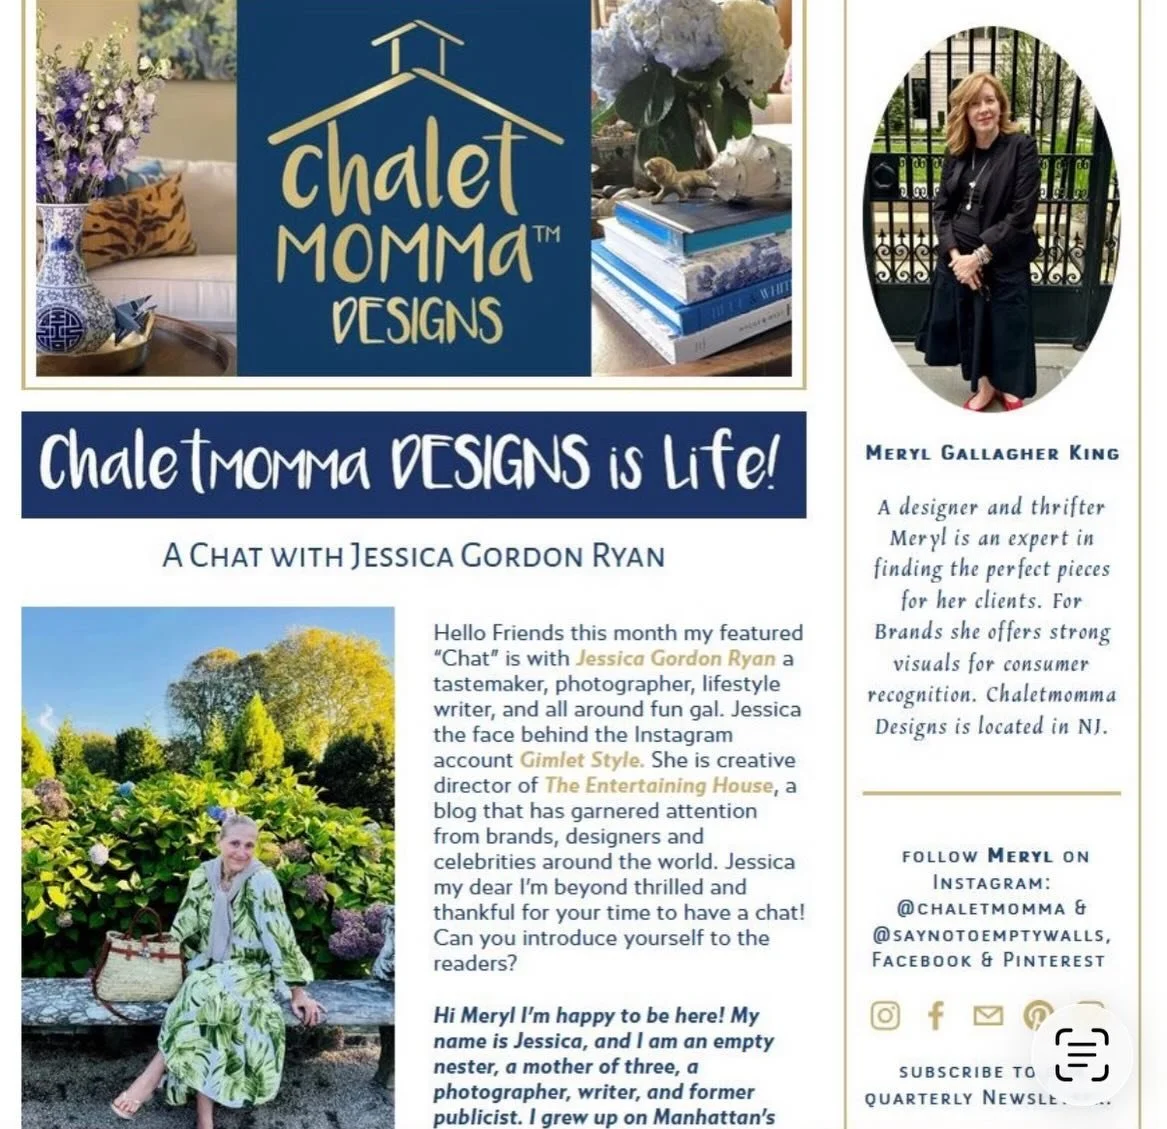
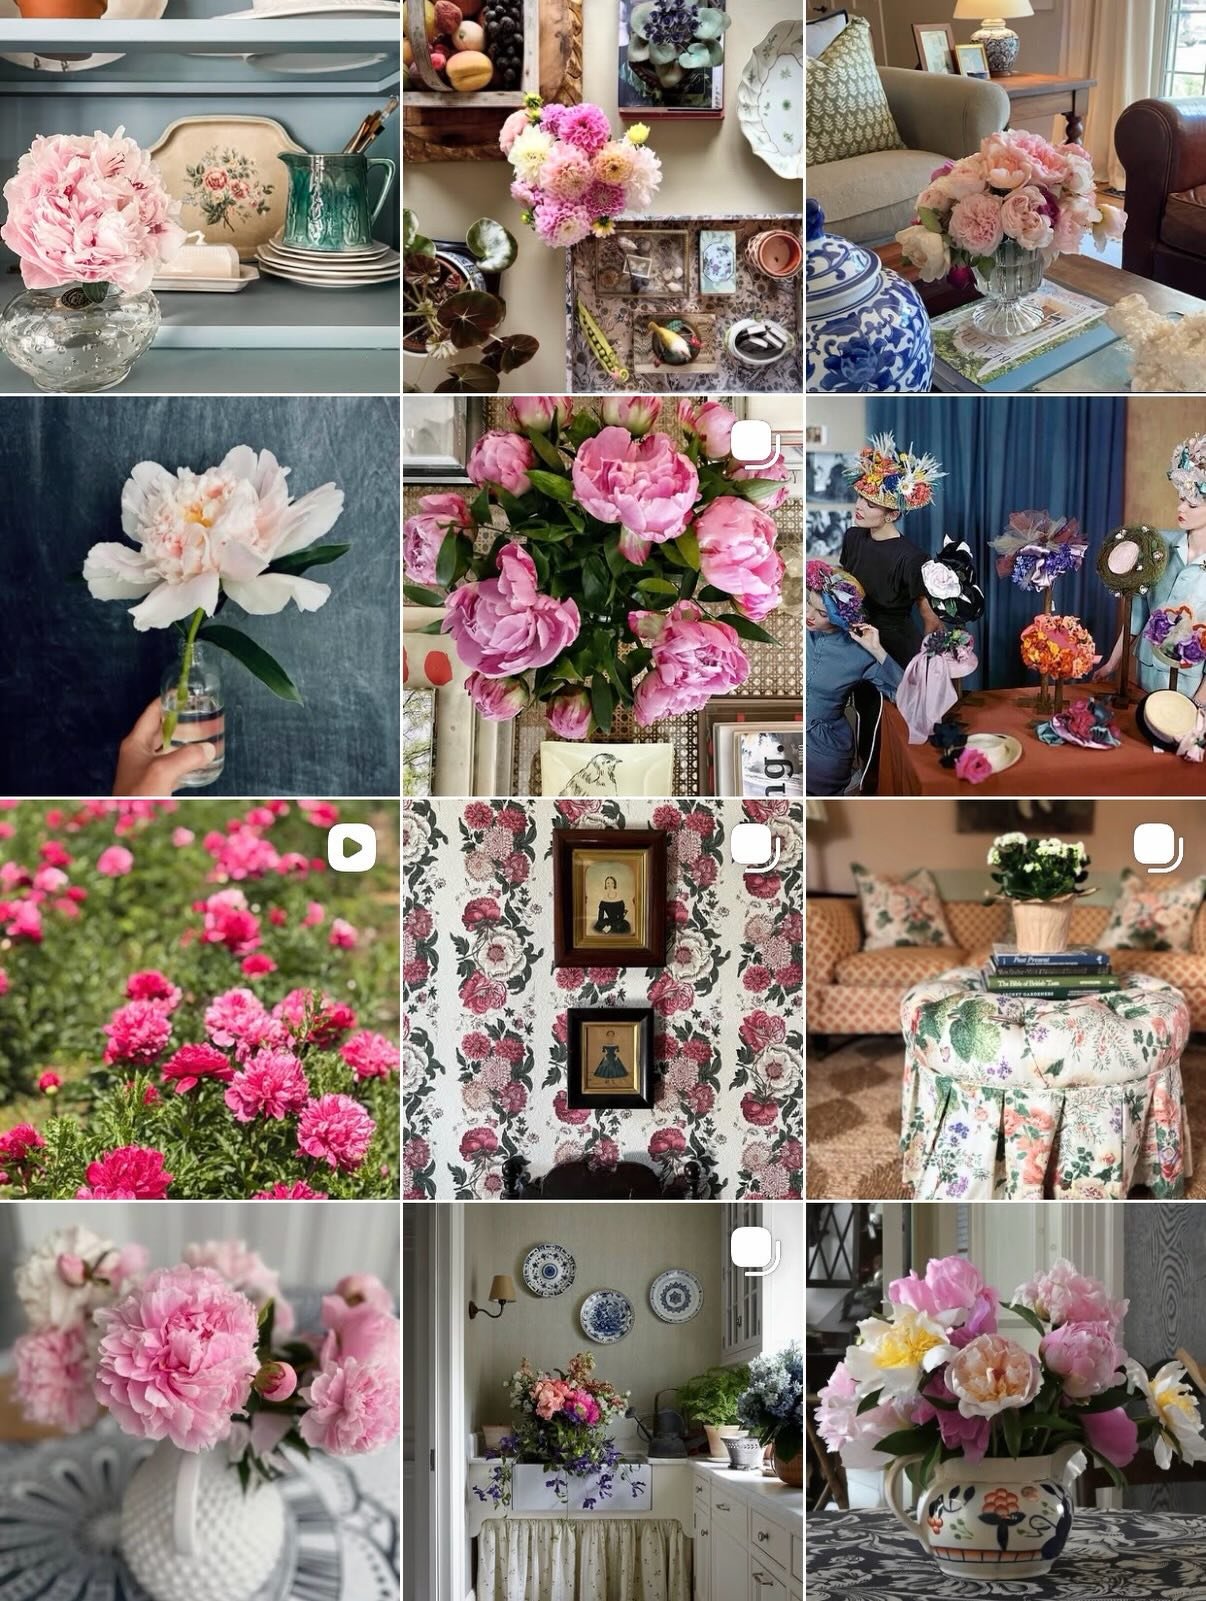
Follow along as I share musings on Design, Family and Life!


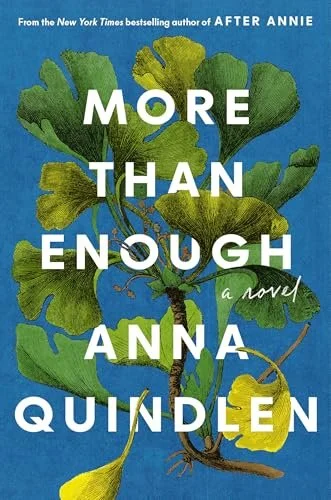
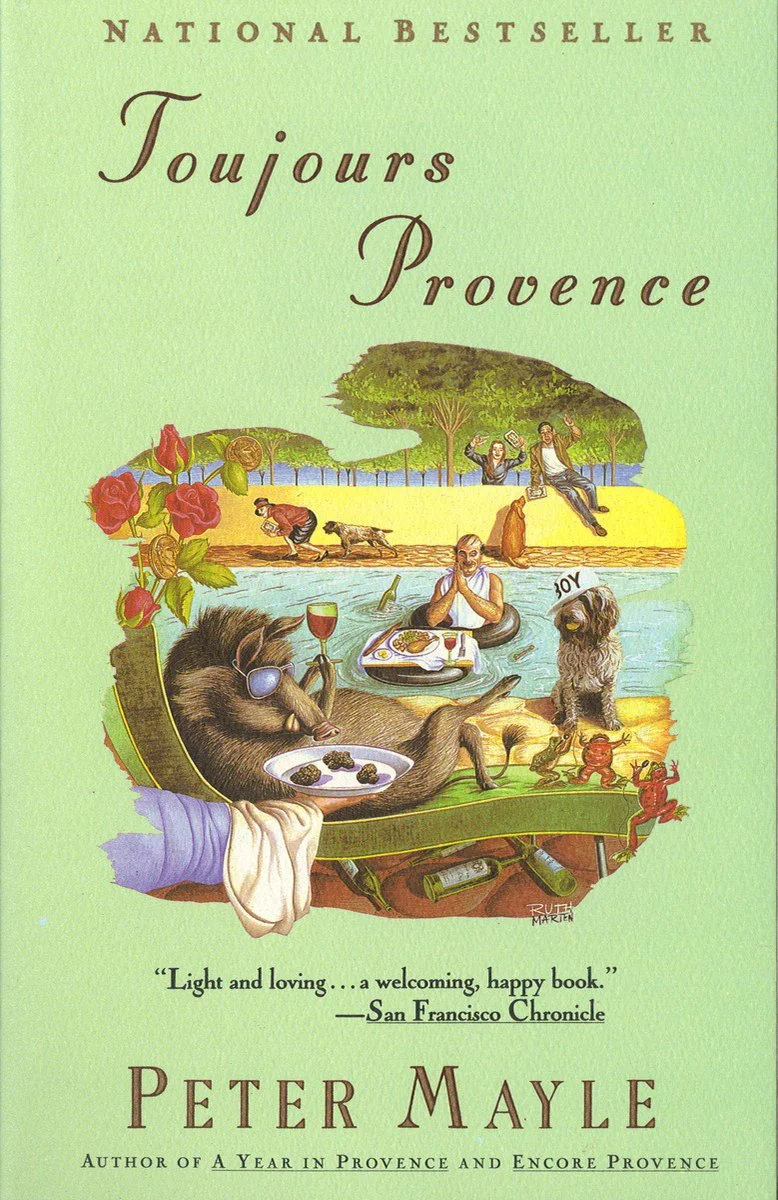
currently reading
Listening on HOOPLA
listening on The Libby App
Listening on Chirp

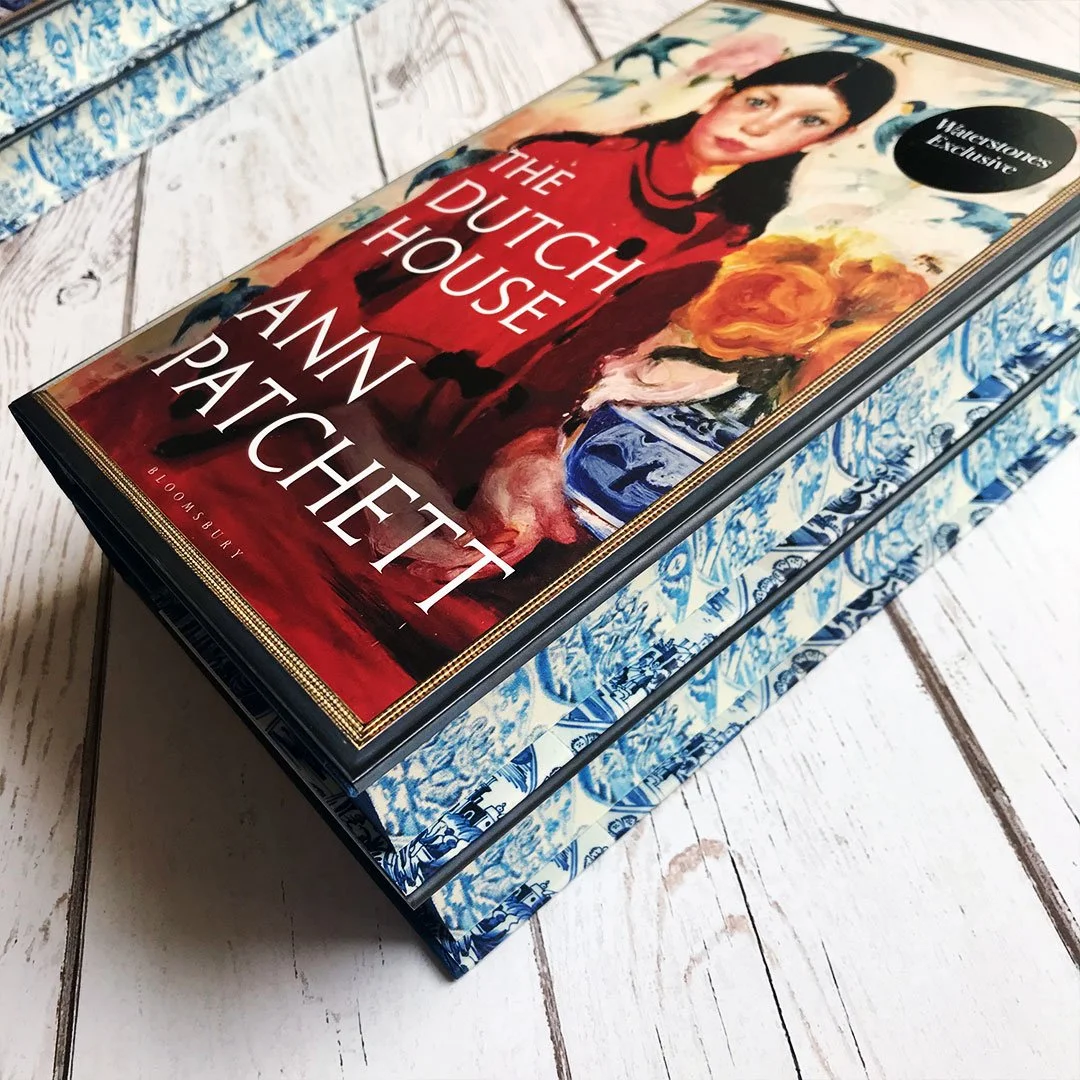
THE DUTCH HOUSE


THE COLLECTIVE BOOKSTORE - VERONA nj
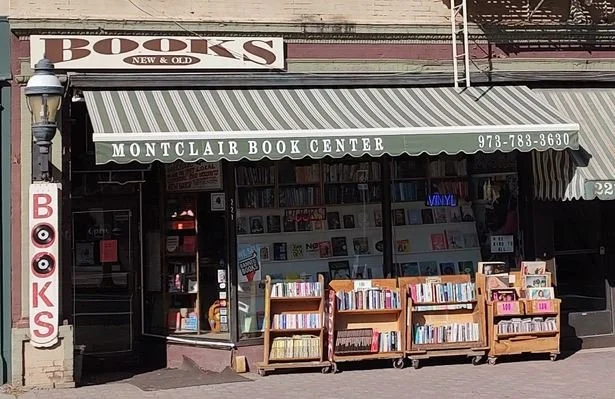
MONTCLAIR BOOKCENTER - MONTCLAIR NJ