Chalet Design

May 2019

May 2019

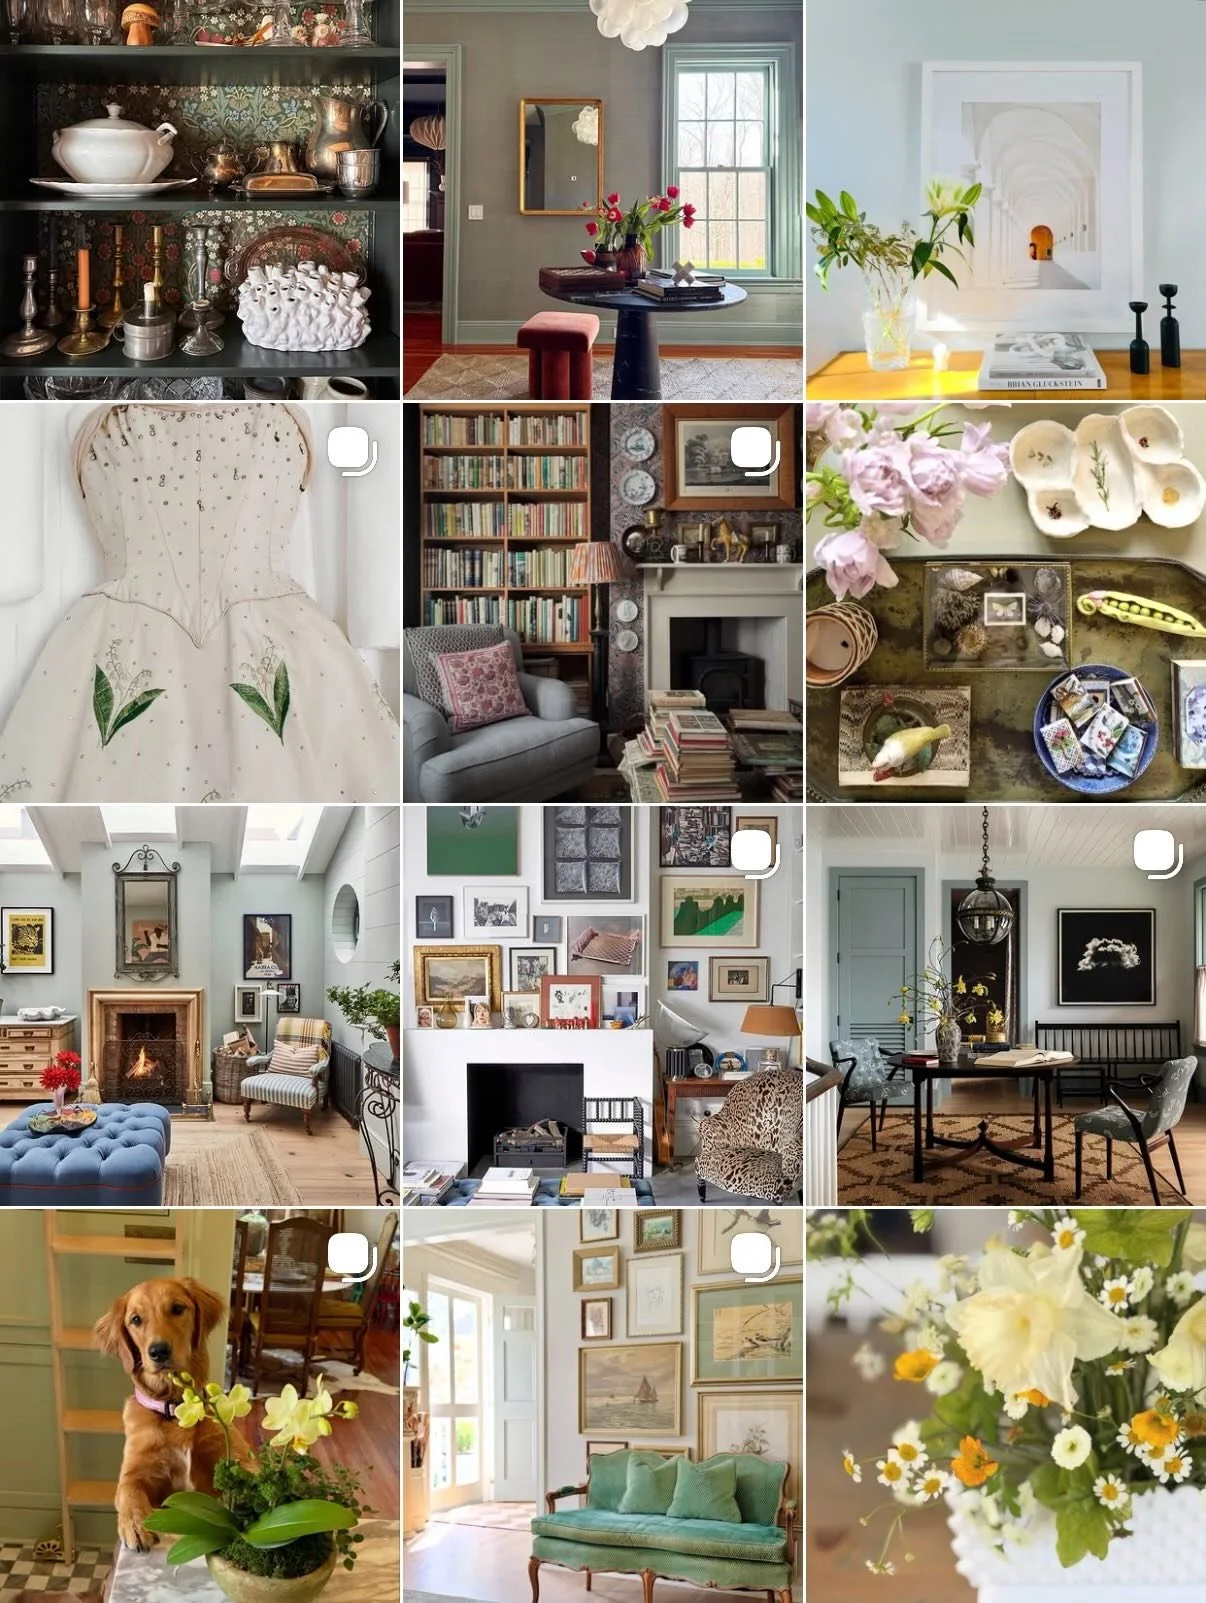
In January I shared a piece Design Shift where I mapped out how I got to our new Crate and Barrel Couch and the evolution of the changes that have taken place in the Chalet decor since last summer. I followed up with Inspirational Images sharing images of spaces and designers who were inspiring me in the direction of my rug search.

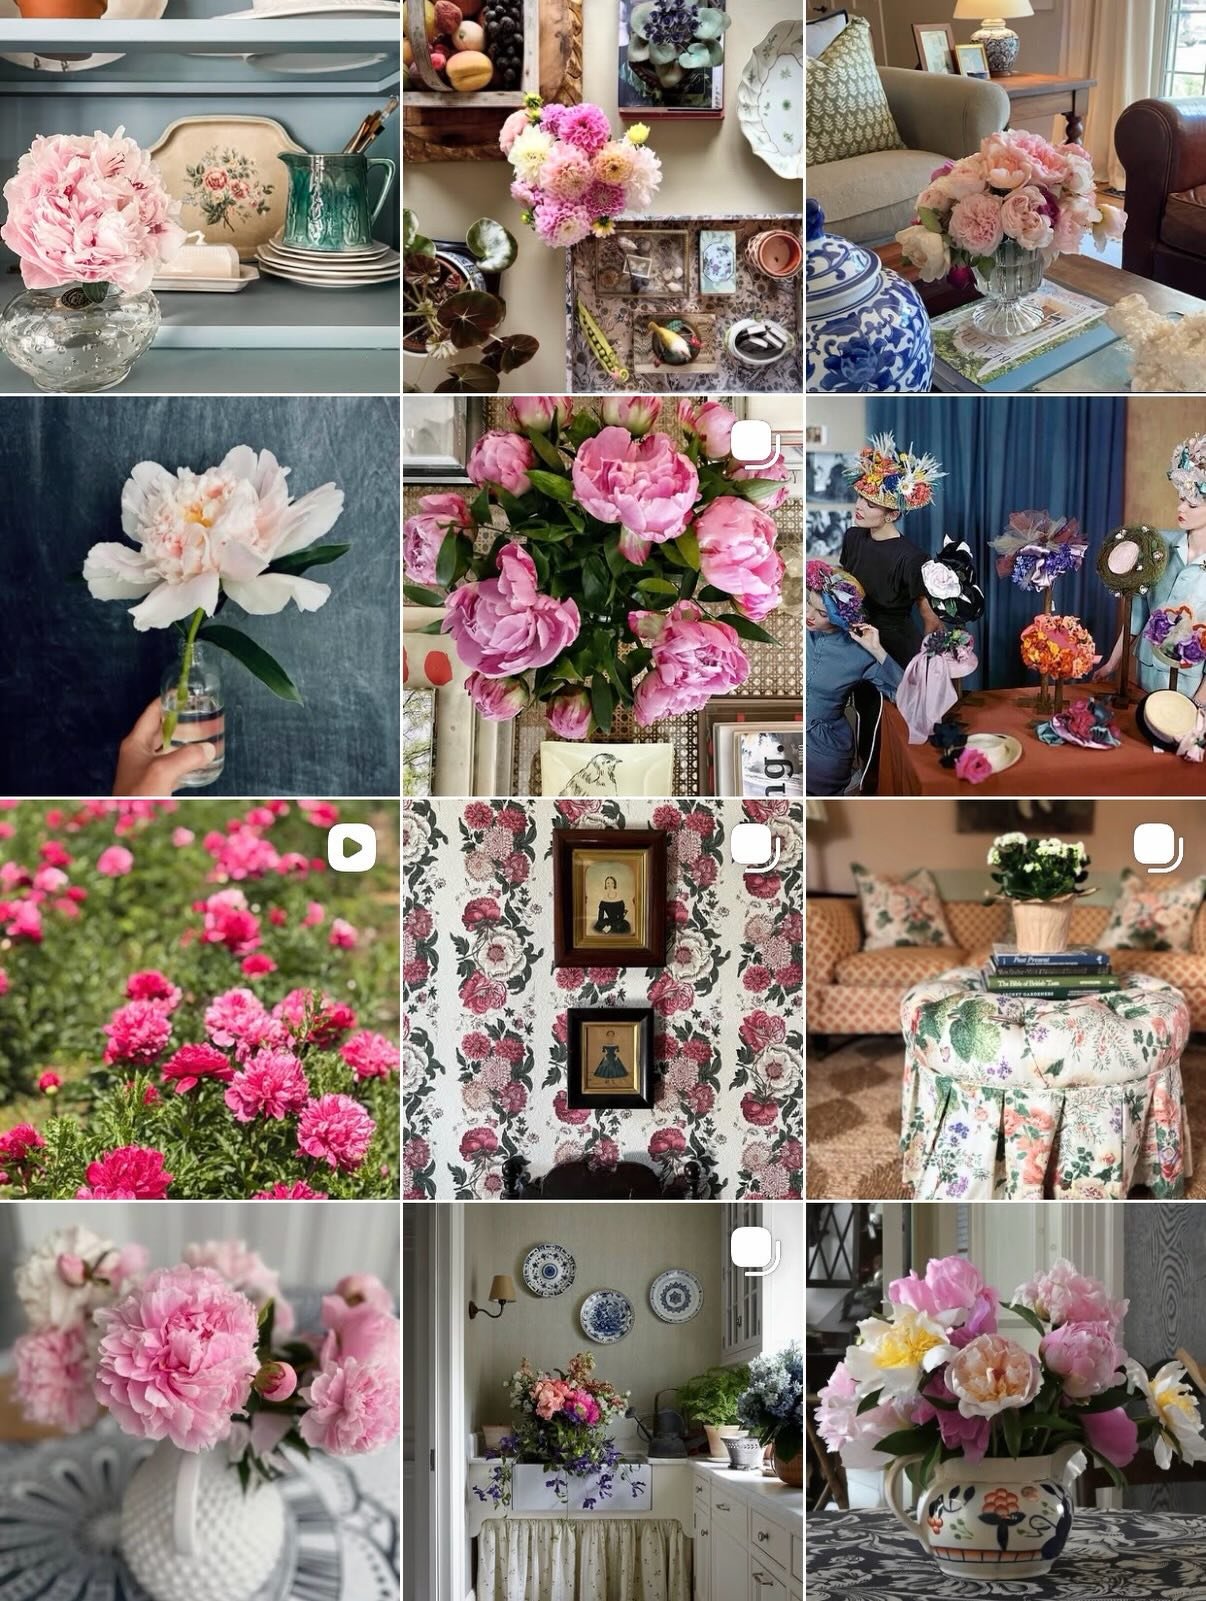
Today I’m wrapping up this conversation. If you follow along on IG than some of these changes aren’t new but, let’s dive into the final result anyway…how I got where I am today June 12th, 2019.

September 2018

September 2018

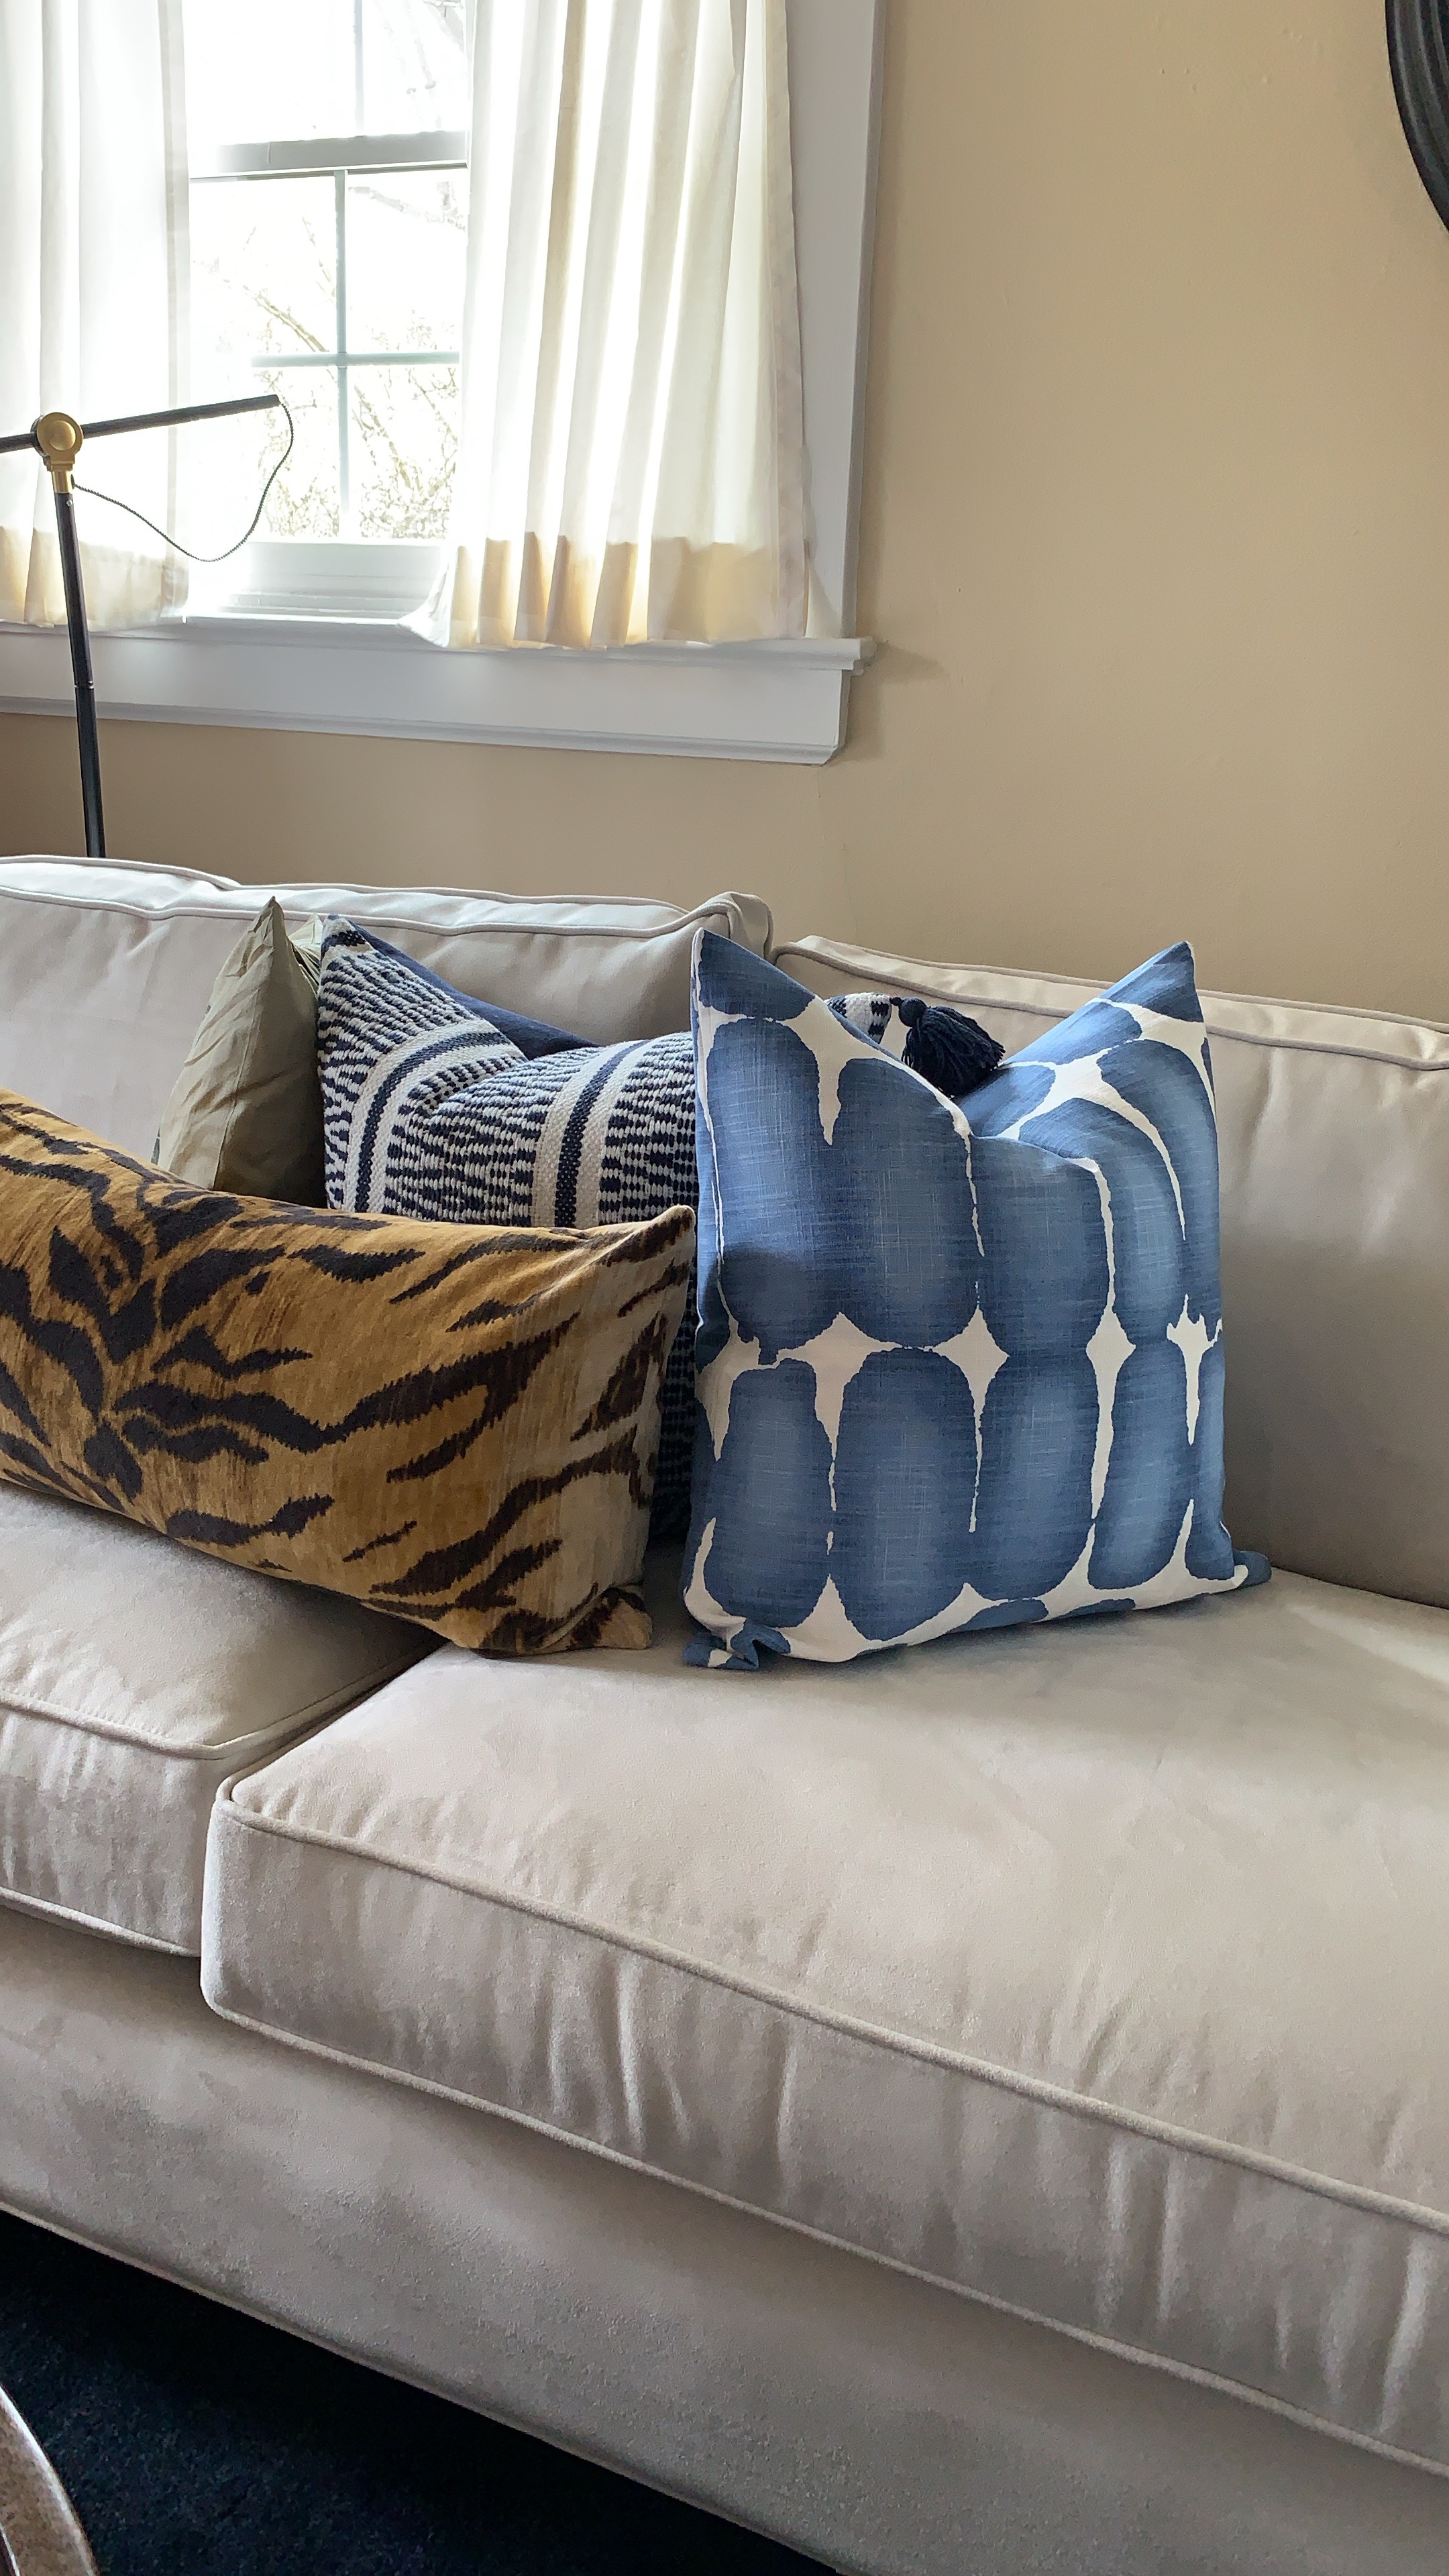
Here’s a bit of the backstory if you’re unfamiliar - So last summer - when no amount of pillow swapping would cure my angst about the decor in the Chalet. I pulled the trigger with my husband’s blessing and ordered a new couch. I felt the taupe theme that was in our livingroom for 10 years had to go.

Here’s what the space looked like last fall.

I ordered the couch and found my round coffee table at Home Sense and I was off to the races my friends!

October 2018

October 2018

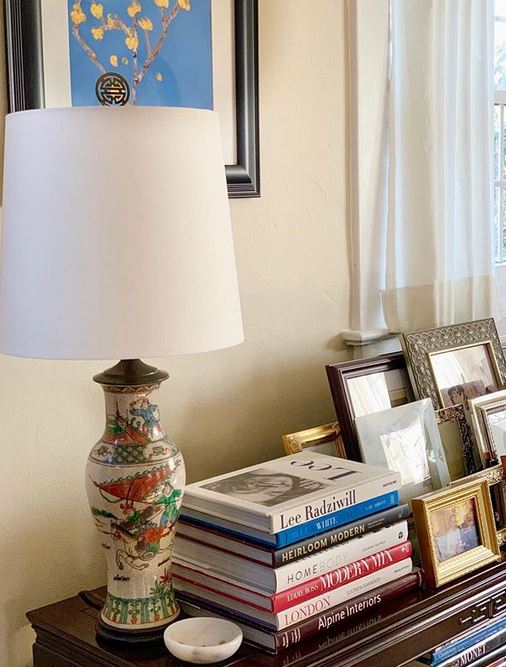
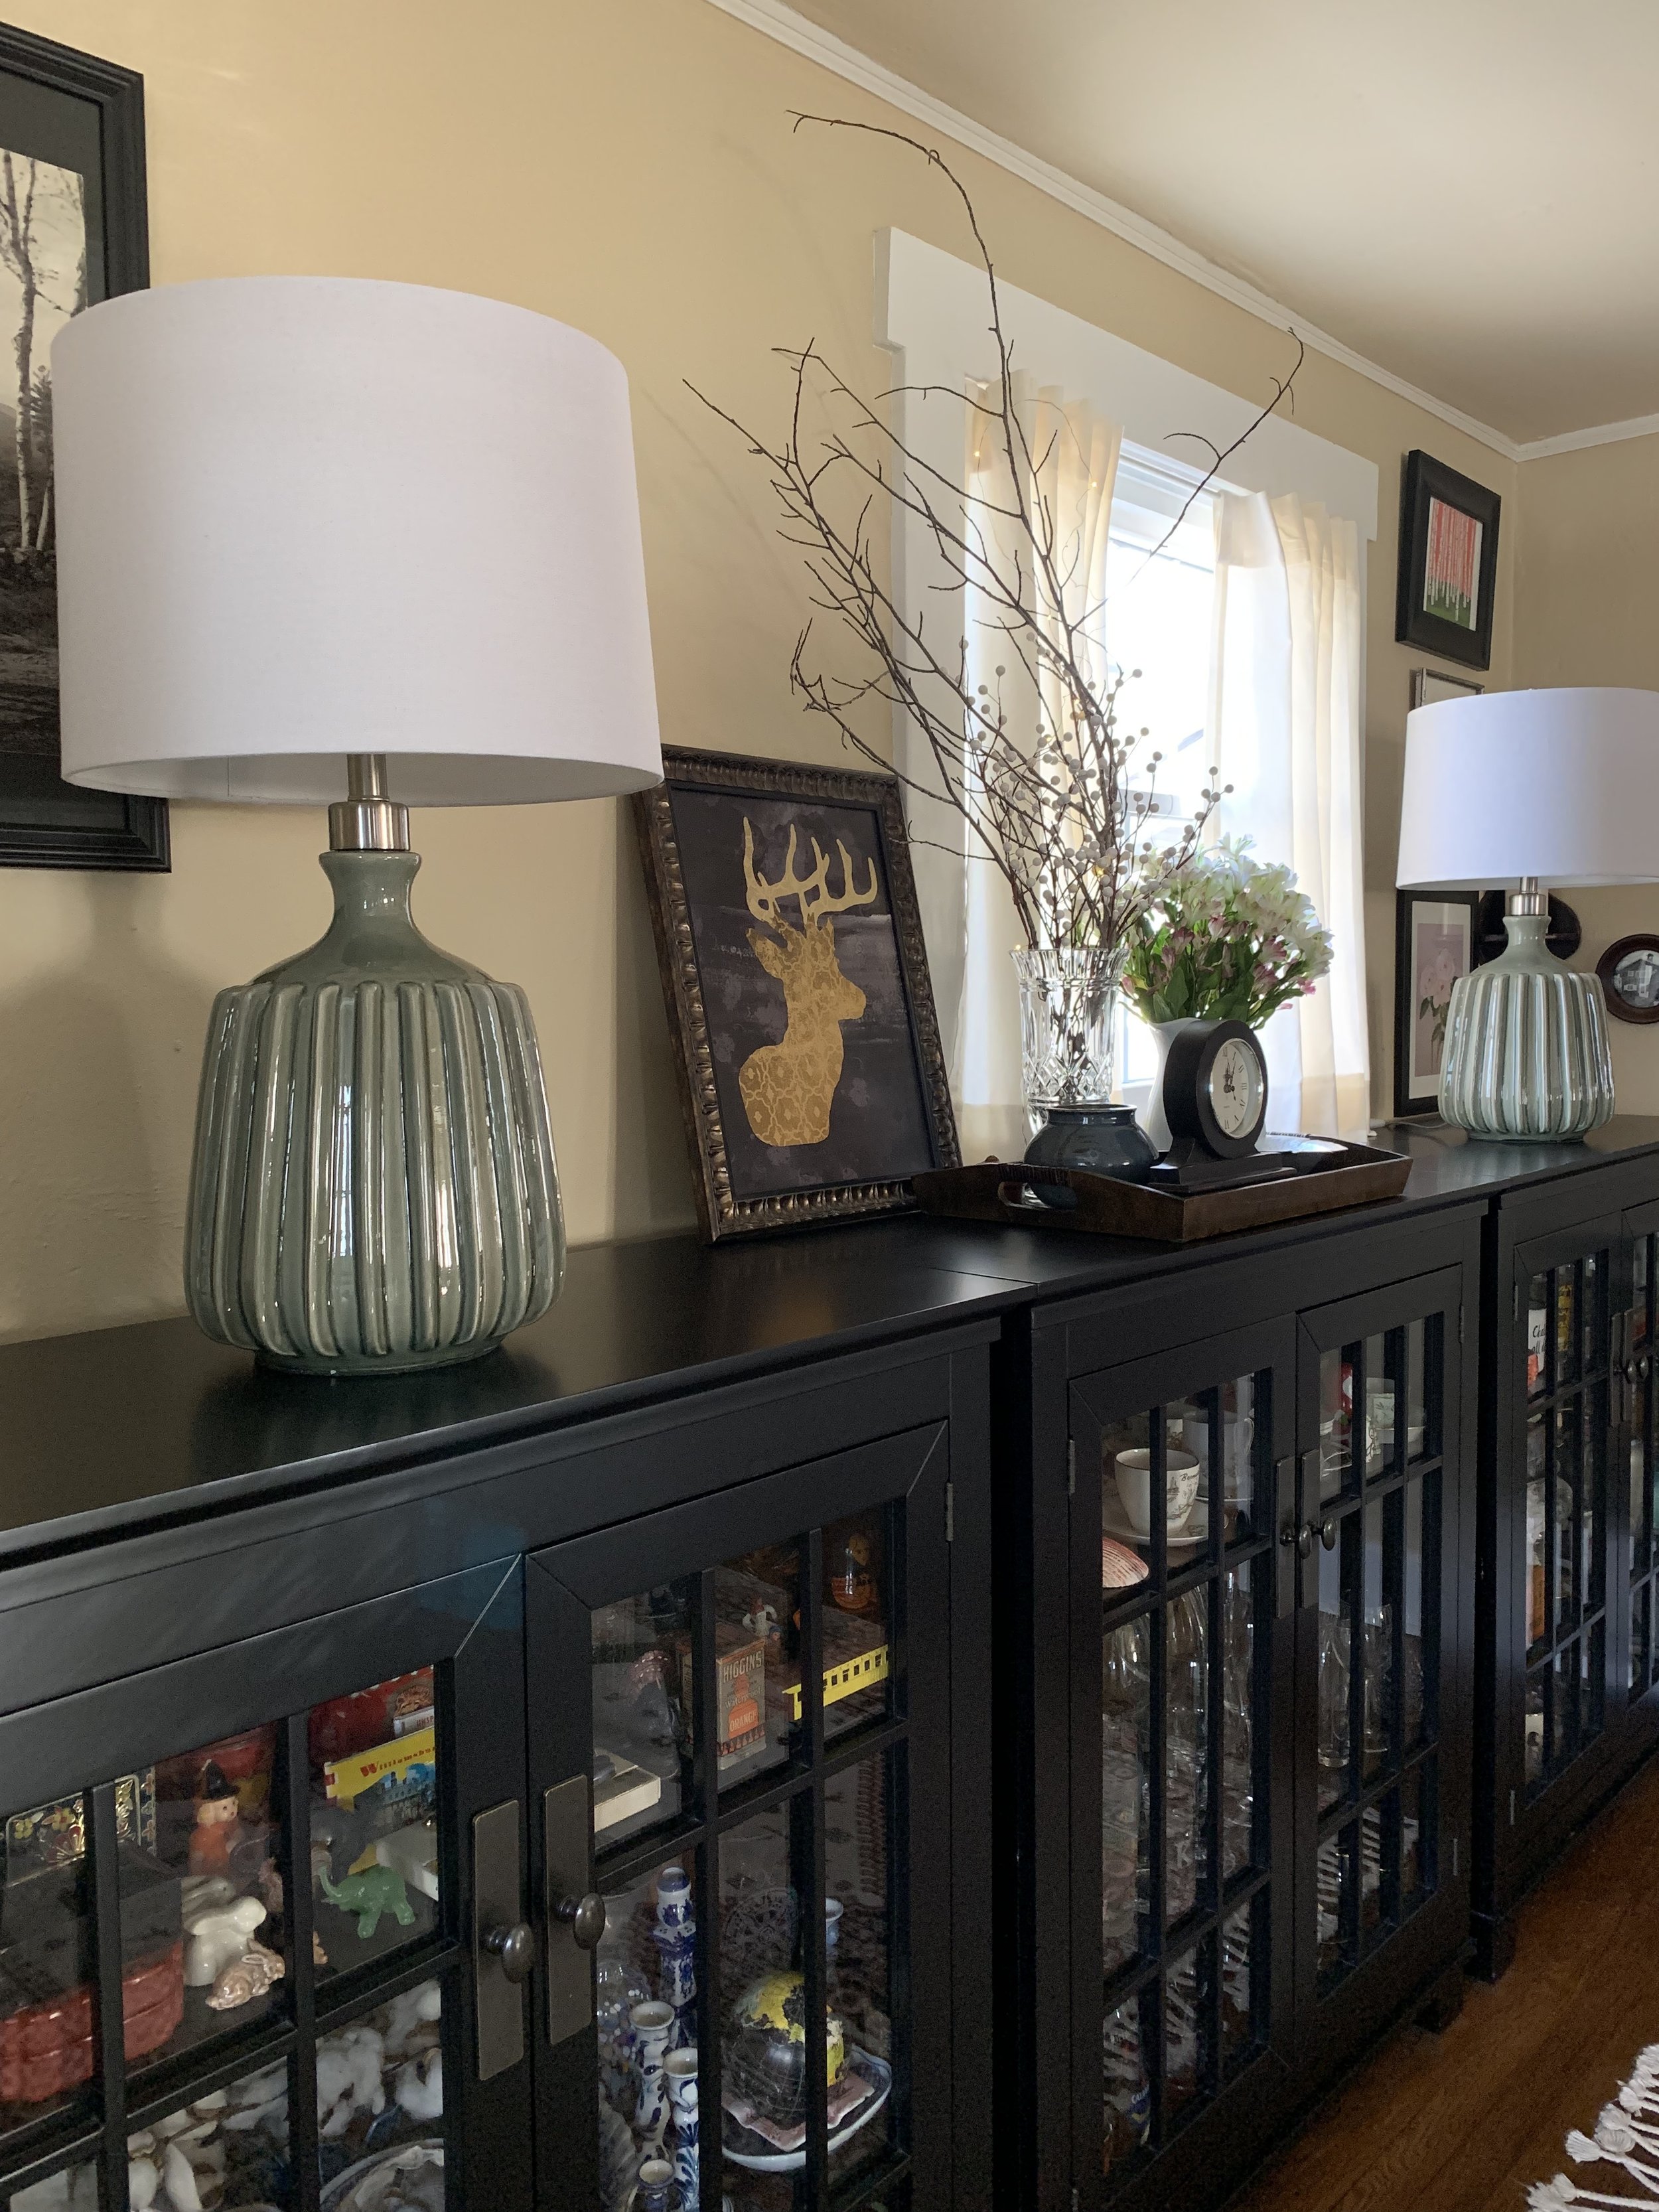
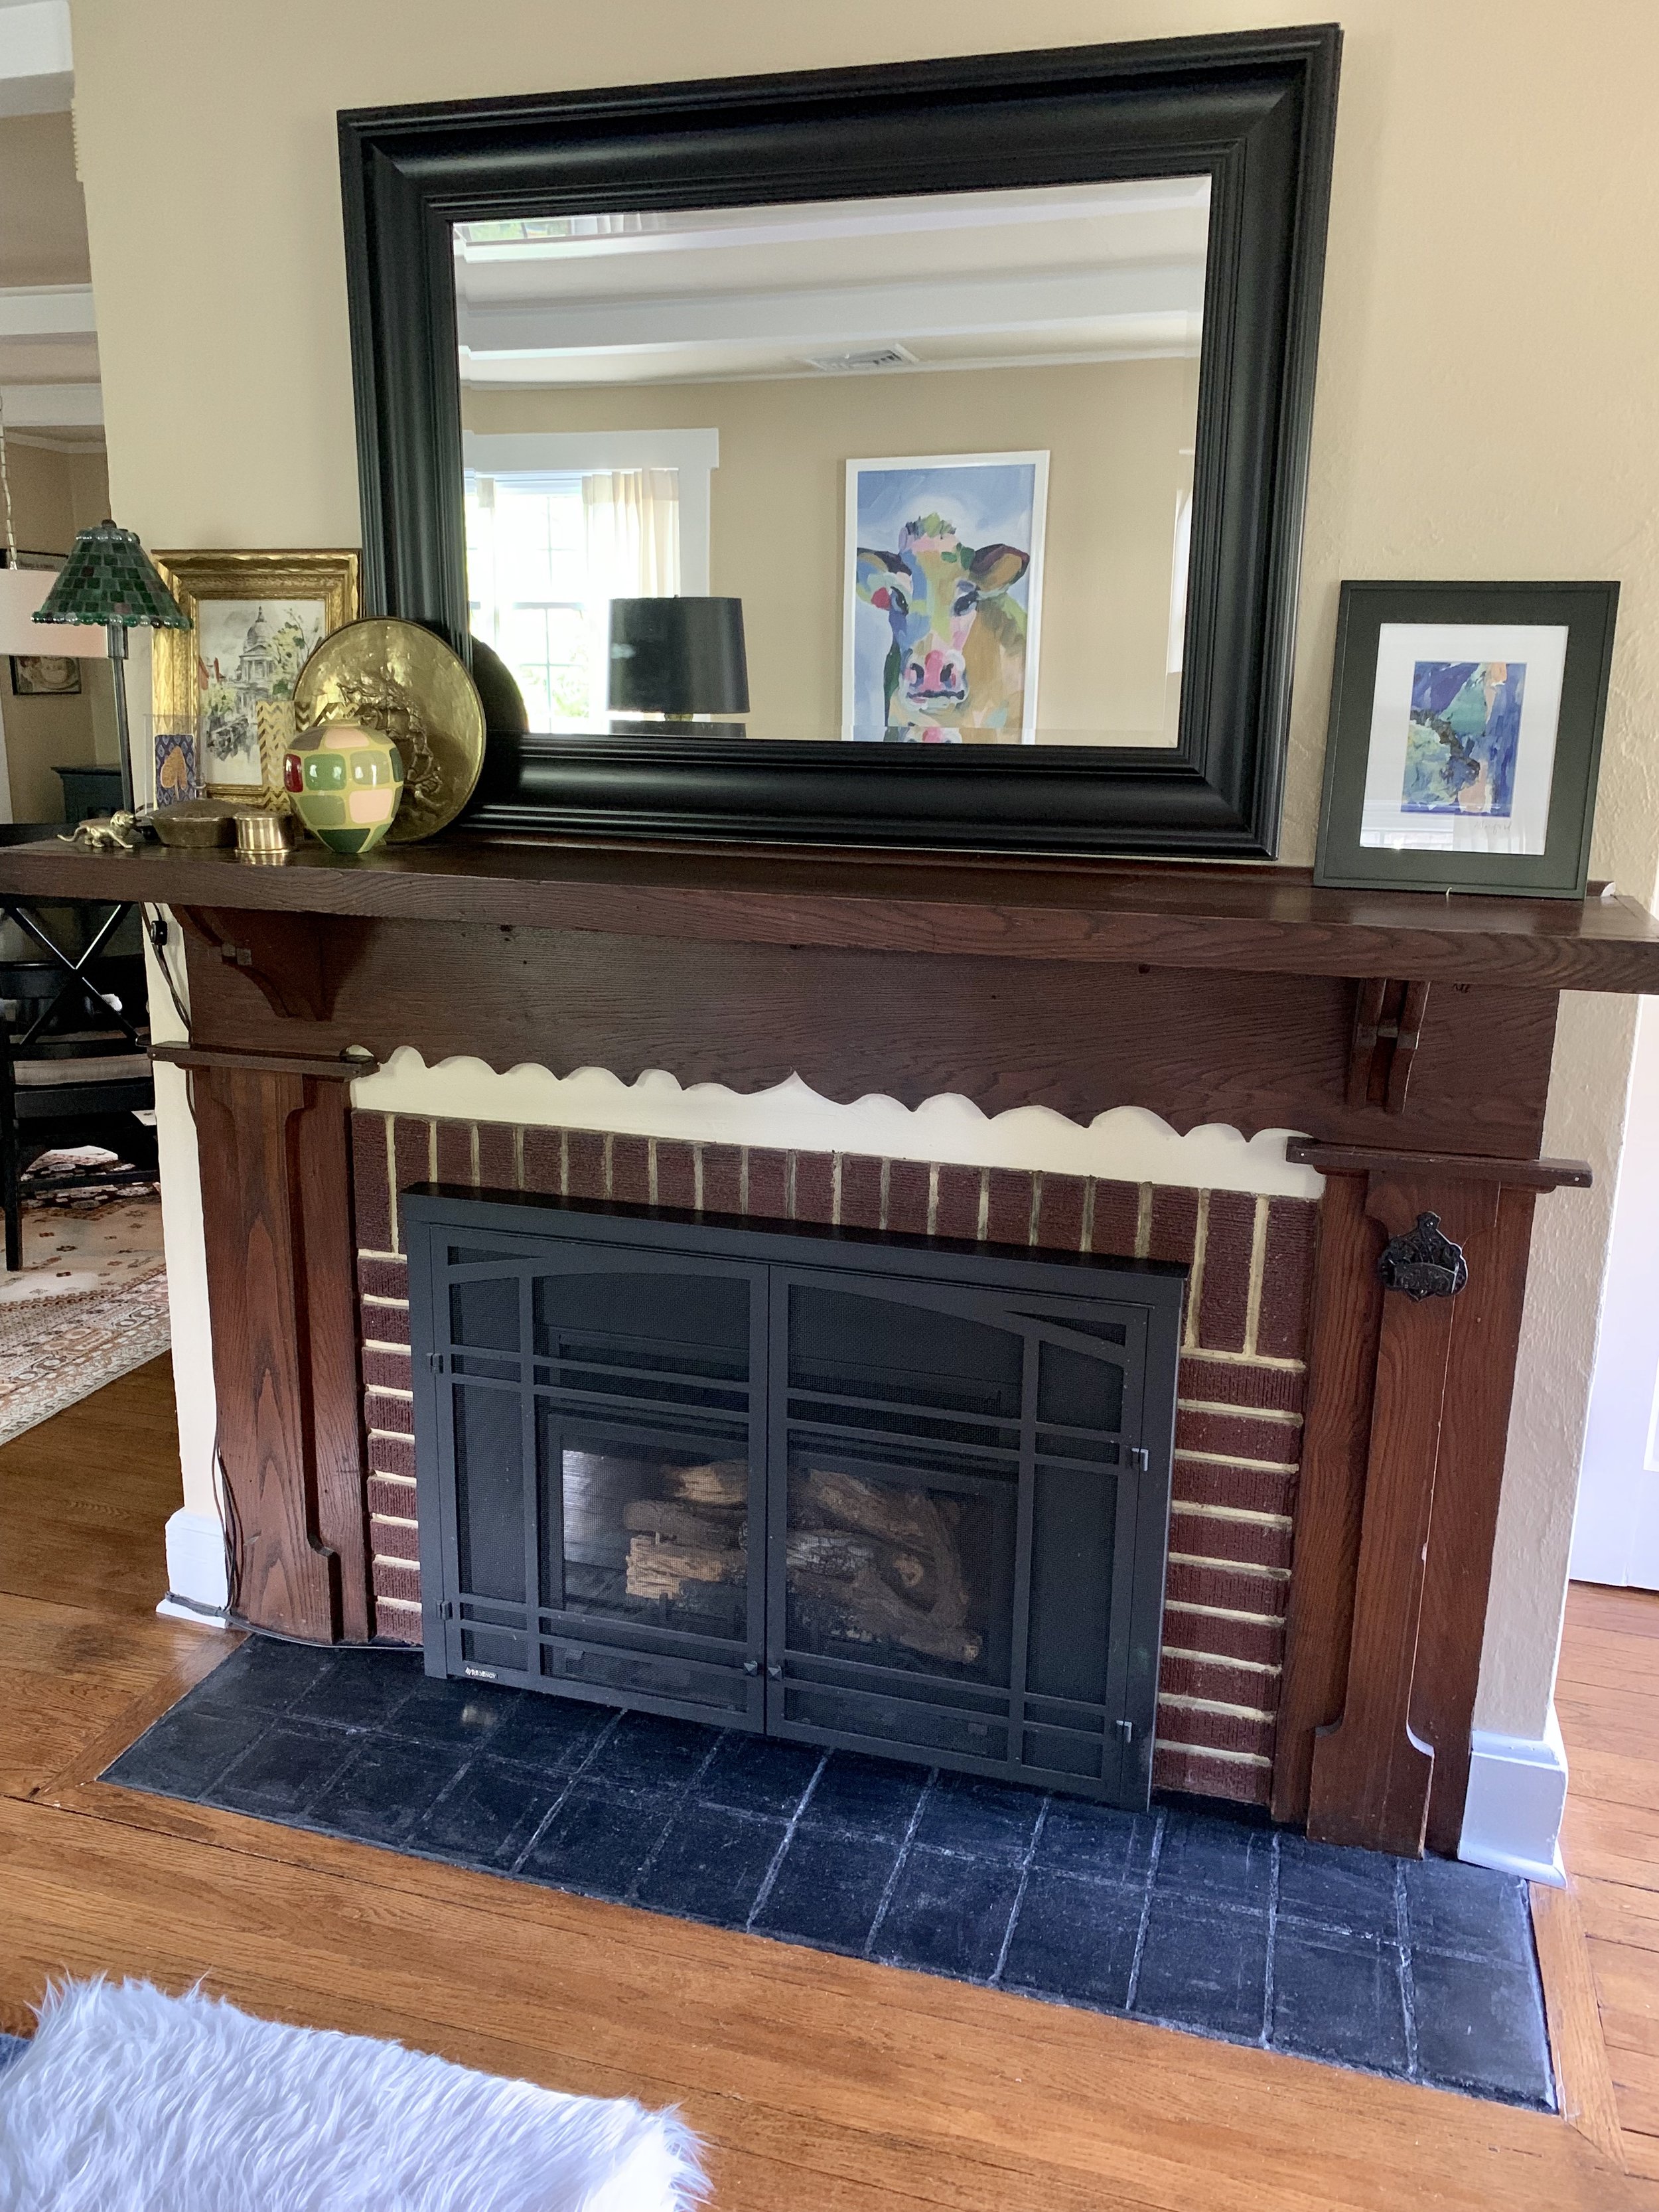
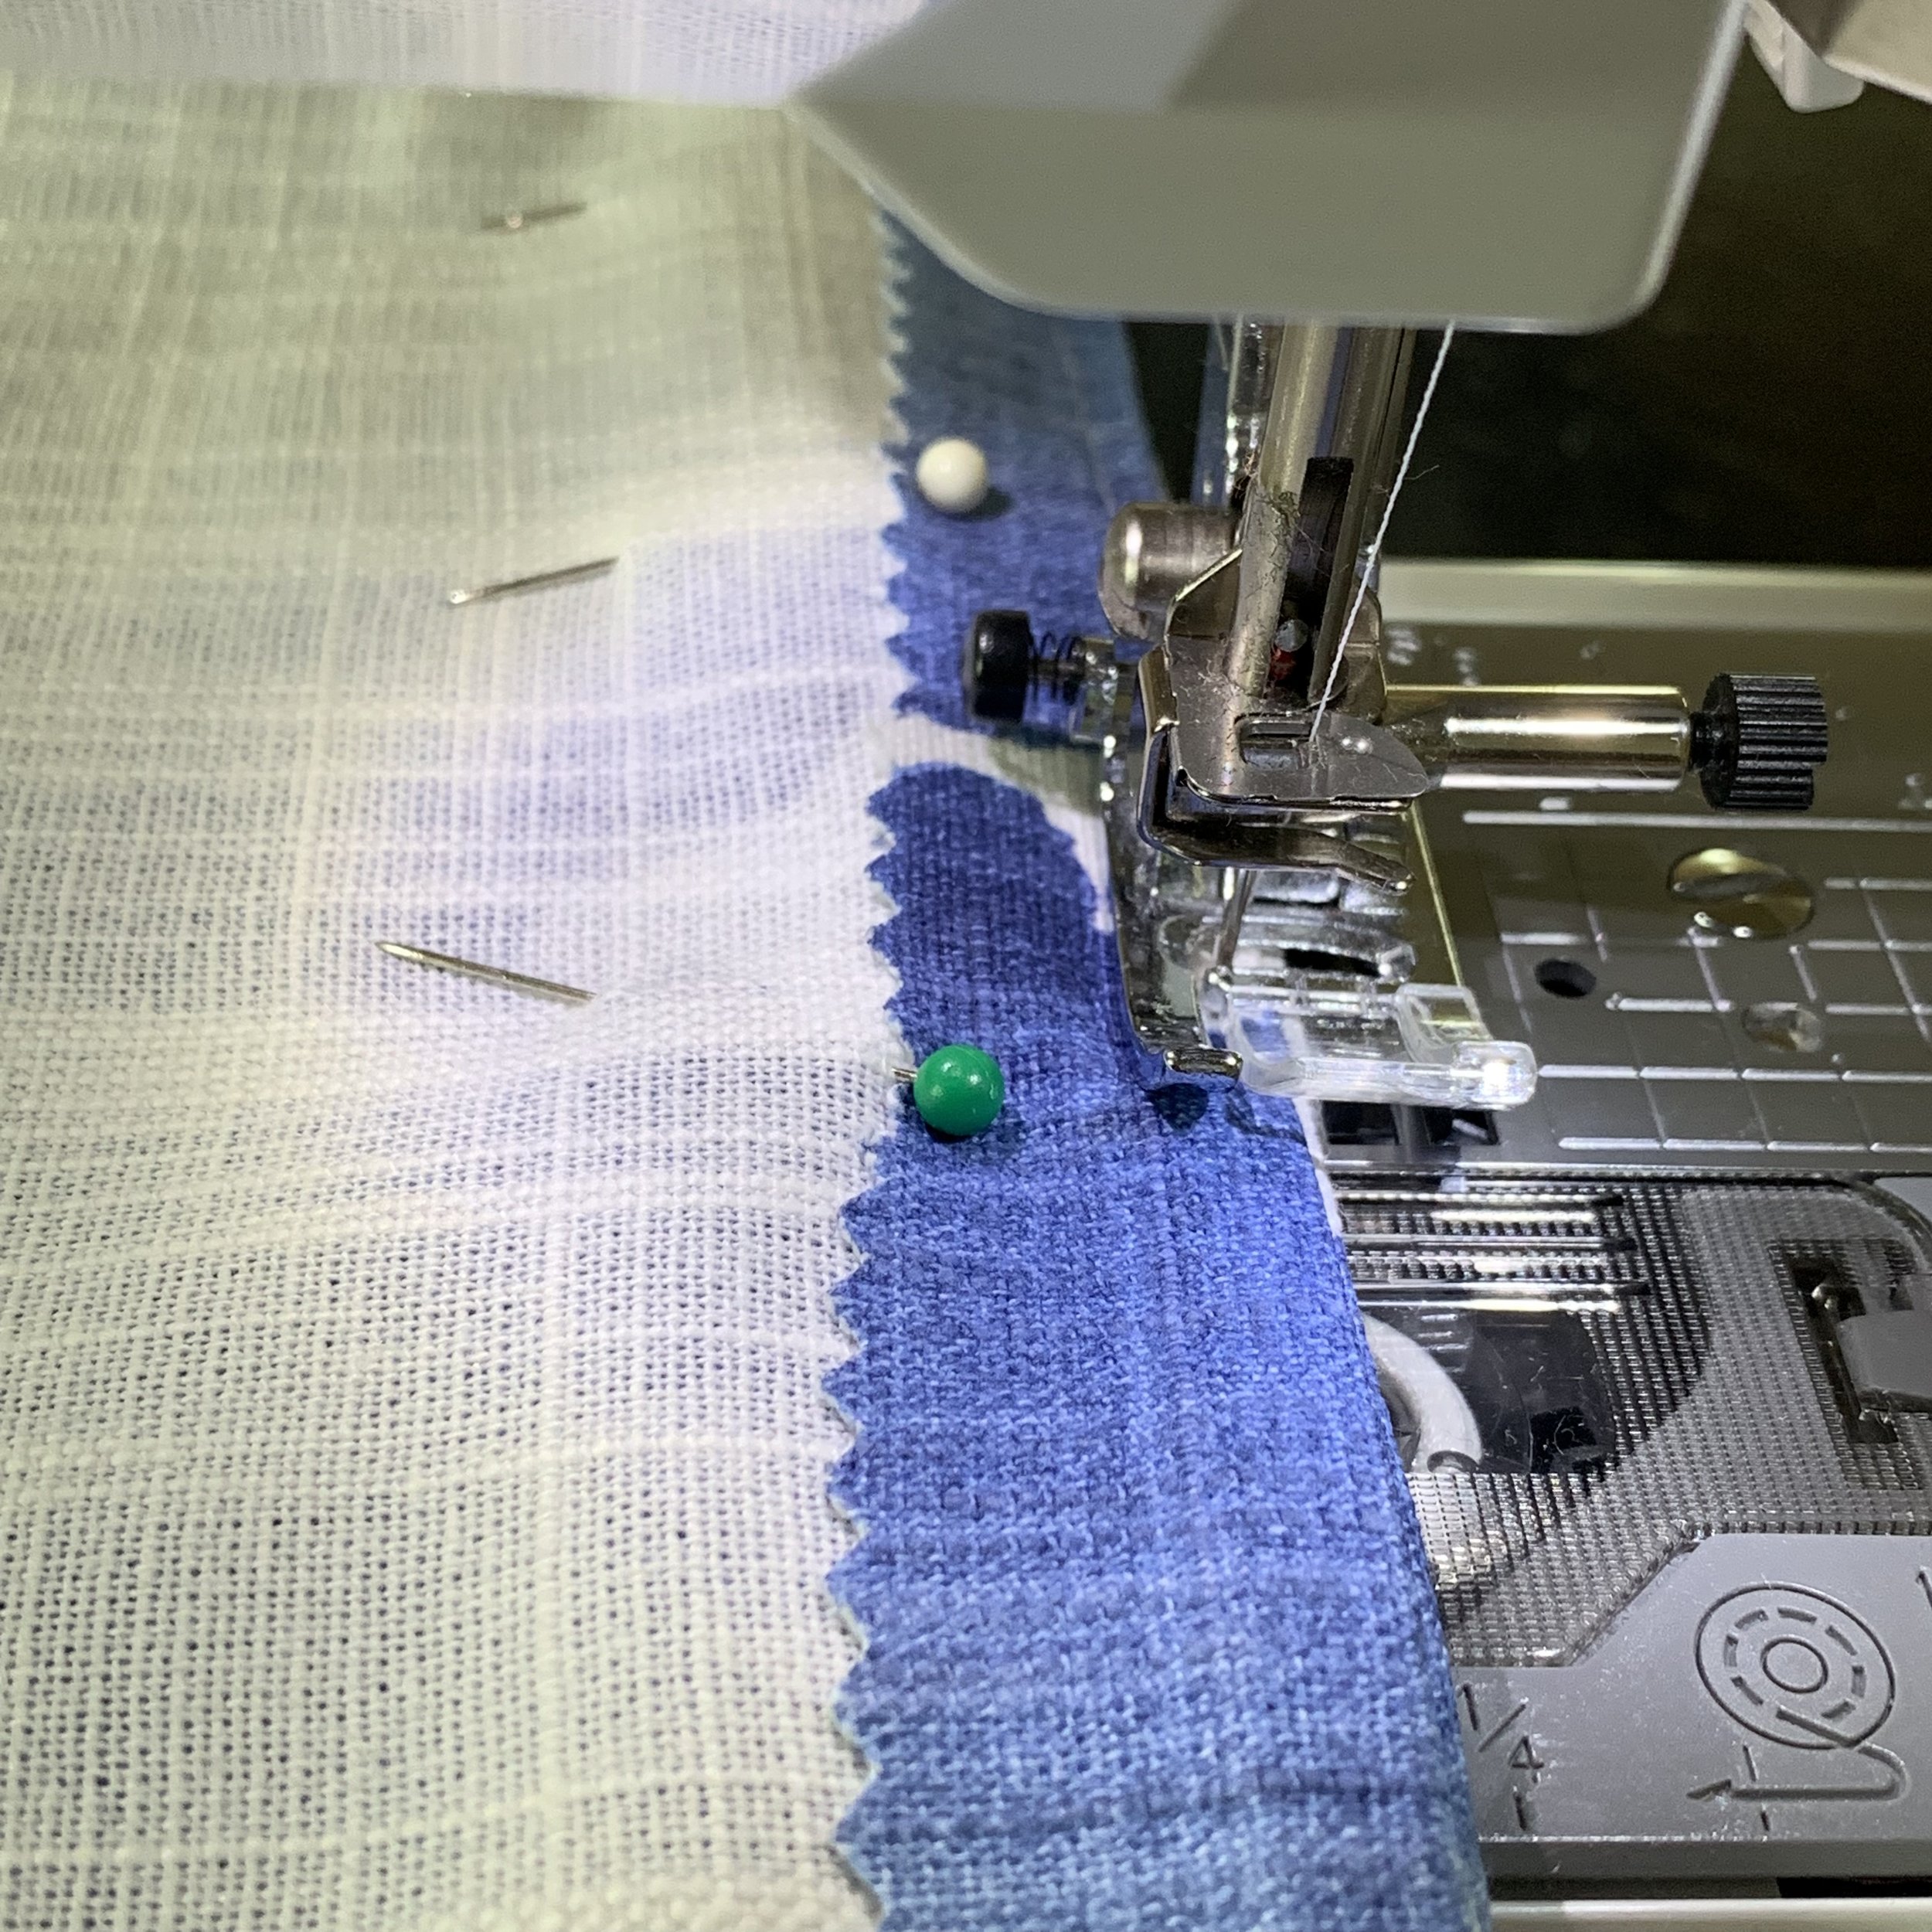
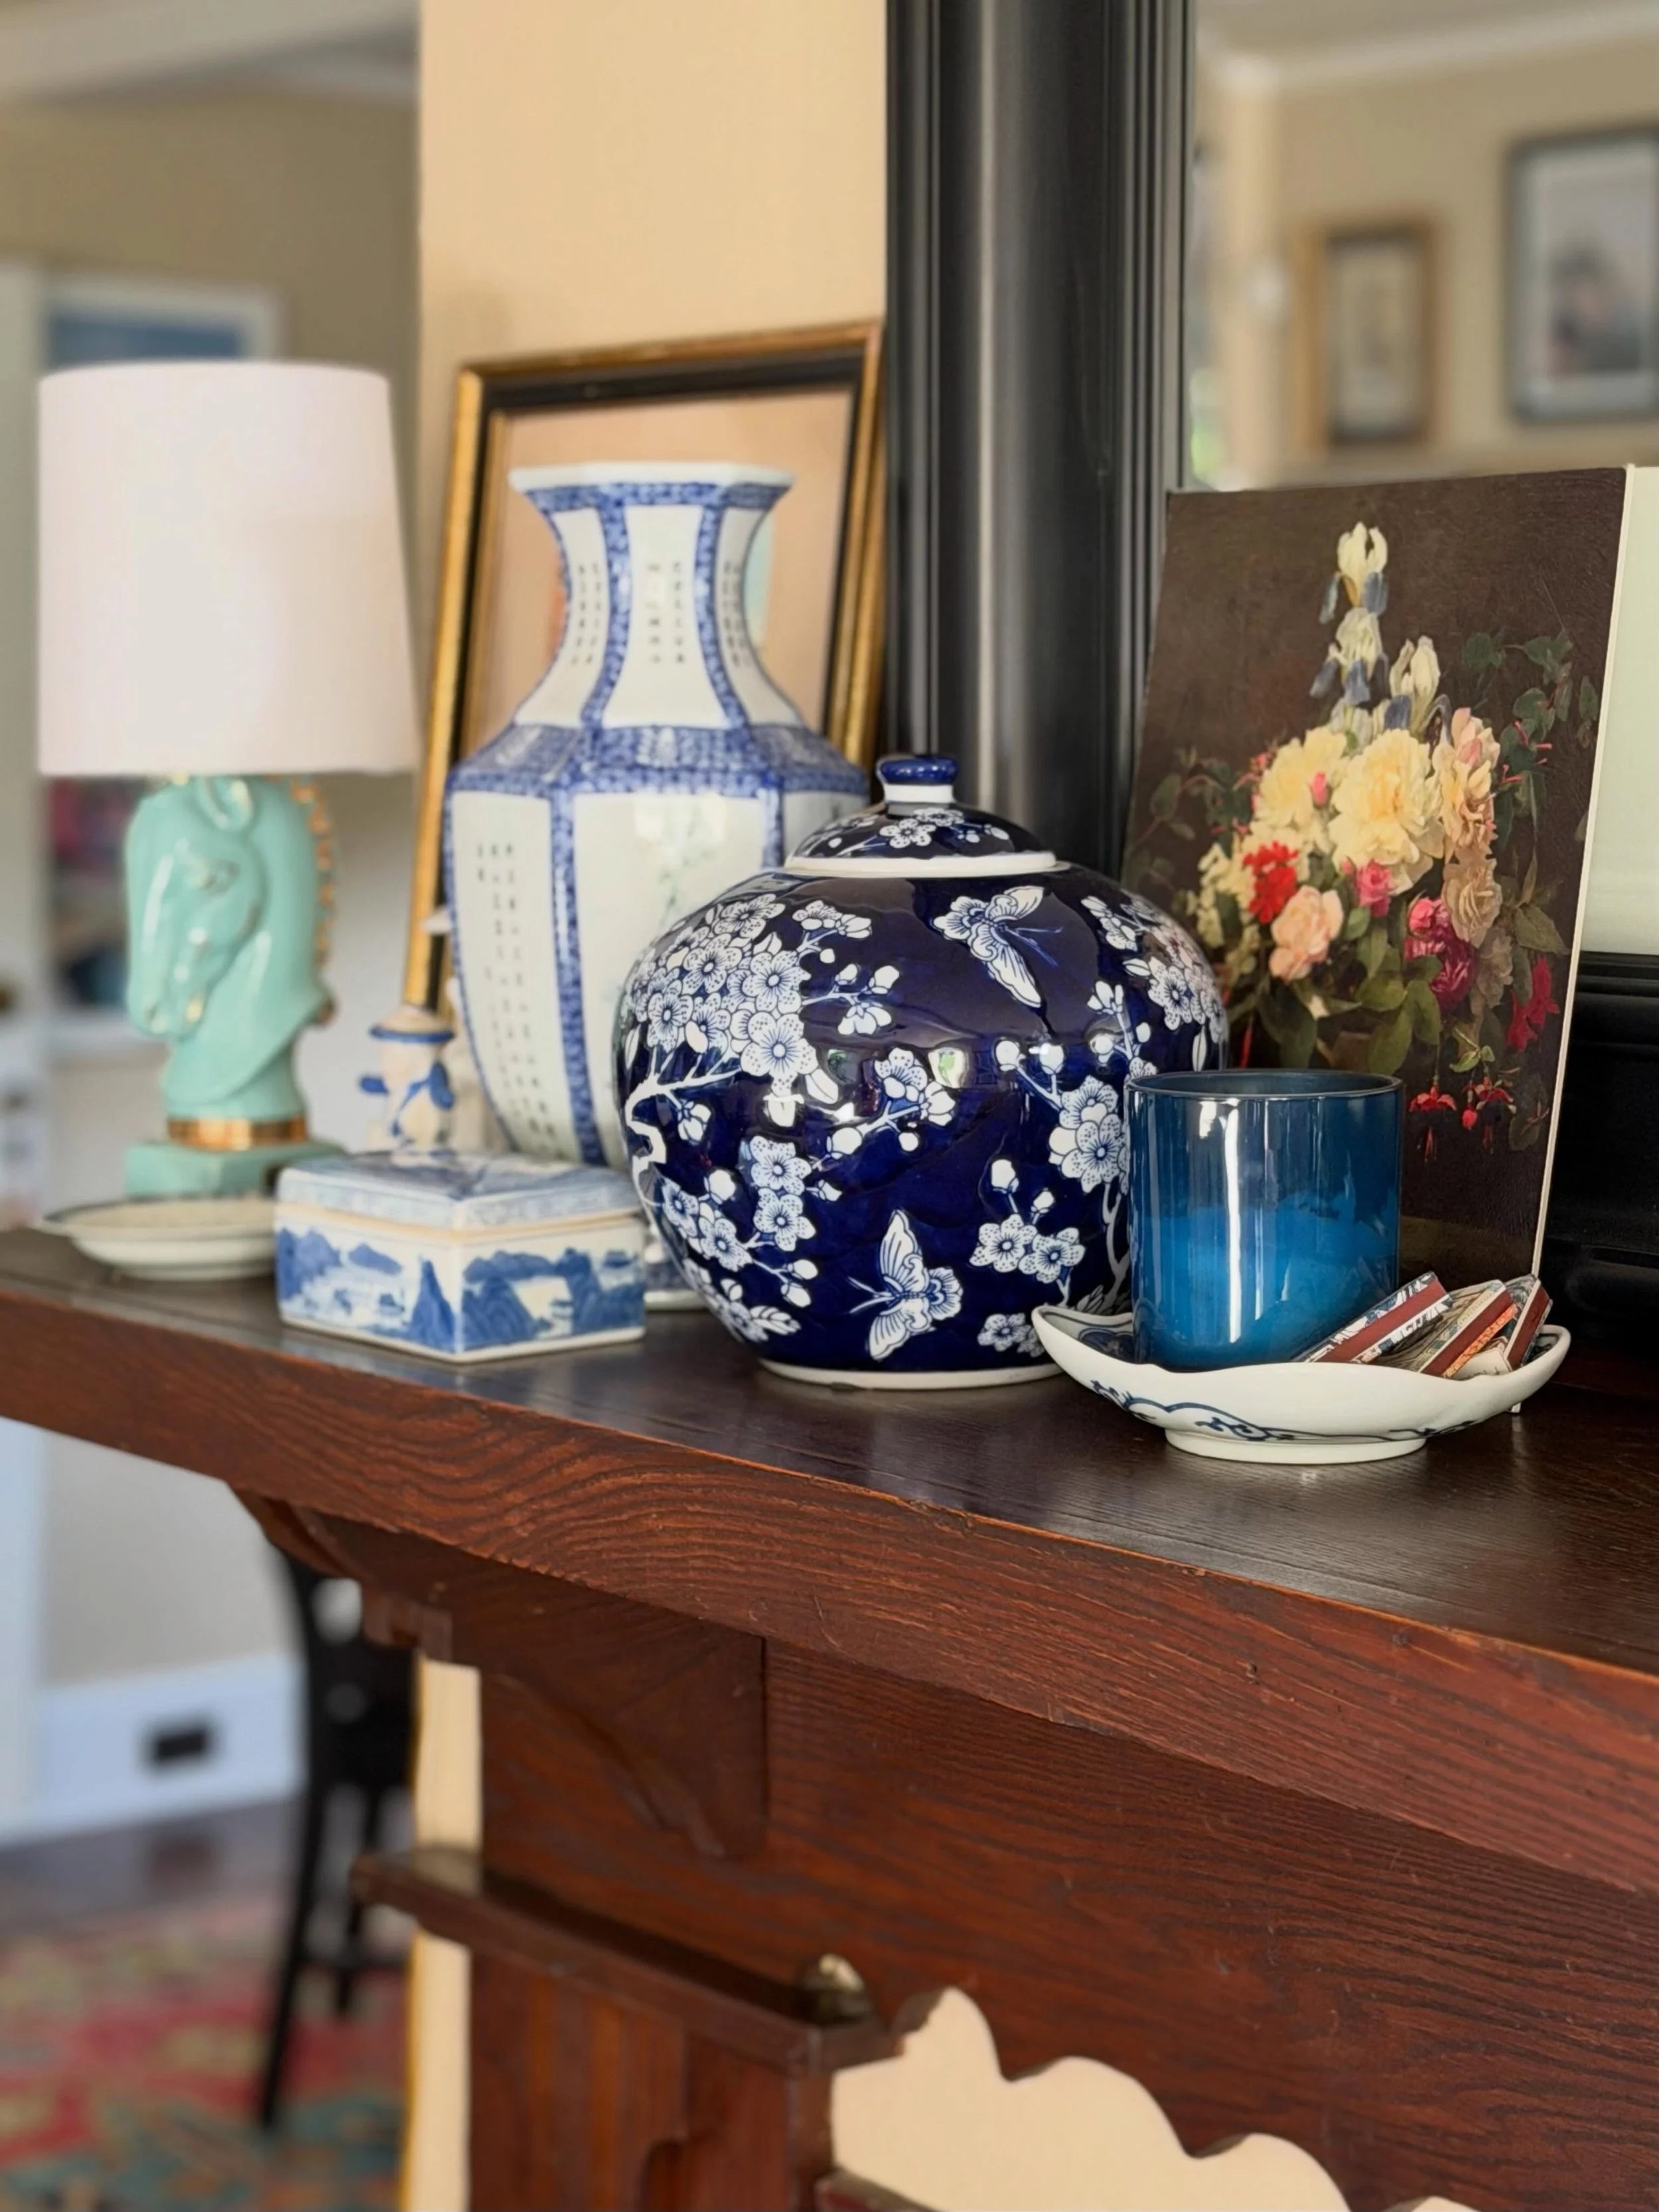
Once I had the coffee table and couch I worked my way around the Chalet refining book piles, editing picture frames and in general making it tighter. Layered is great but, messy and unfocused is not. When I got to lighting - I adding a new drum shade to the vintage Chinese lamp - a new smaller more modern lamp for the black Chinese cabinet and I went mid-century modern with the set of green ceramic for the diningroom - all purchased at Home Sense. I lessened the amount of decor on the mantel - limiting them to one side and focusing on a sole piece of art by Allison Ford on the other. I made pillow covers - you can spy one on the leather chair above. Then we moved some chairs around between the porch and the livingroom.

IMG_7594.jpg

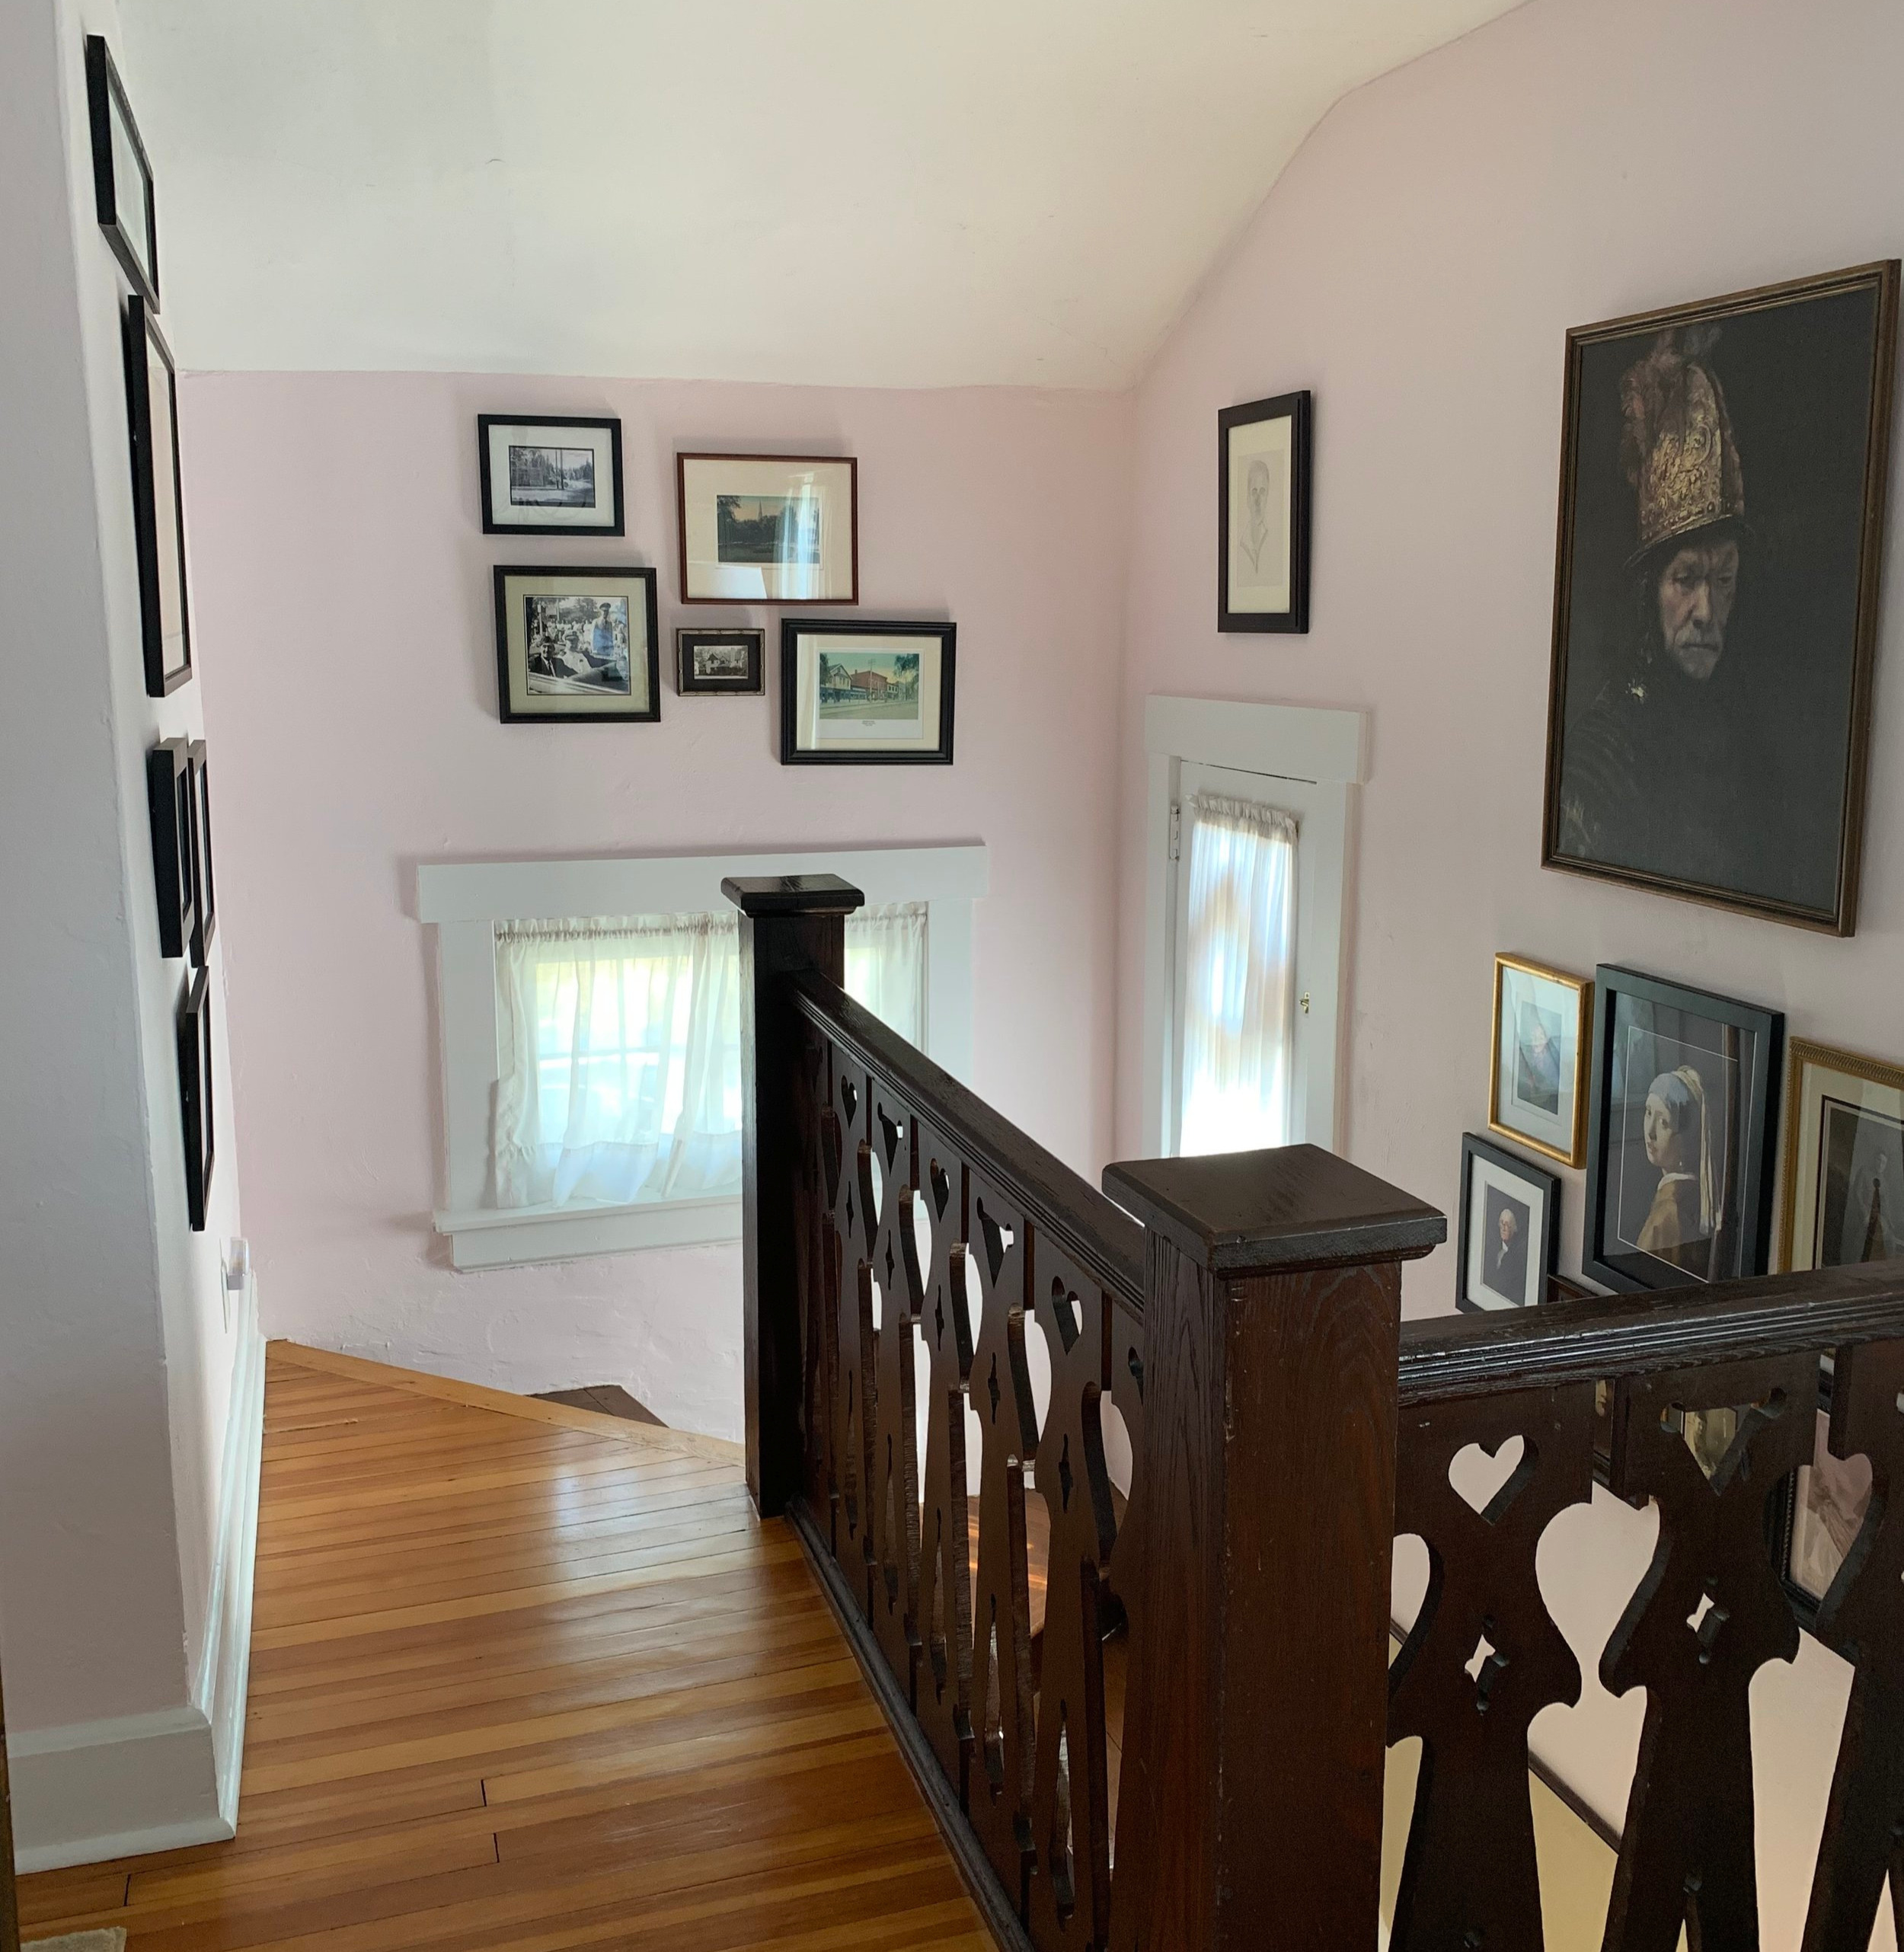
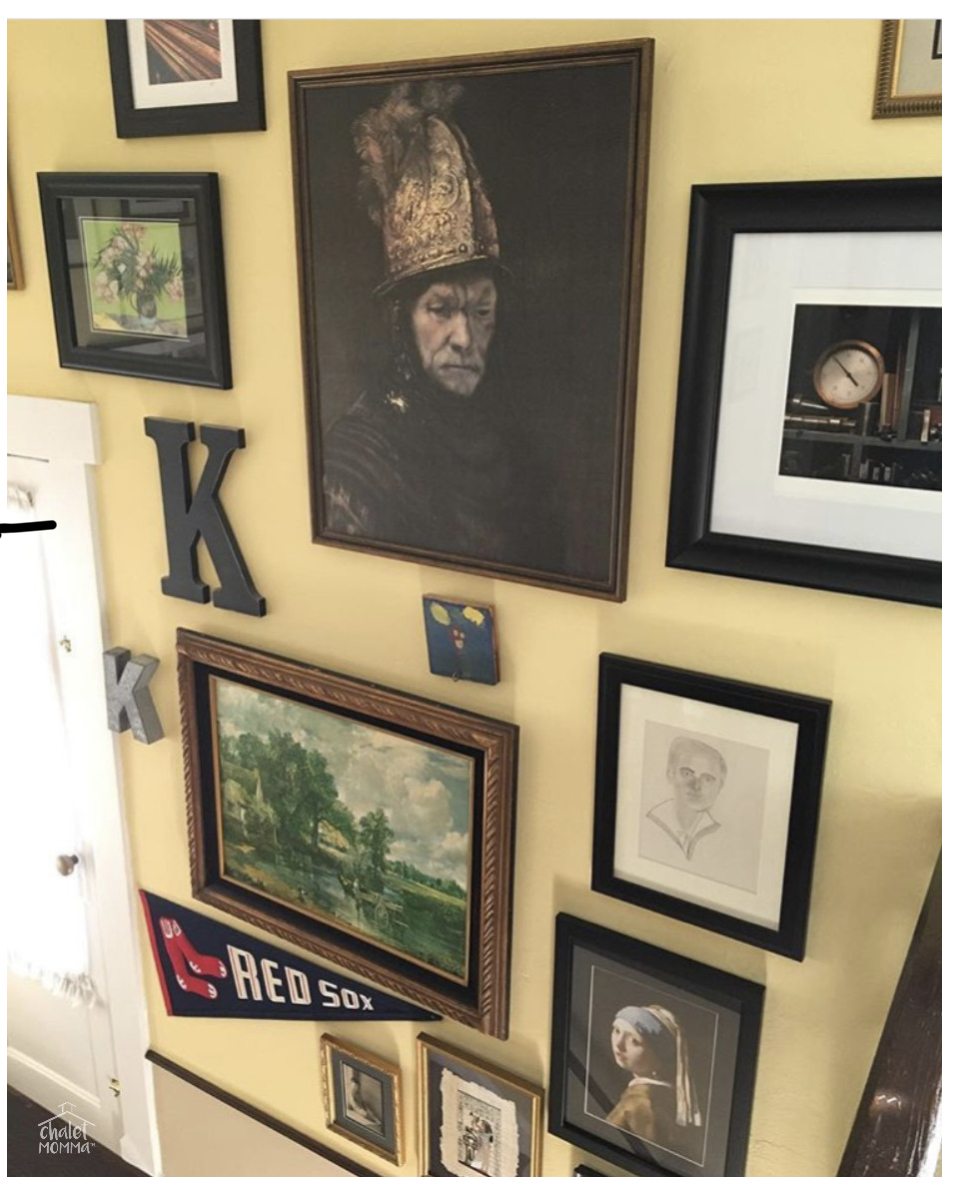
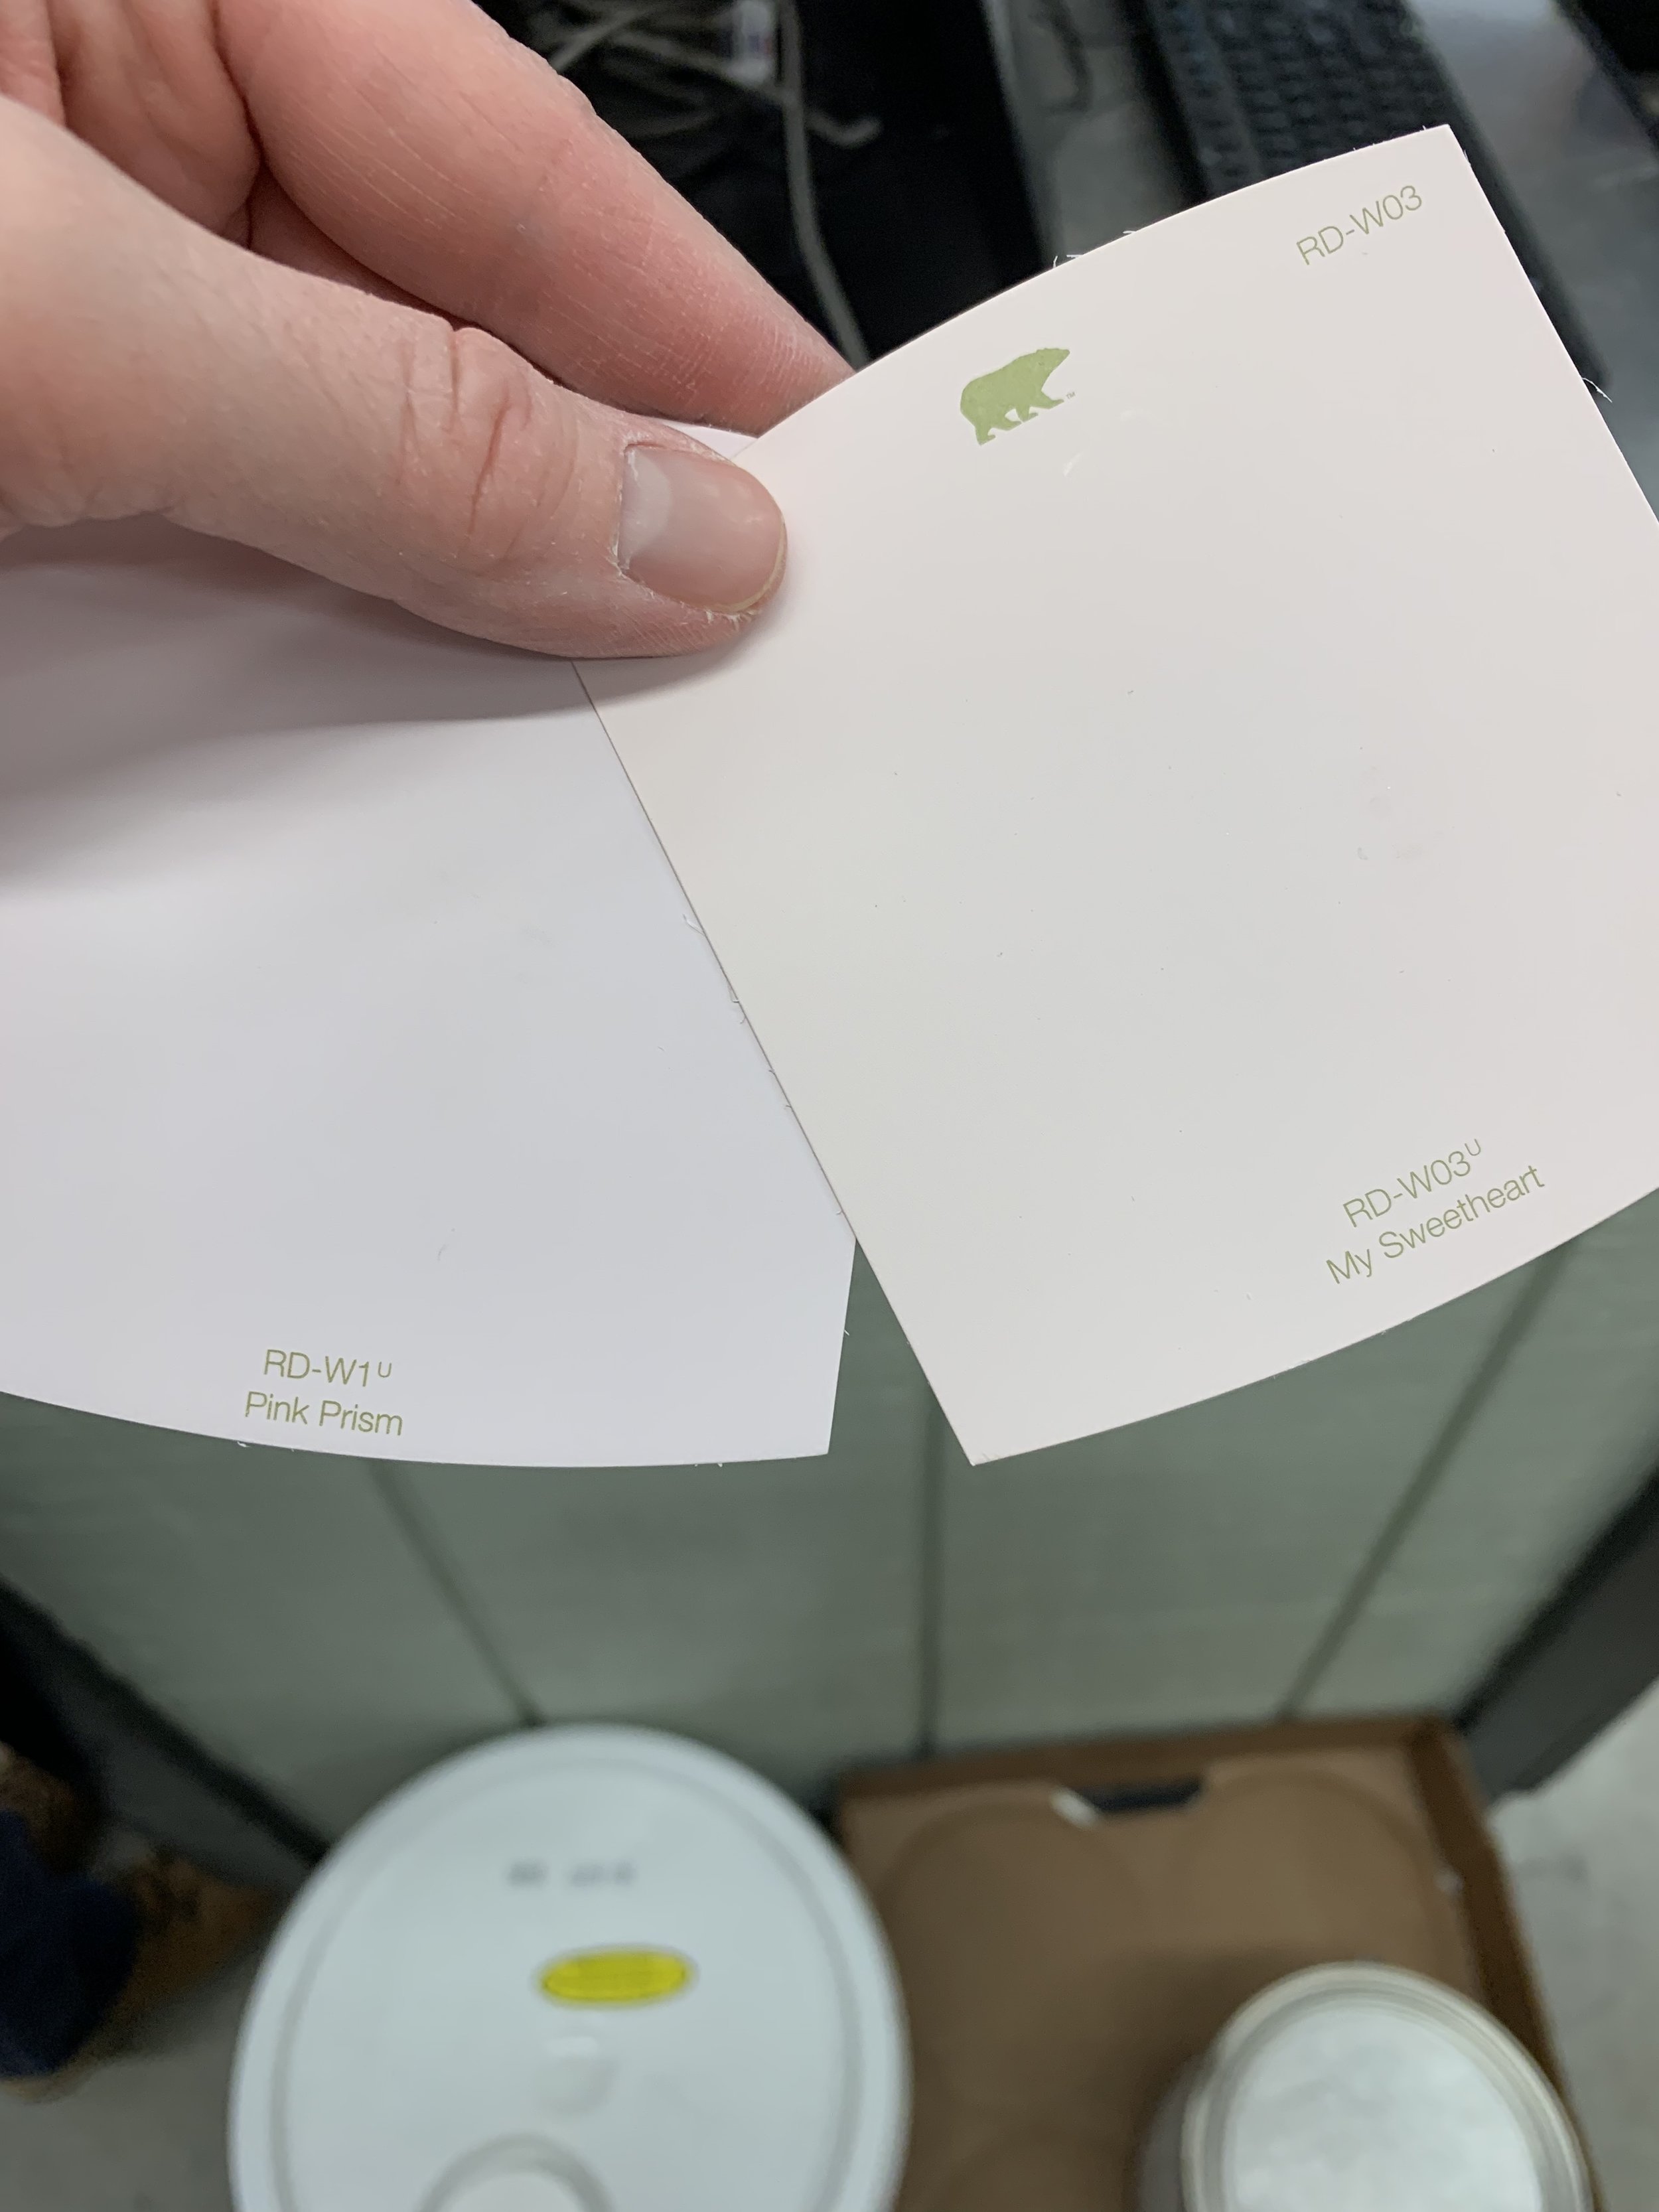
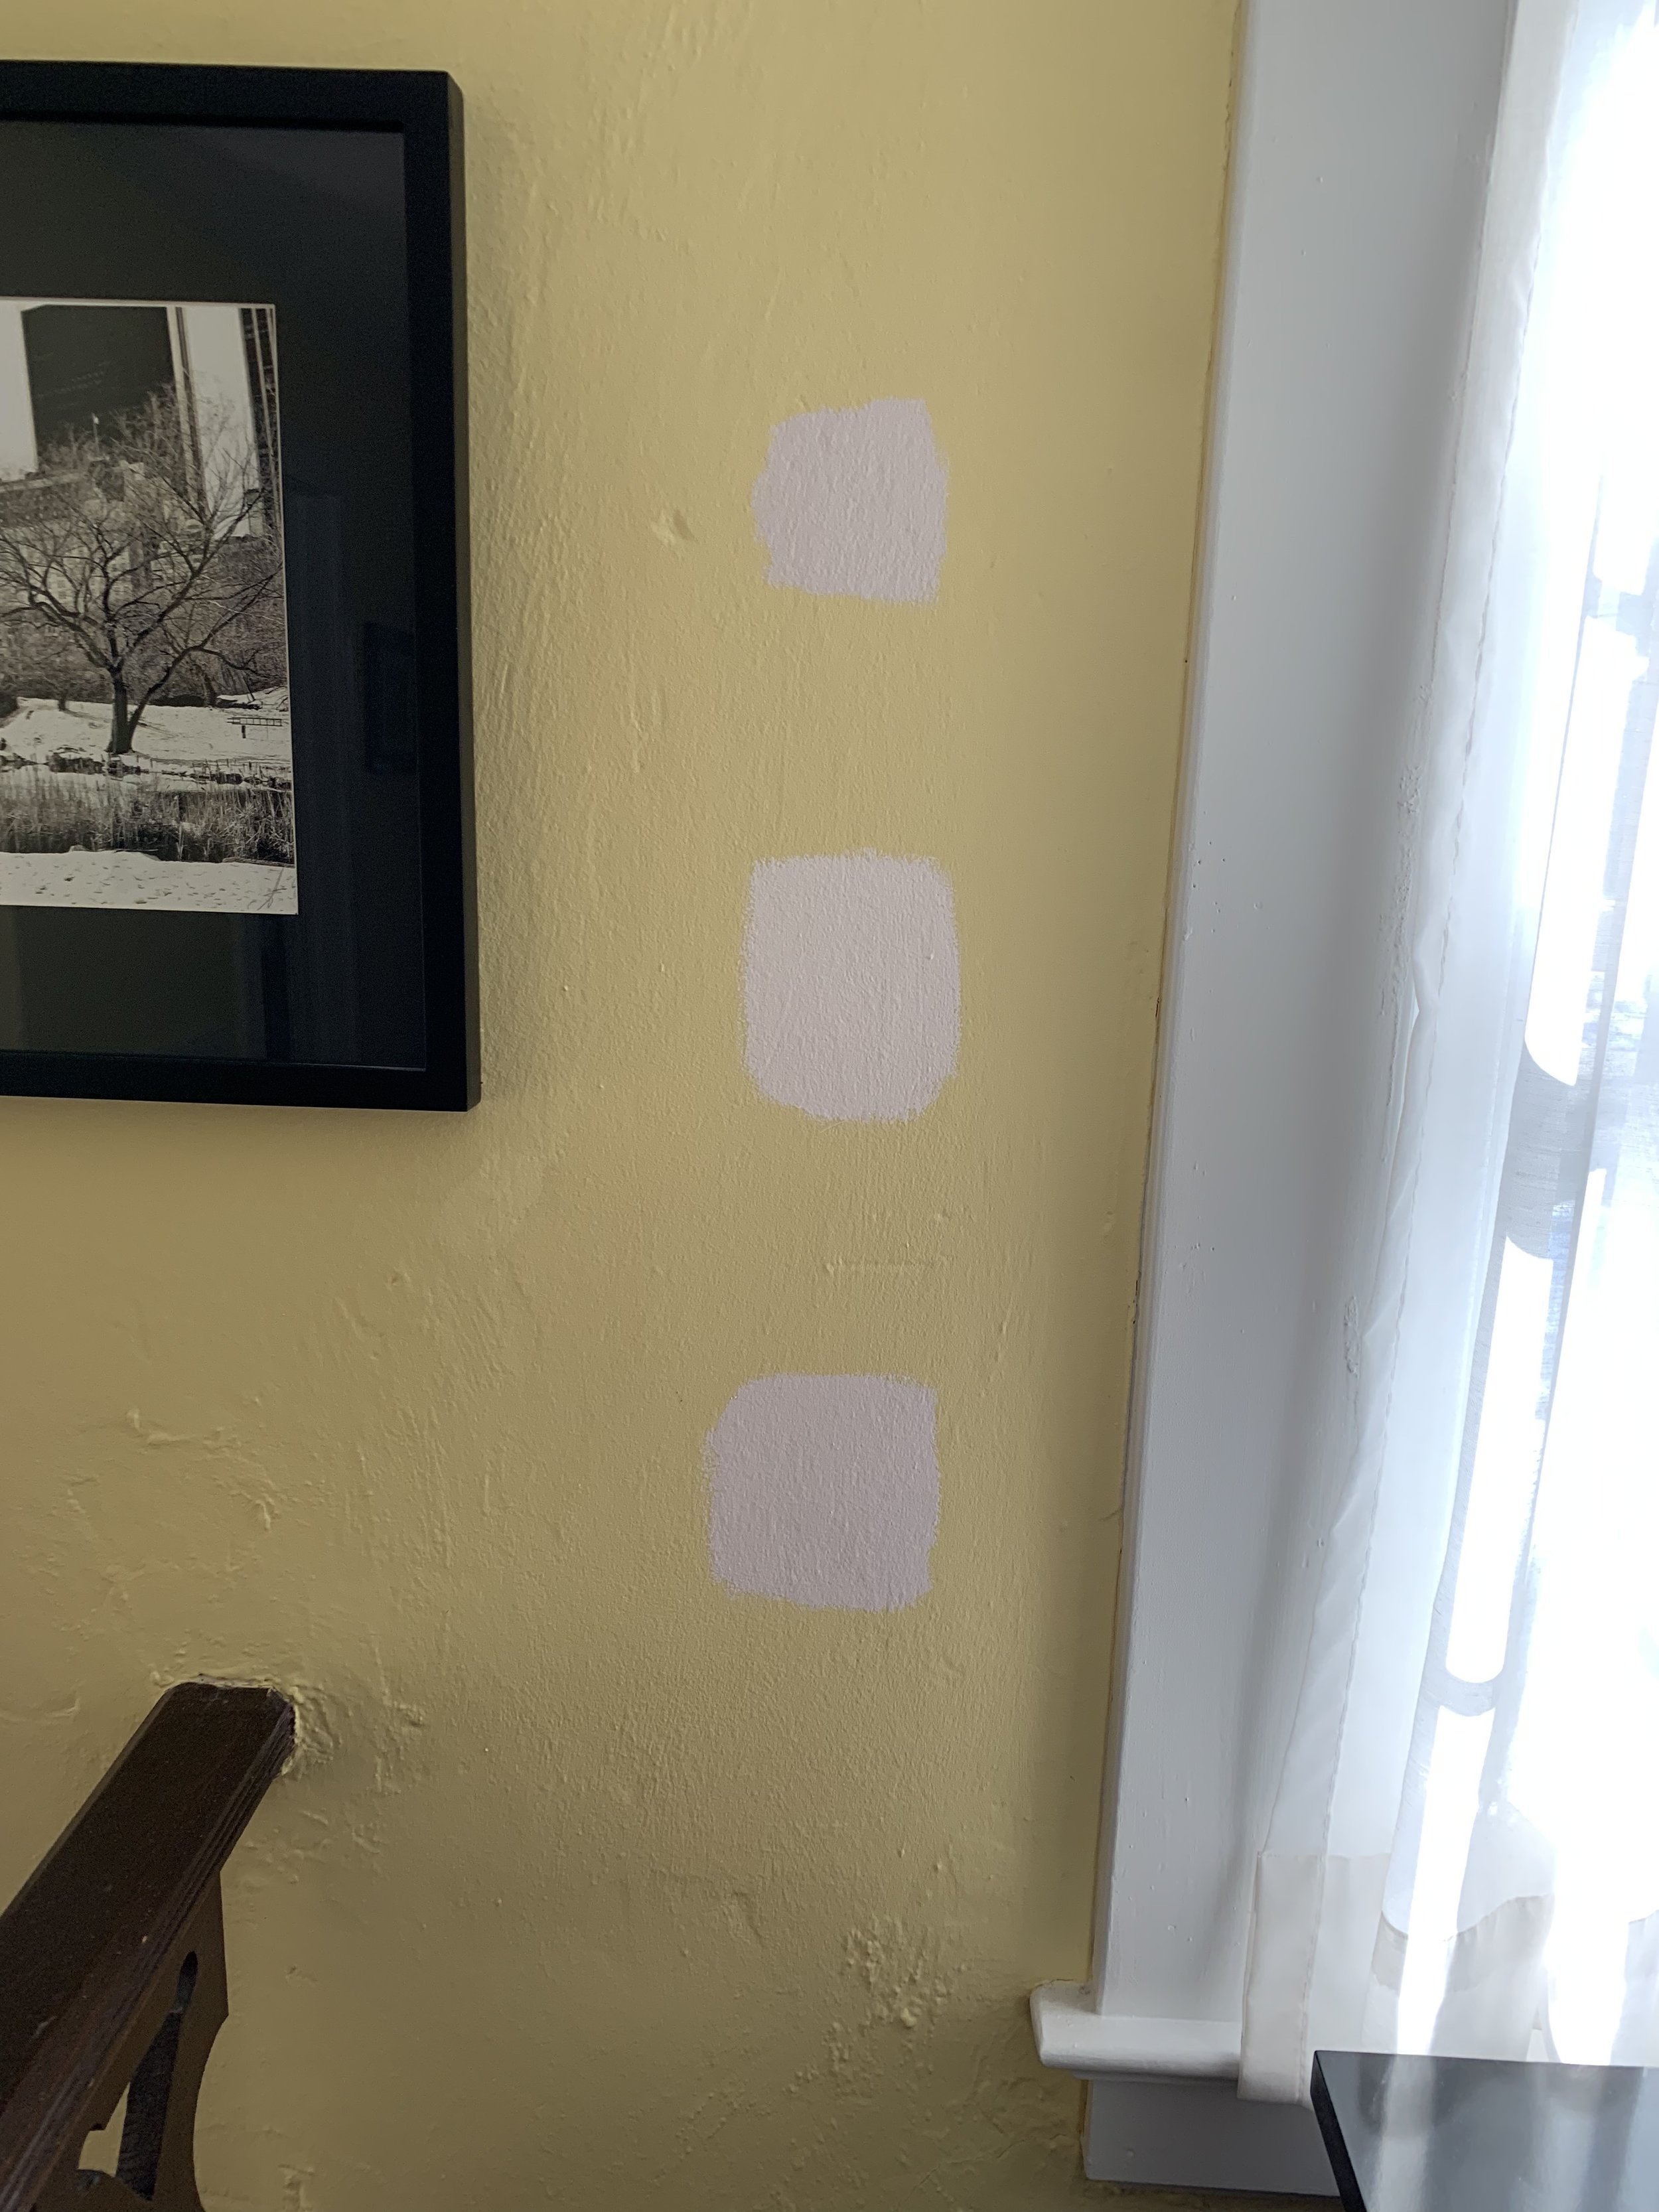
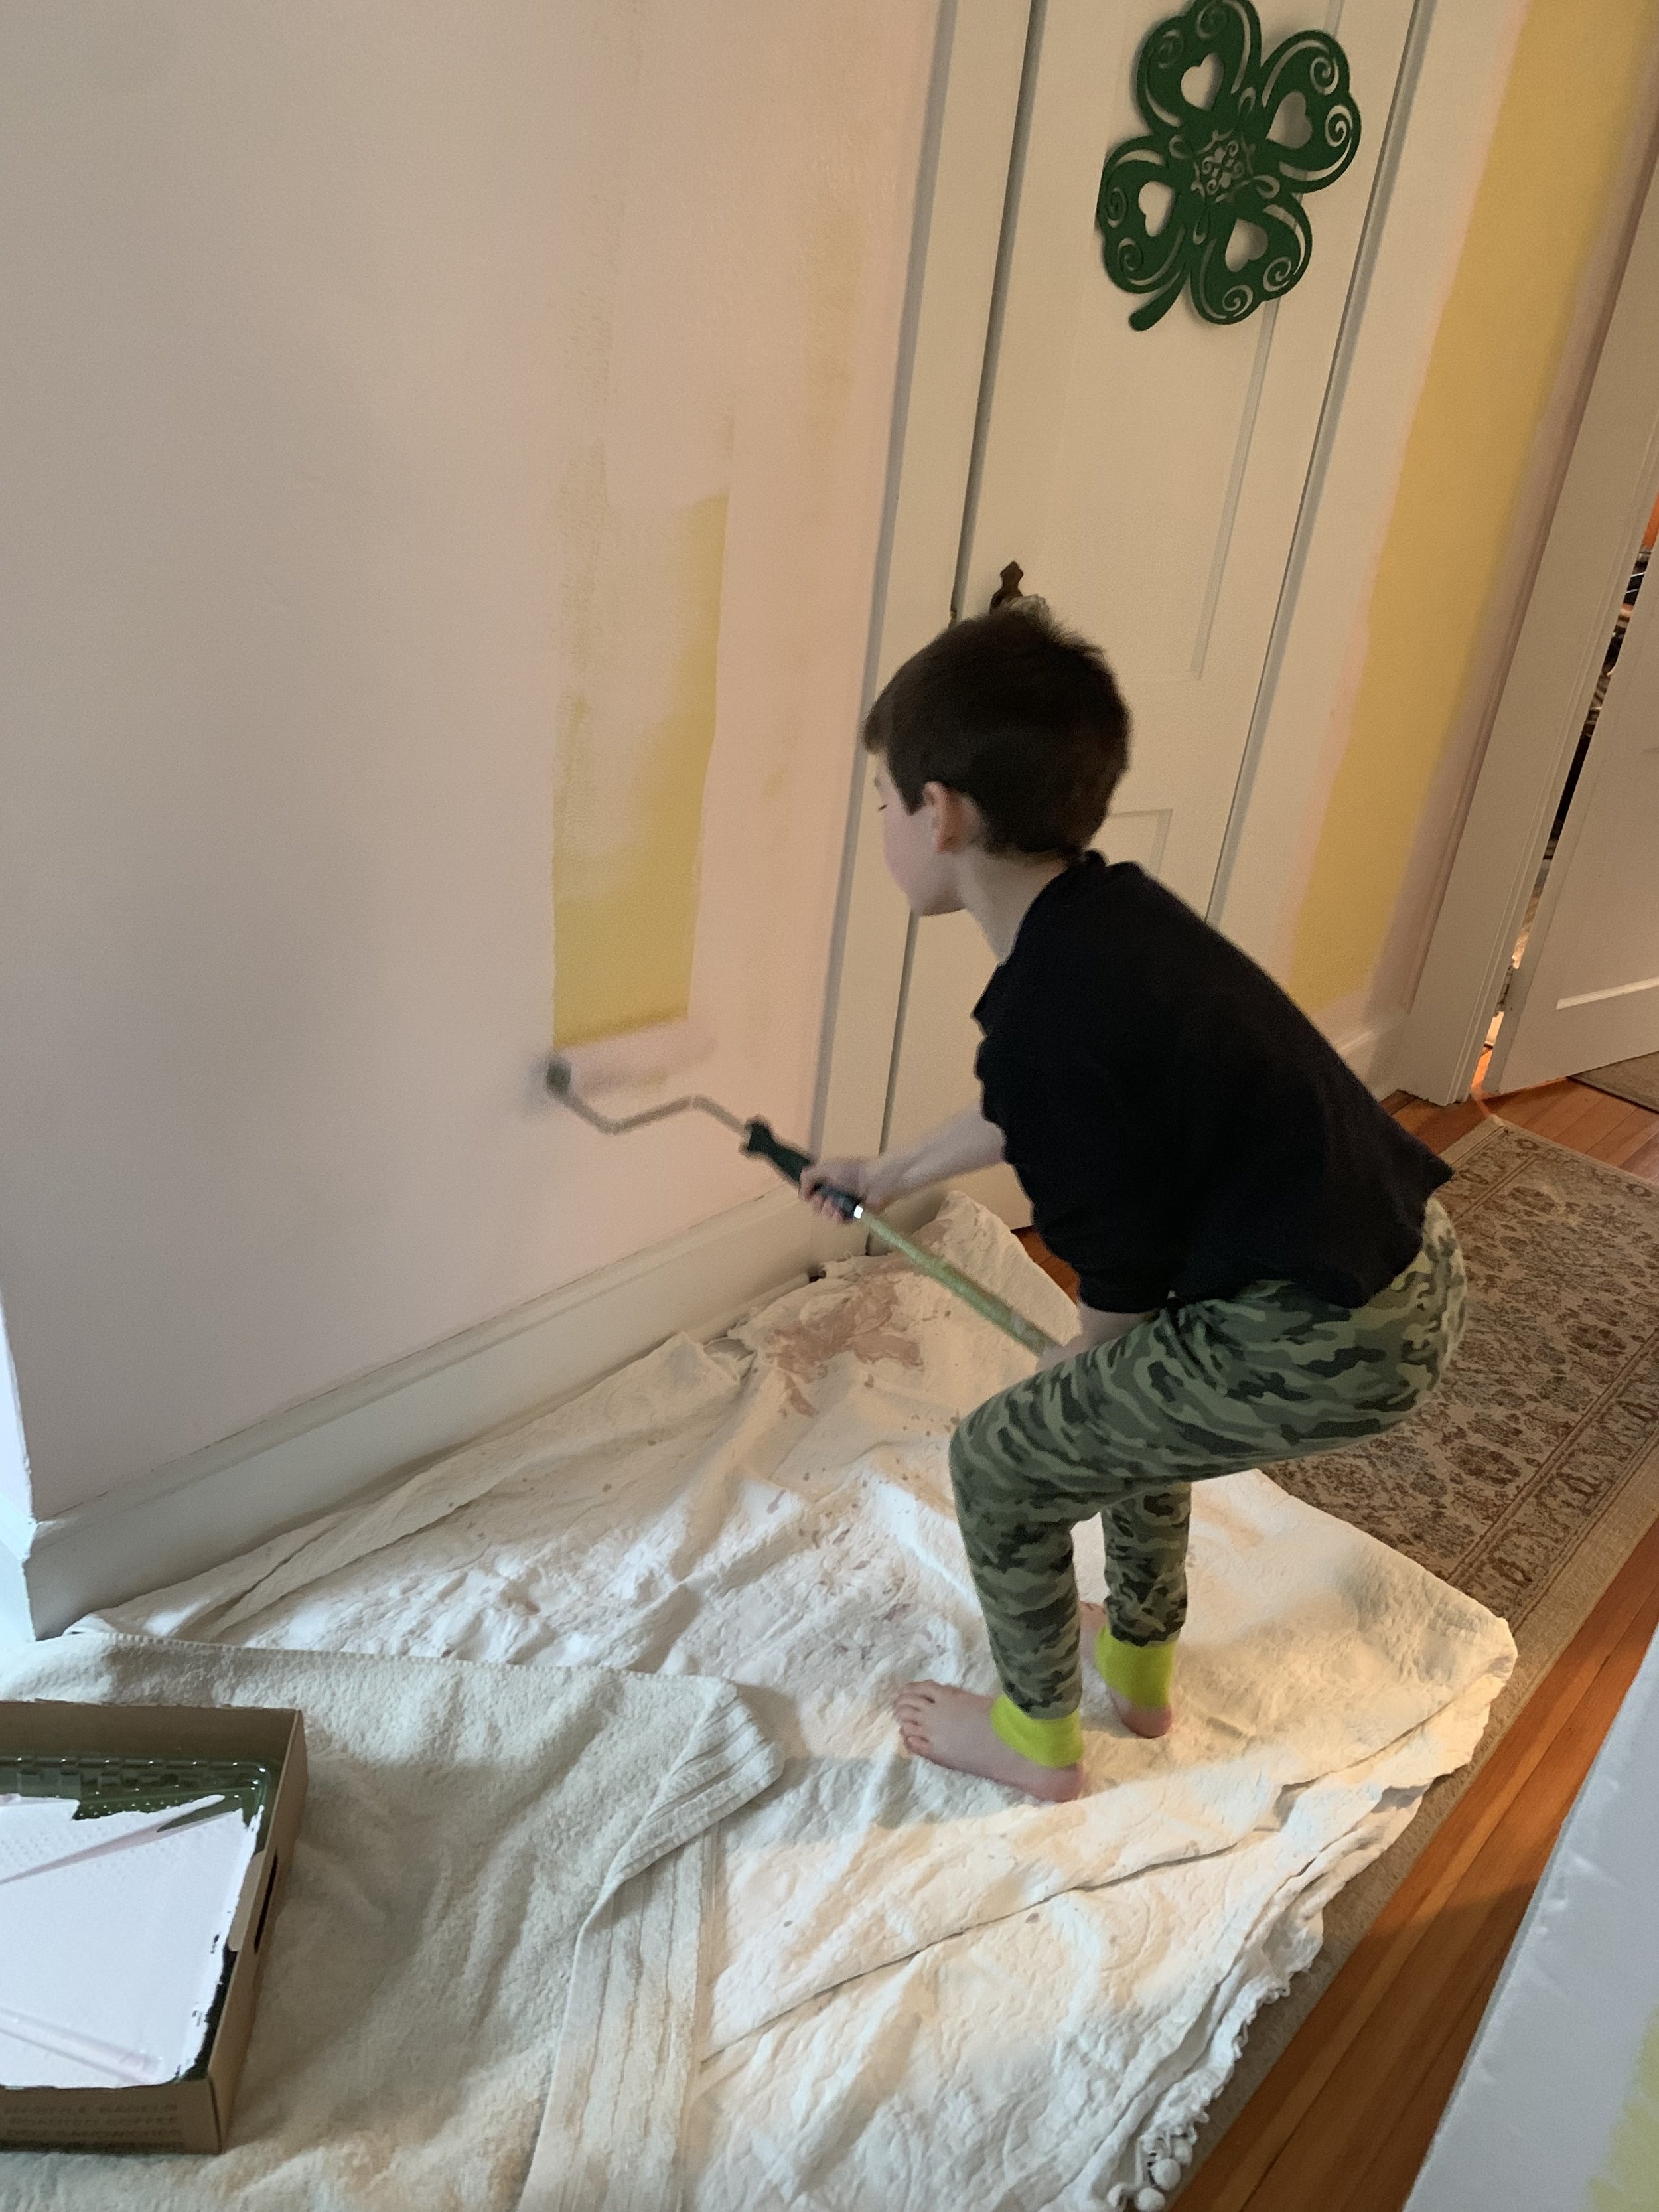
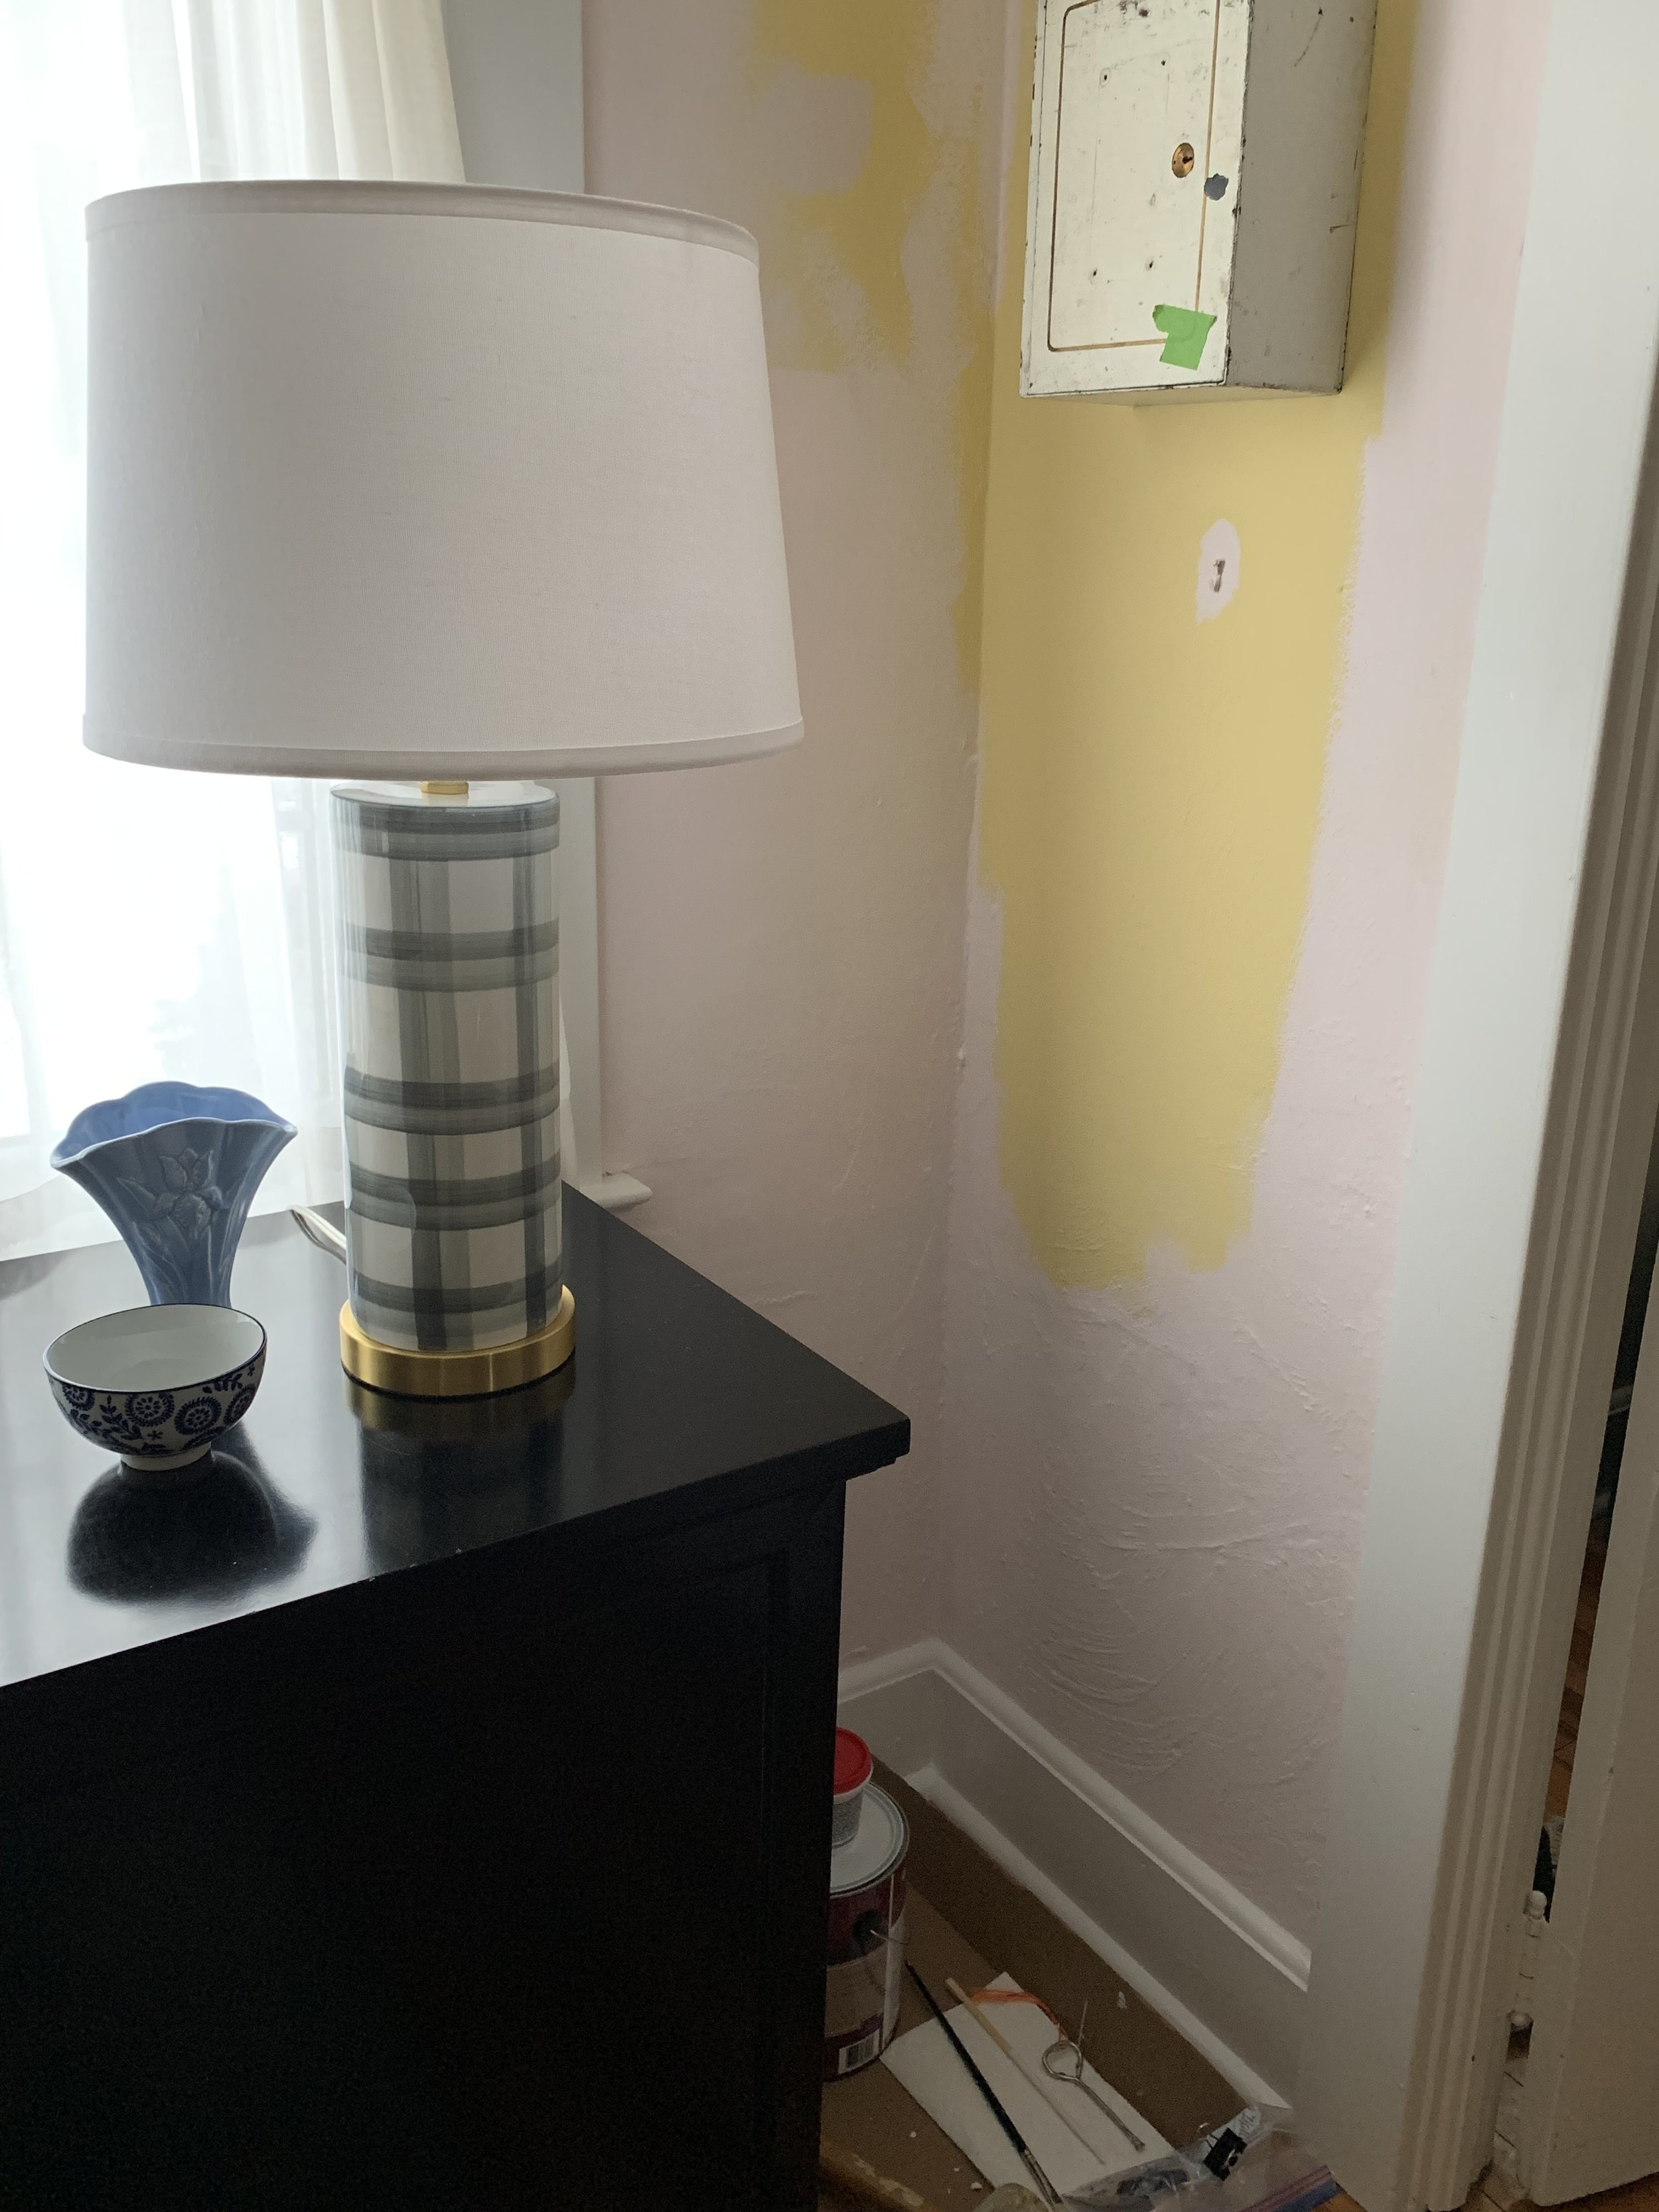
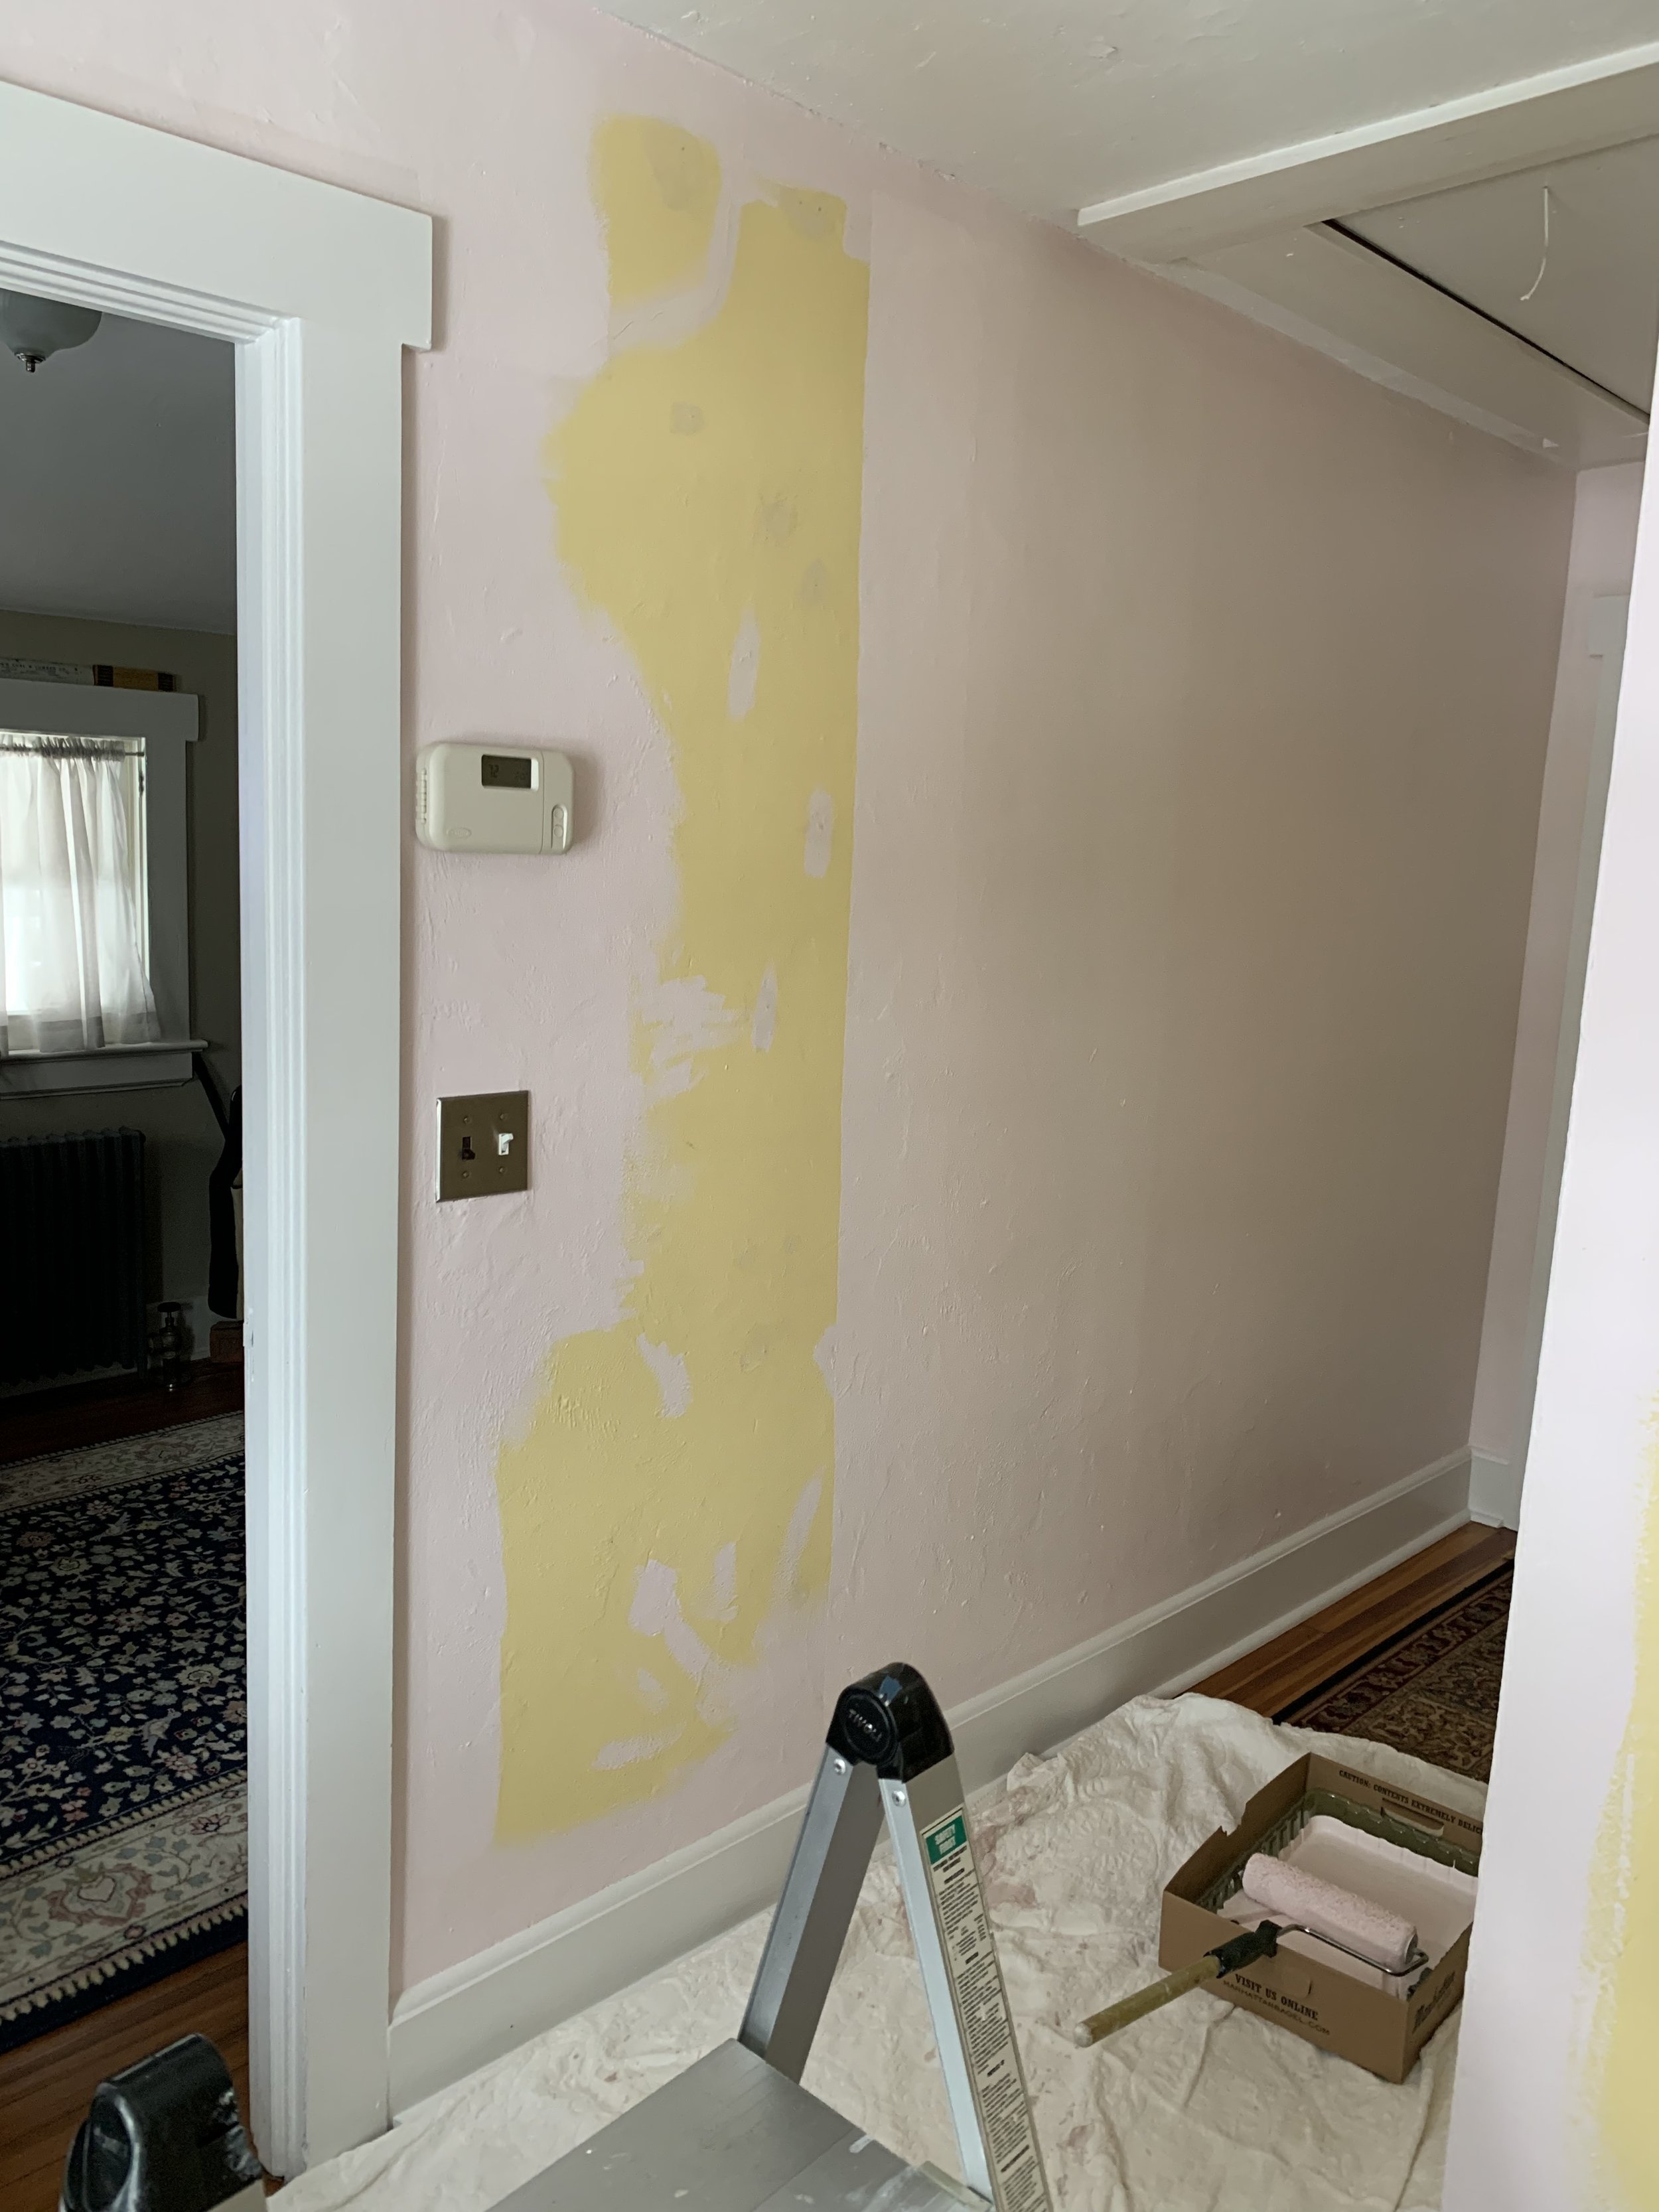
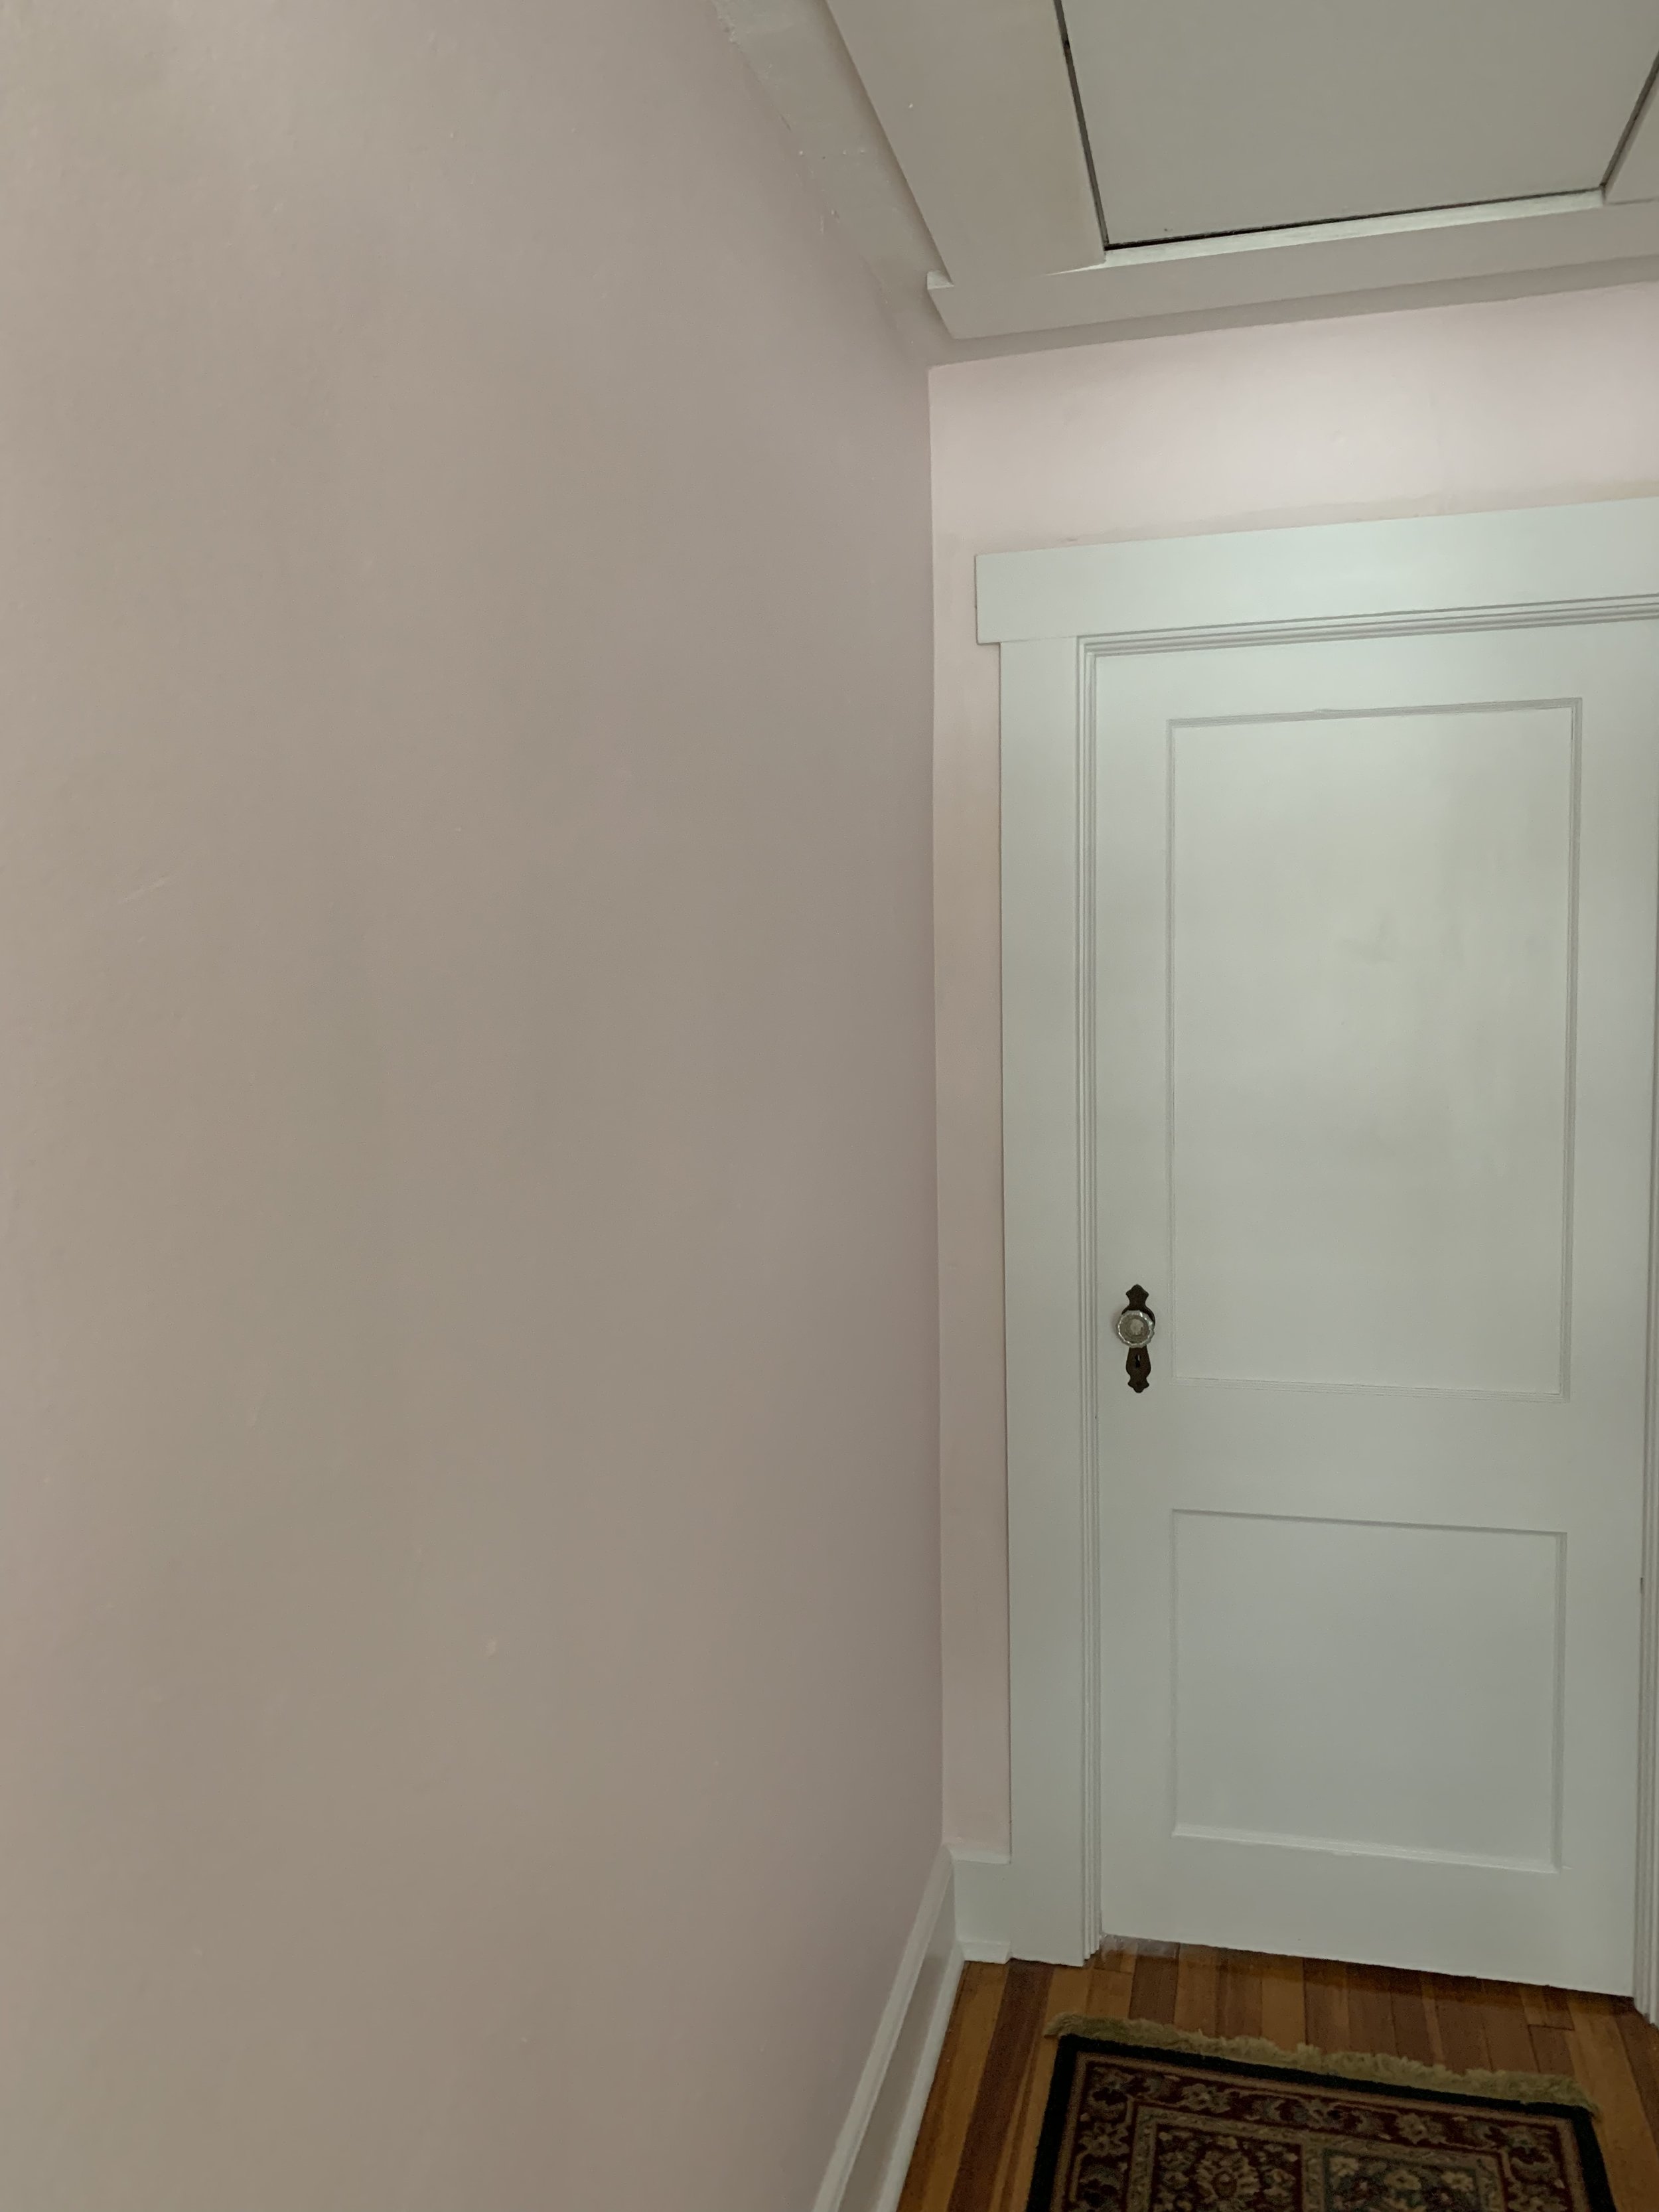
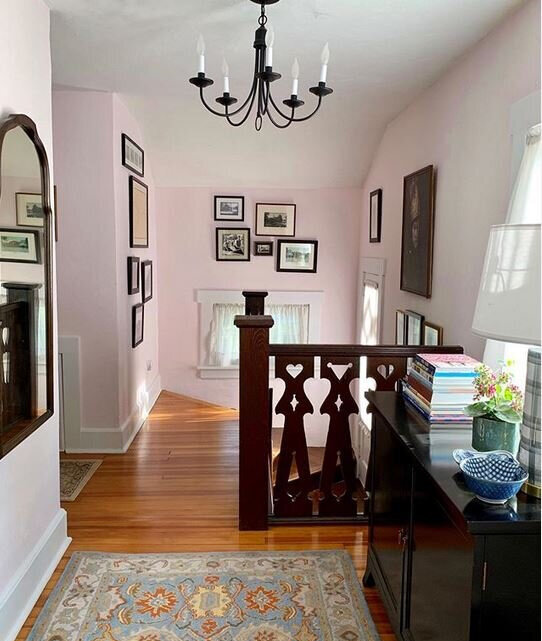
While trying to figure out the rugs - as you read in Artistic Artery - I pulled all the art down and repainted our Hall Behr Paint Pink Prism. Our Bedroom is also Pink - I love pink - to me it’s a neutral. It makes everyone happy who sees it. I also lessened the approach when I rehung the art - taking my time to focus on a portrait gallery - I put some art away.

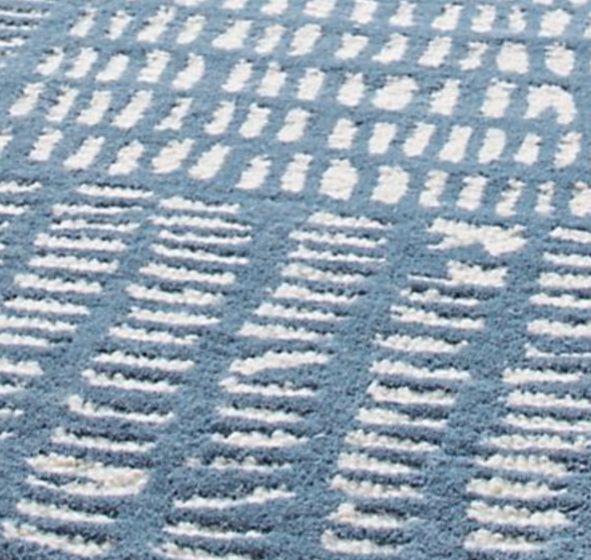
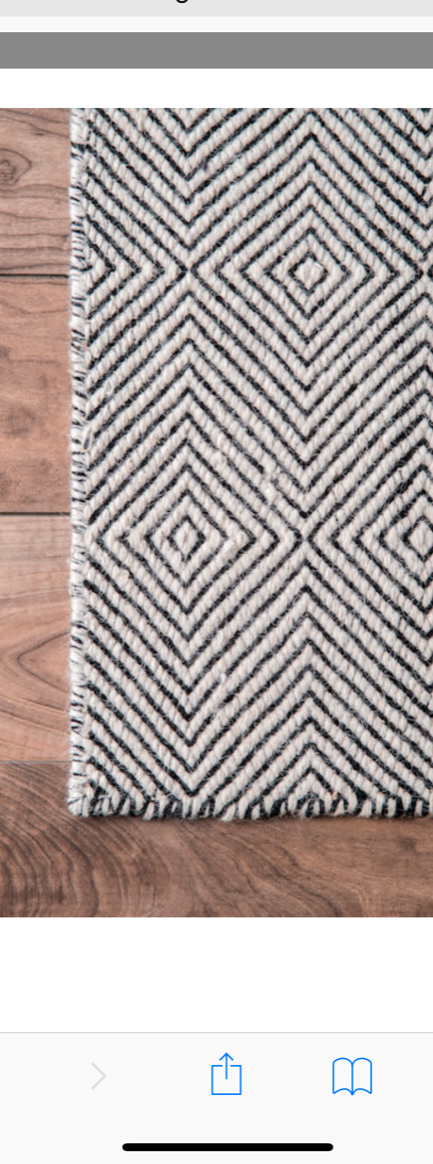
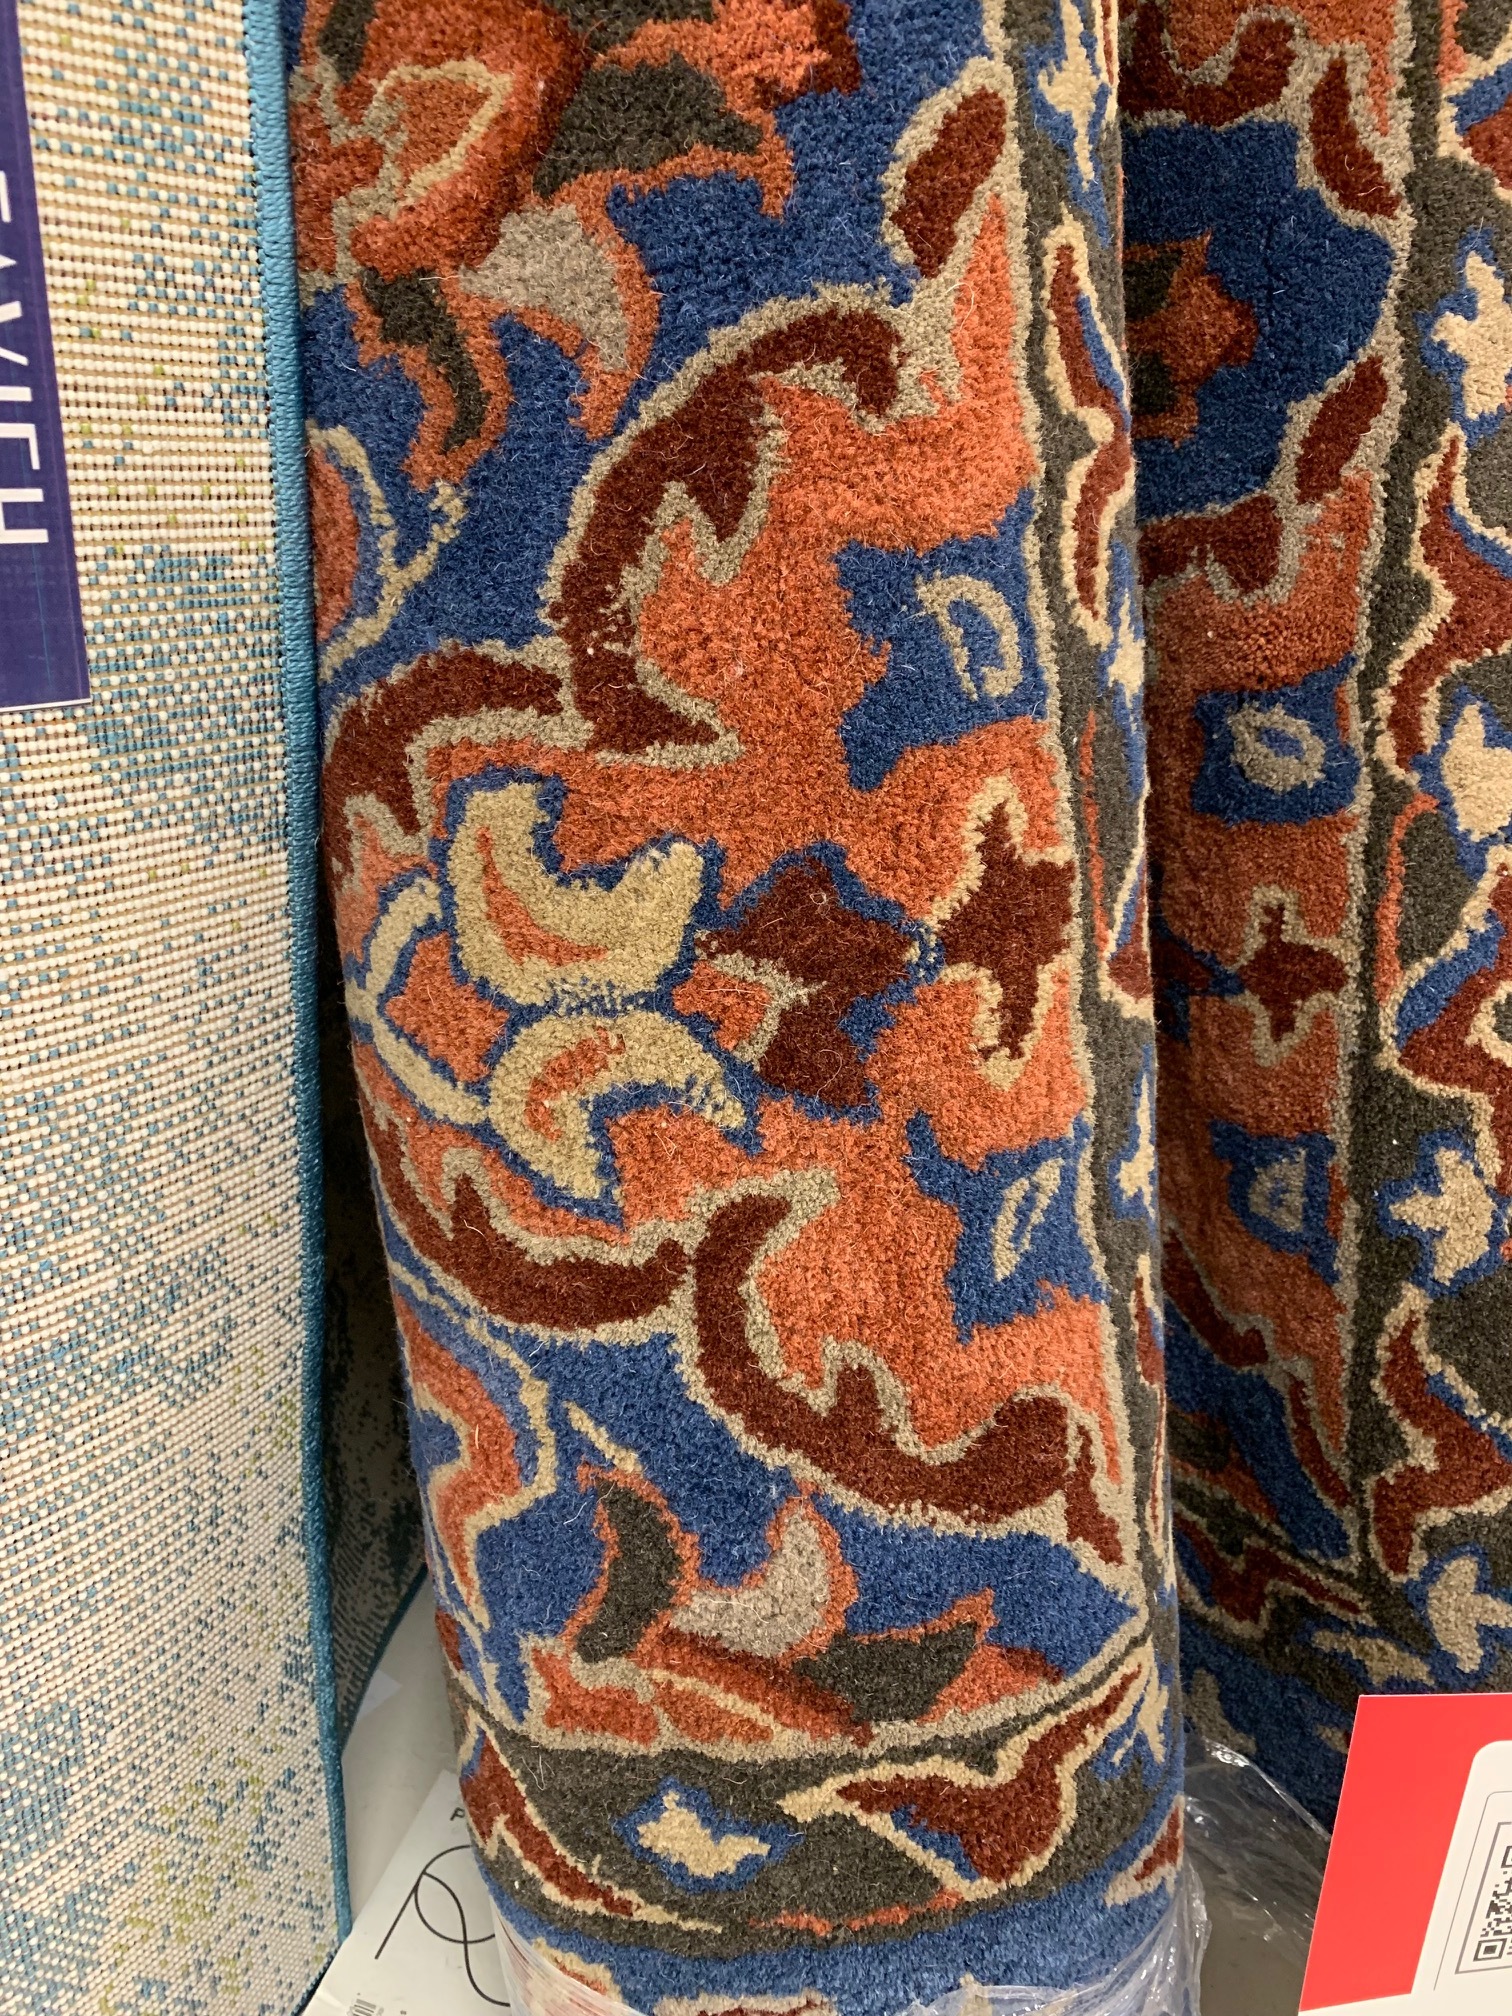
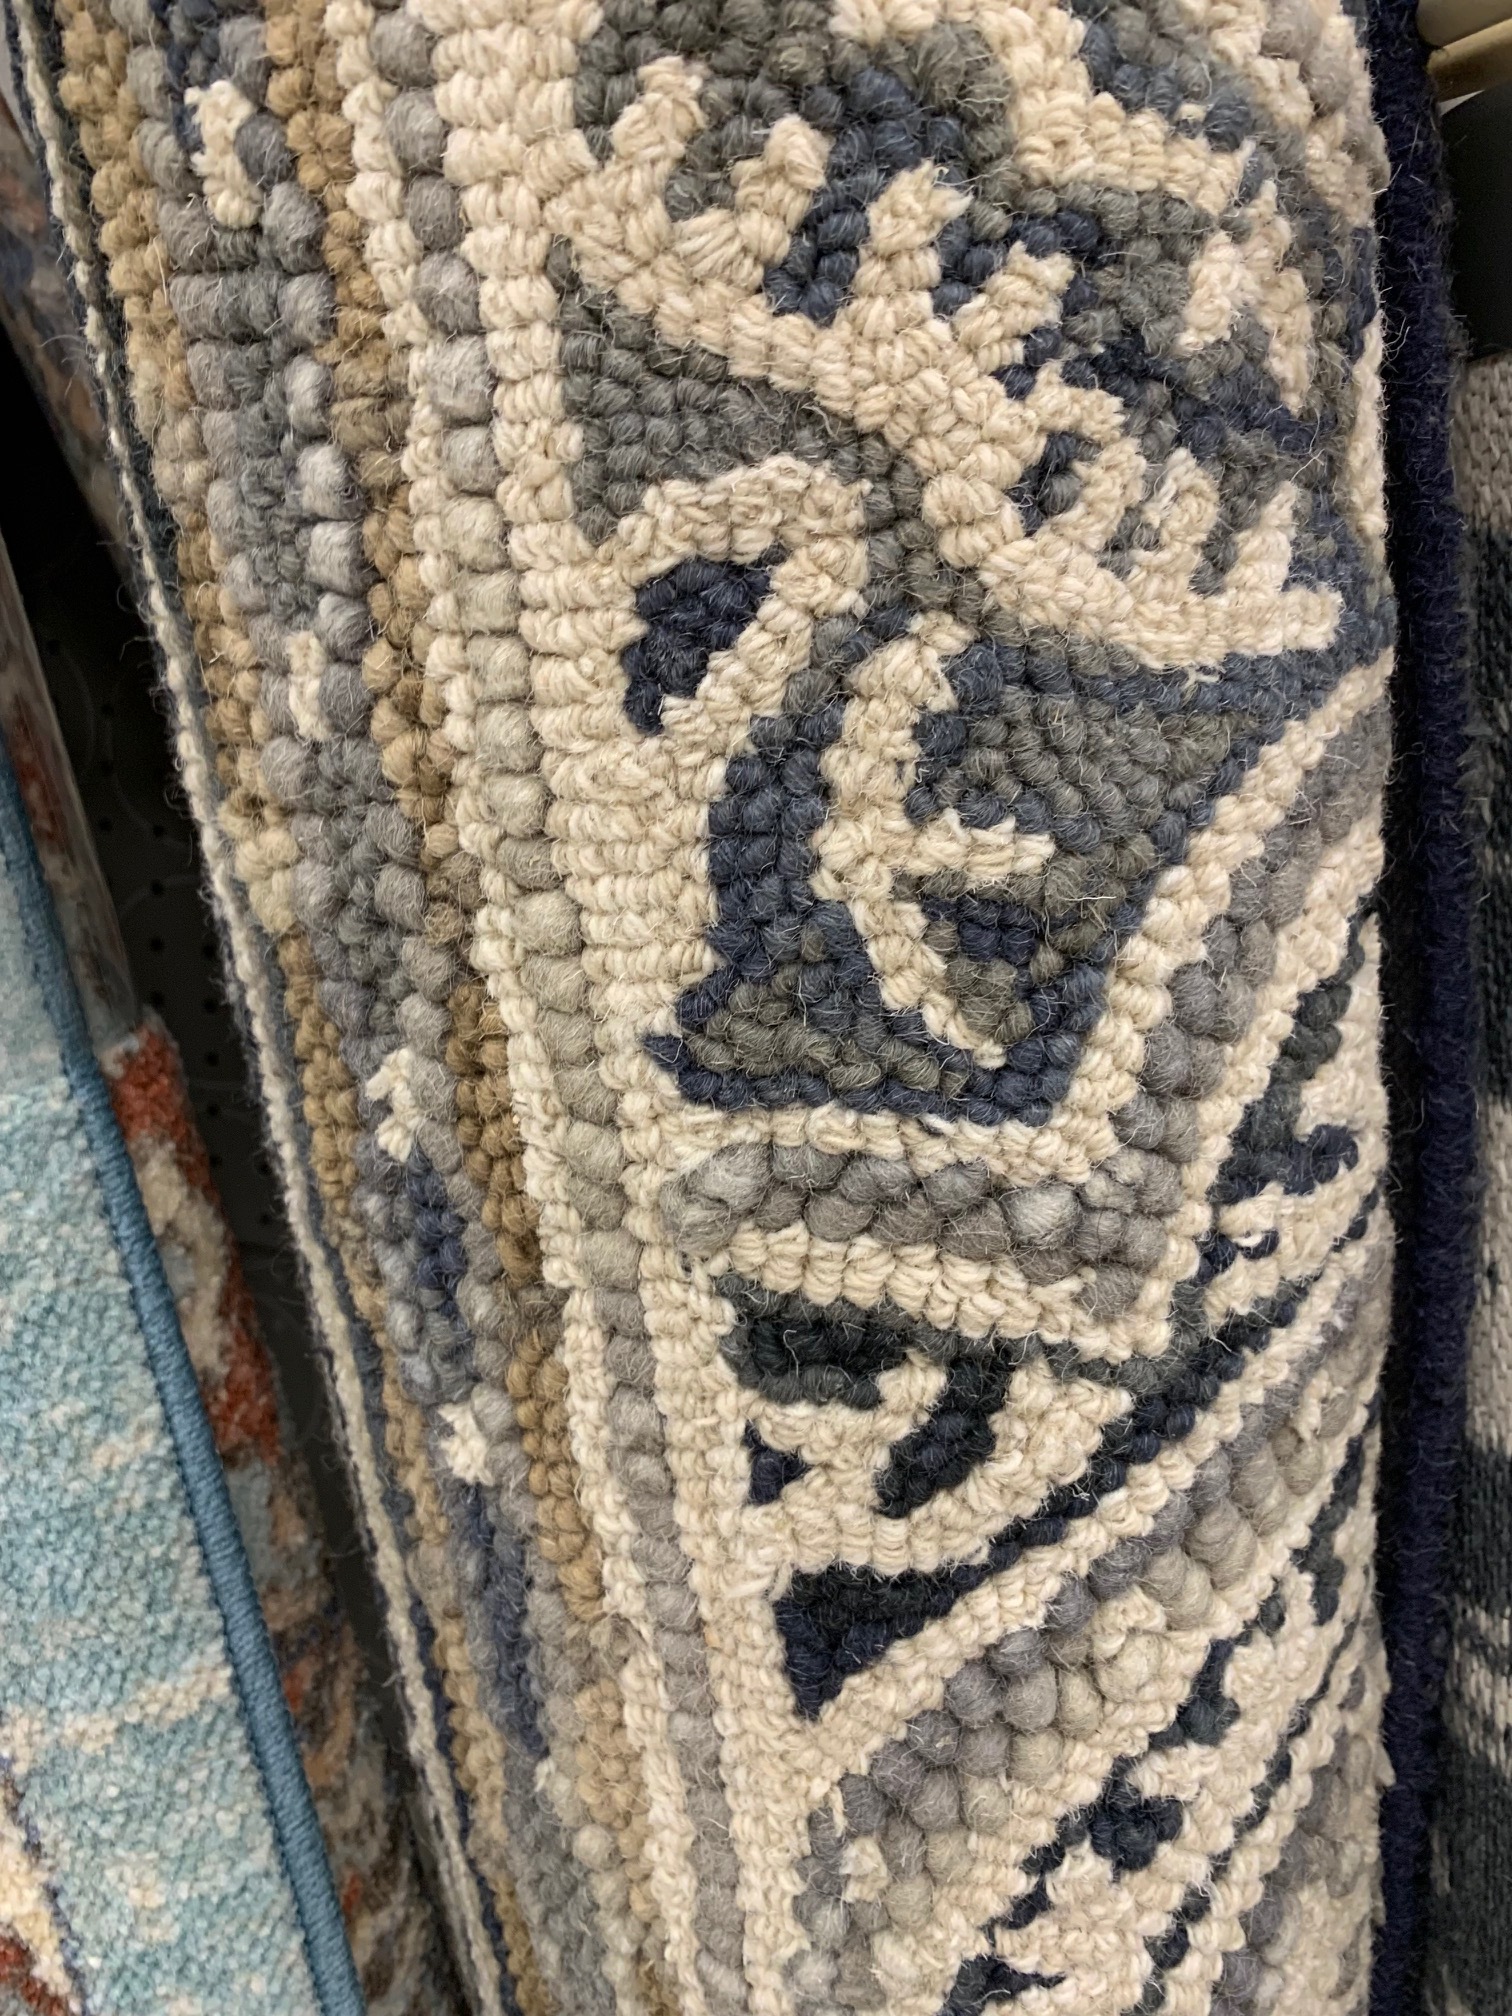
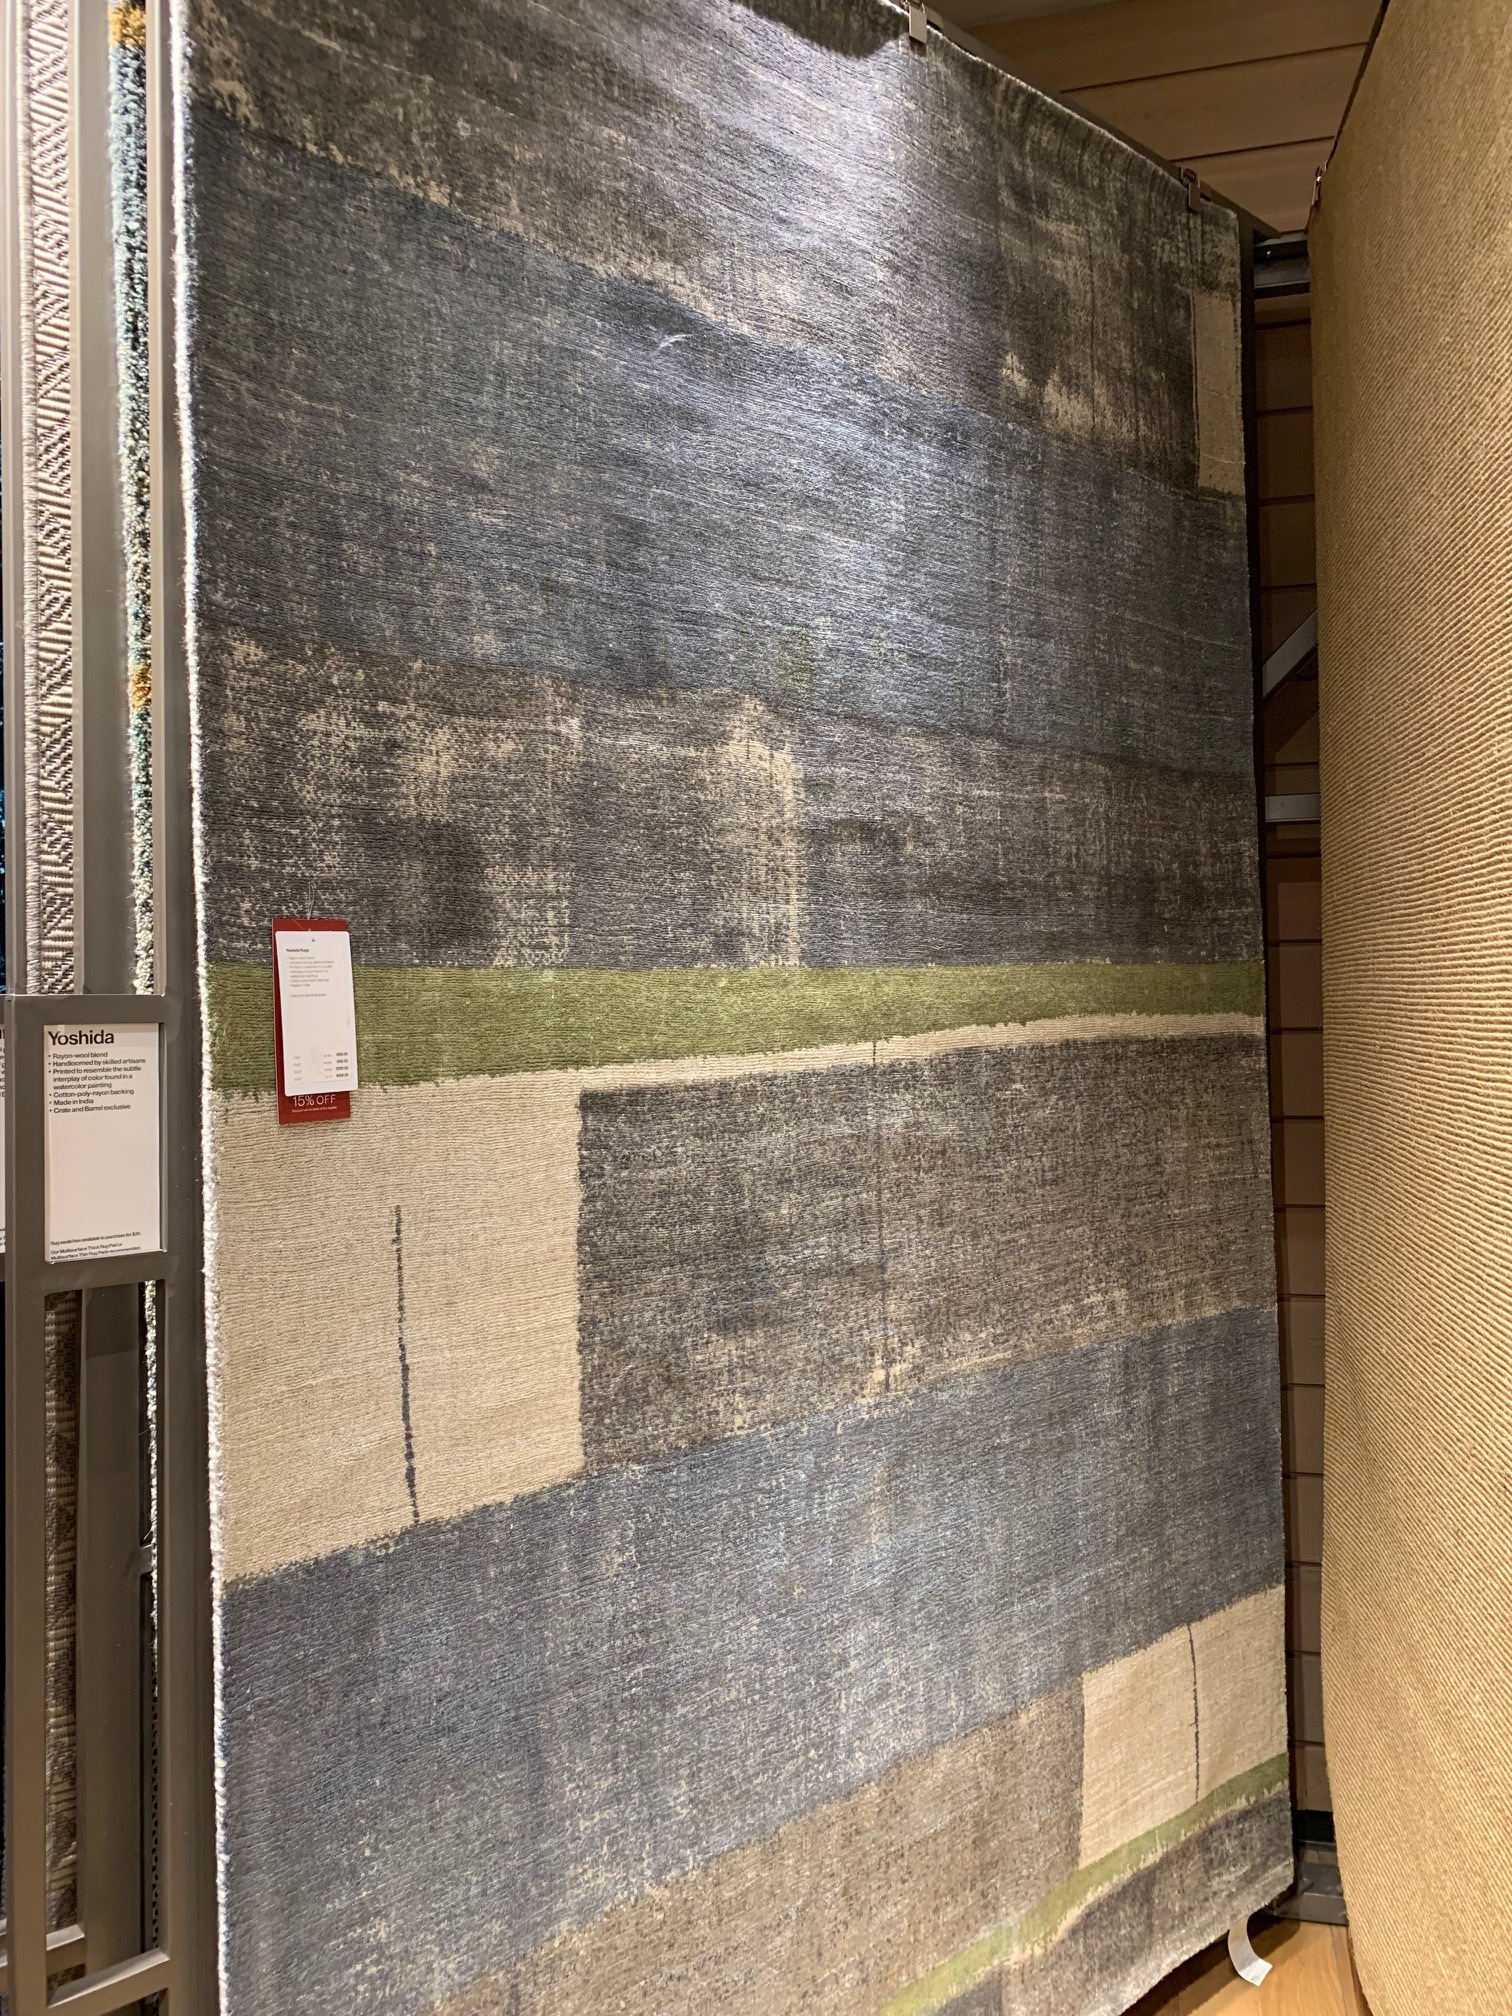
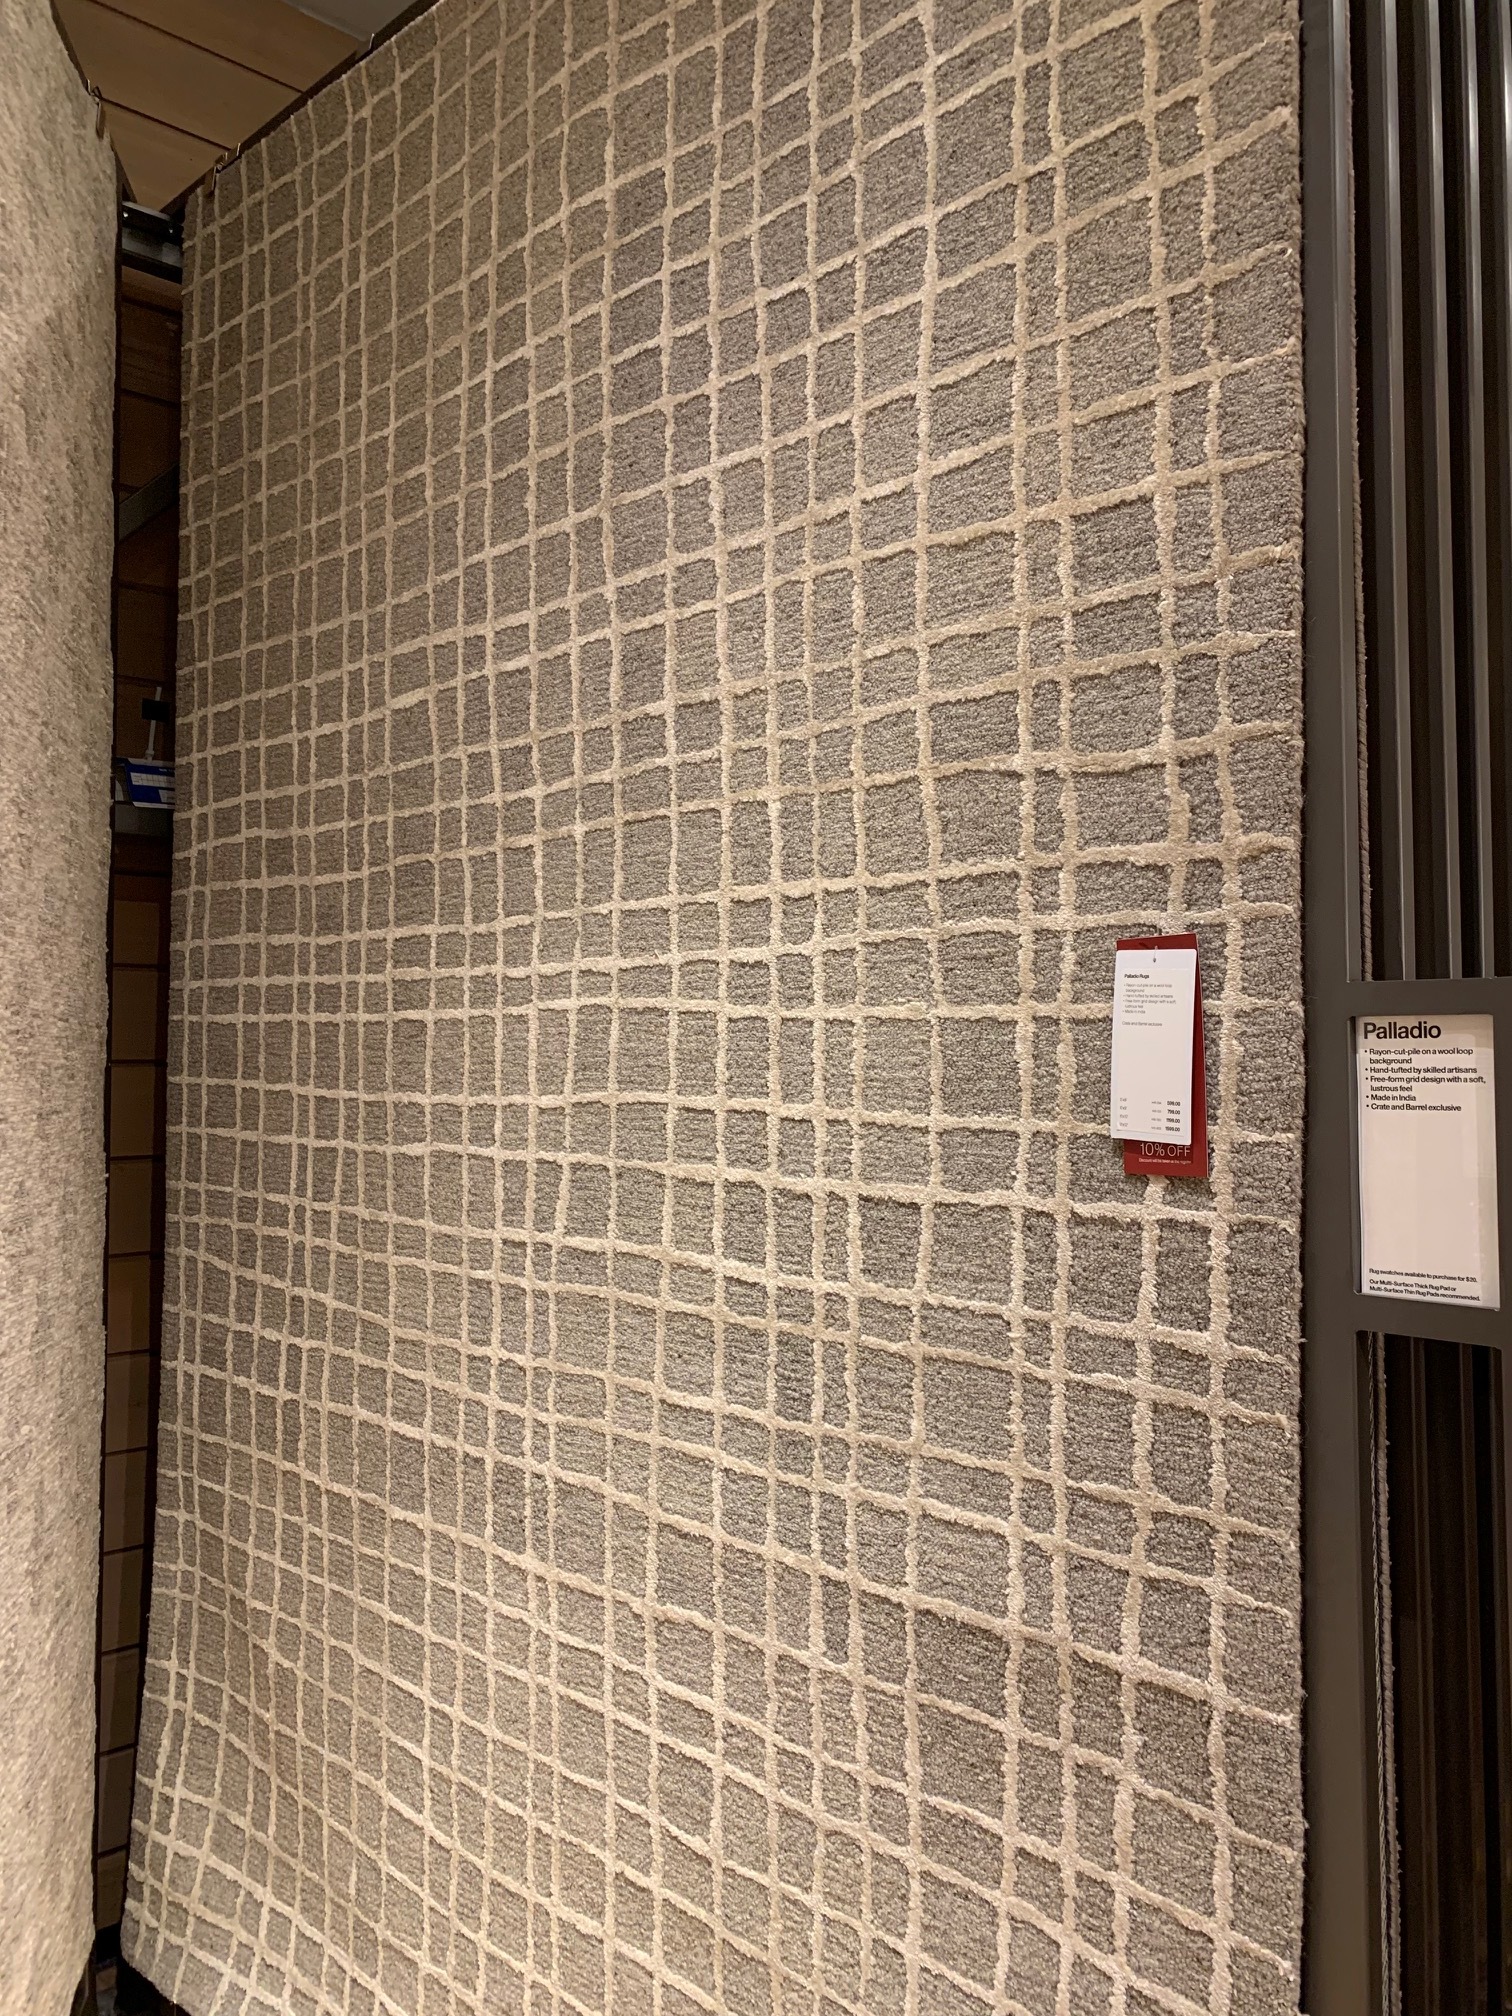
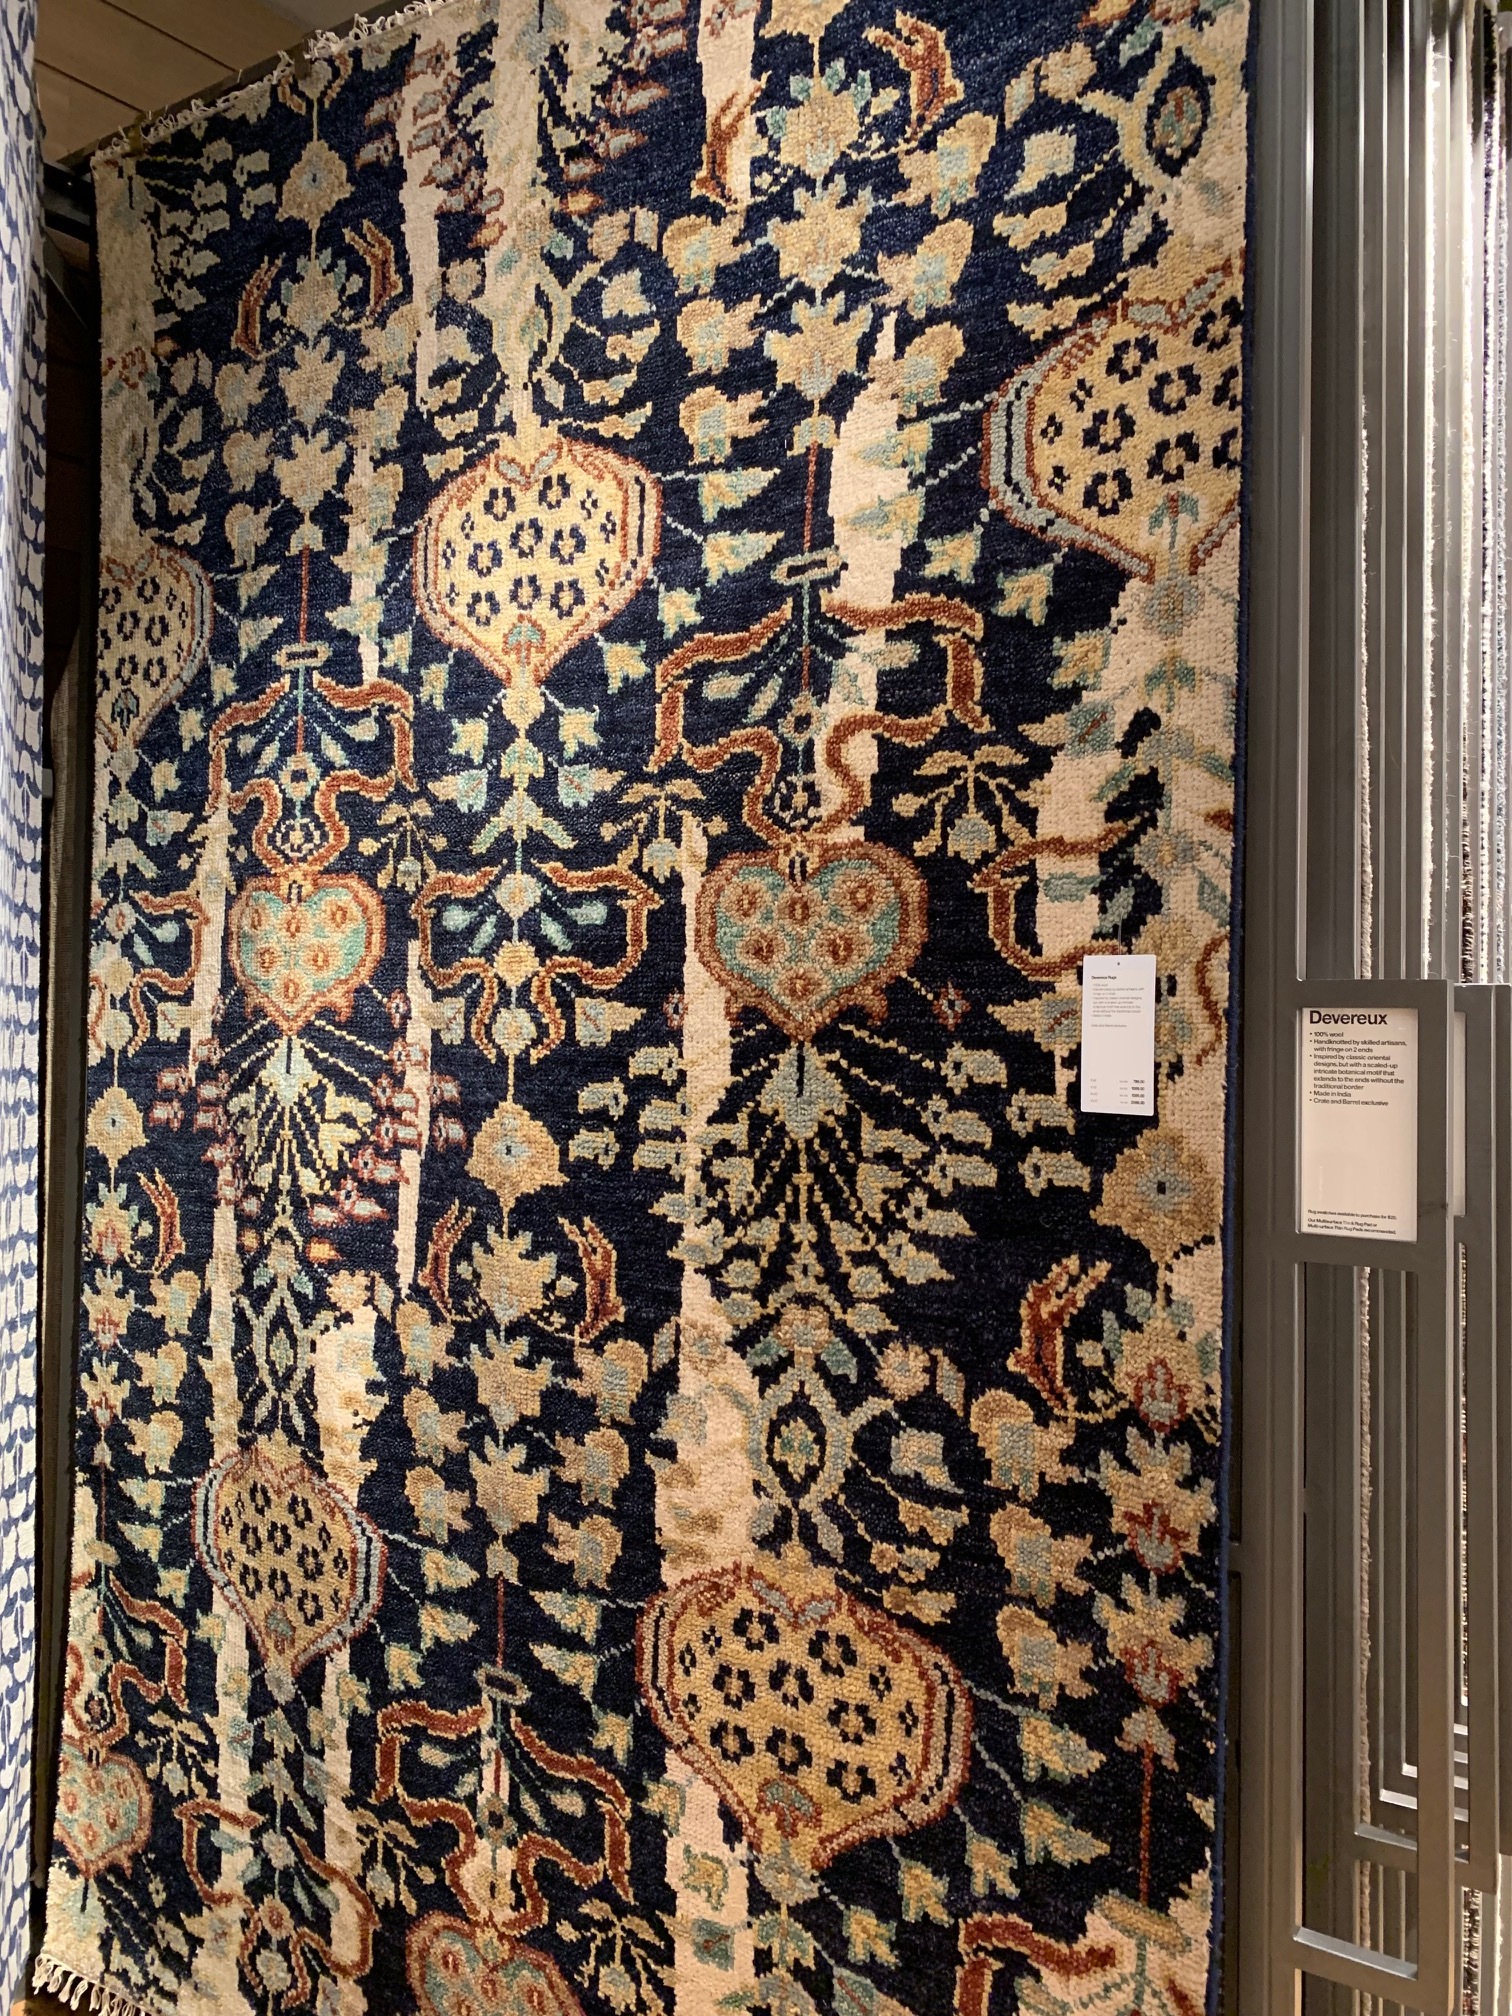
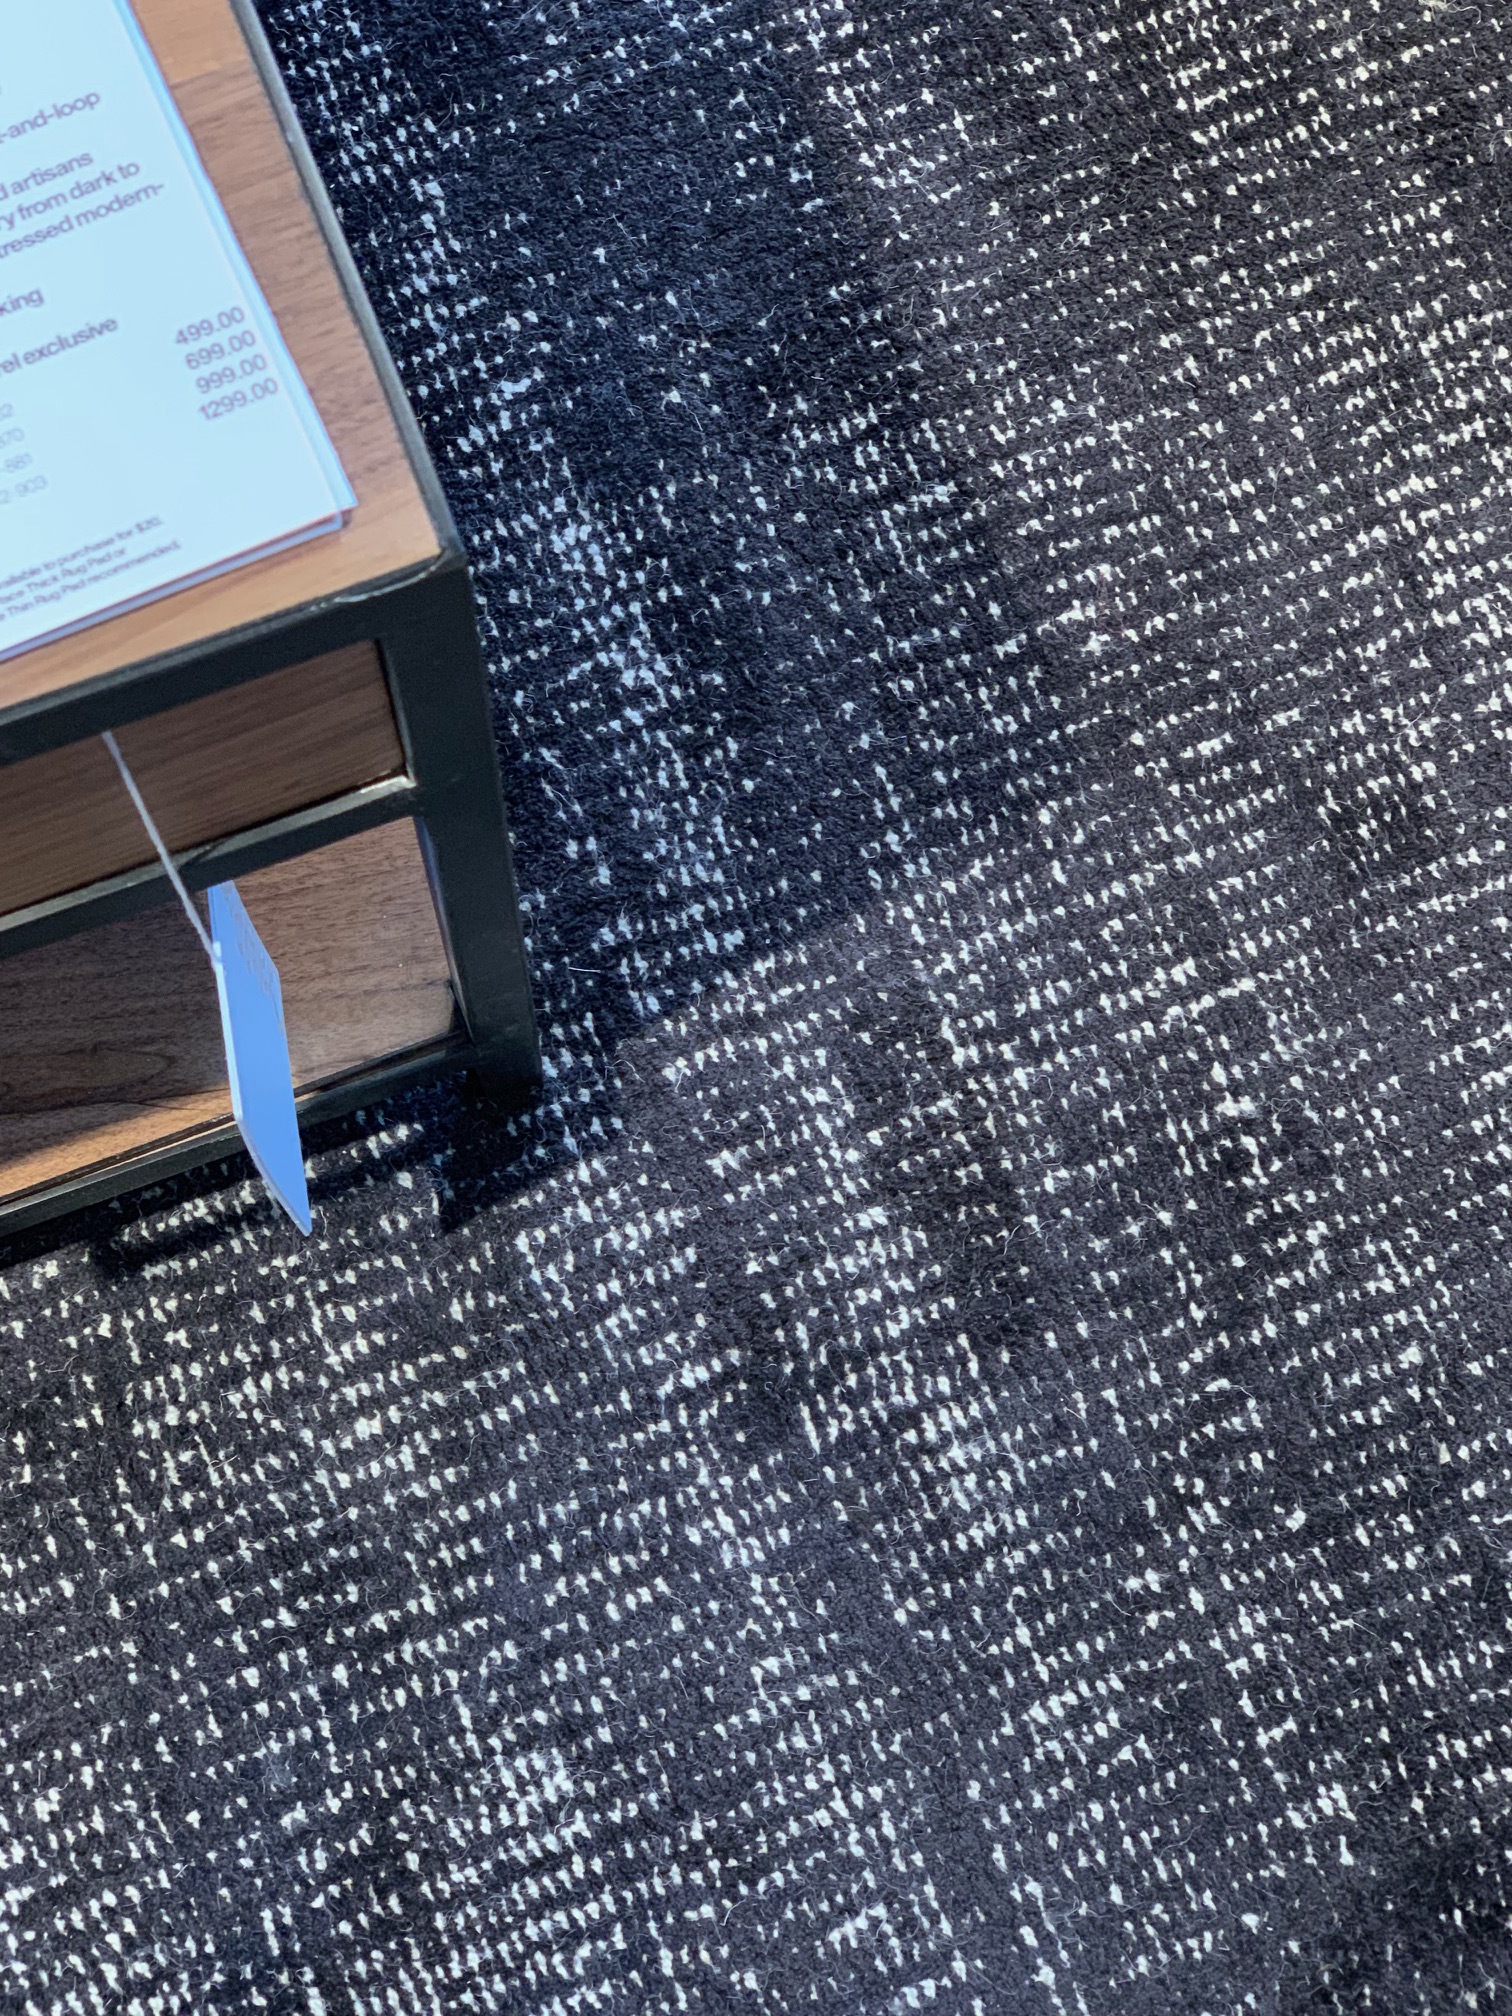
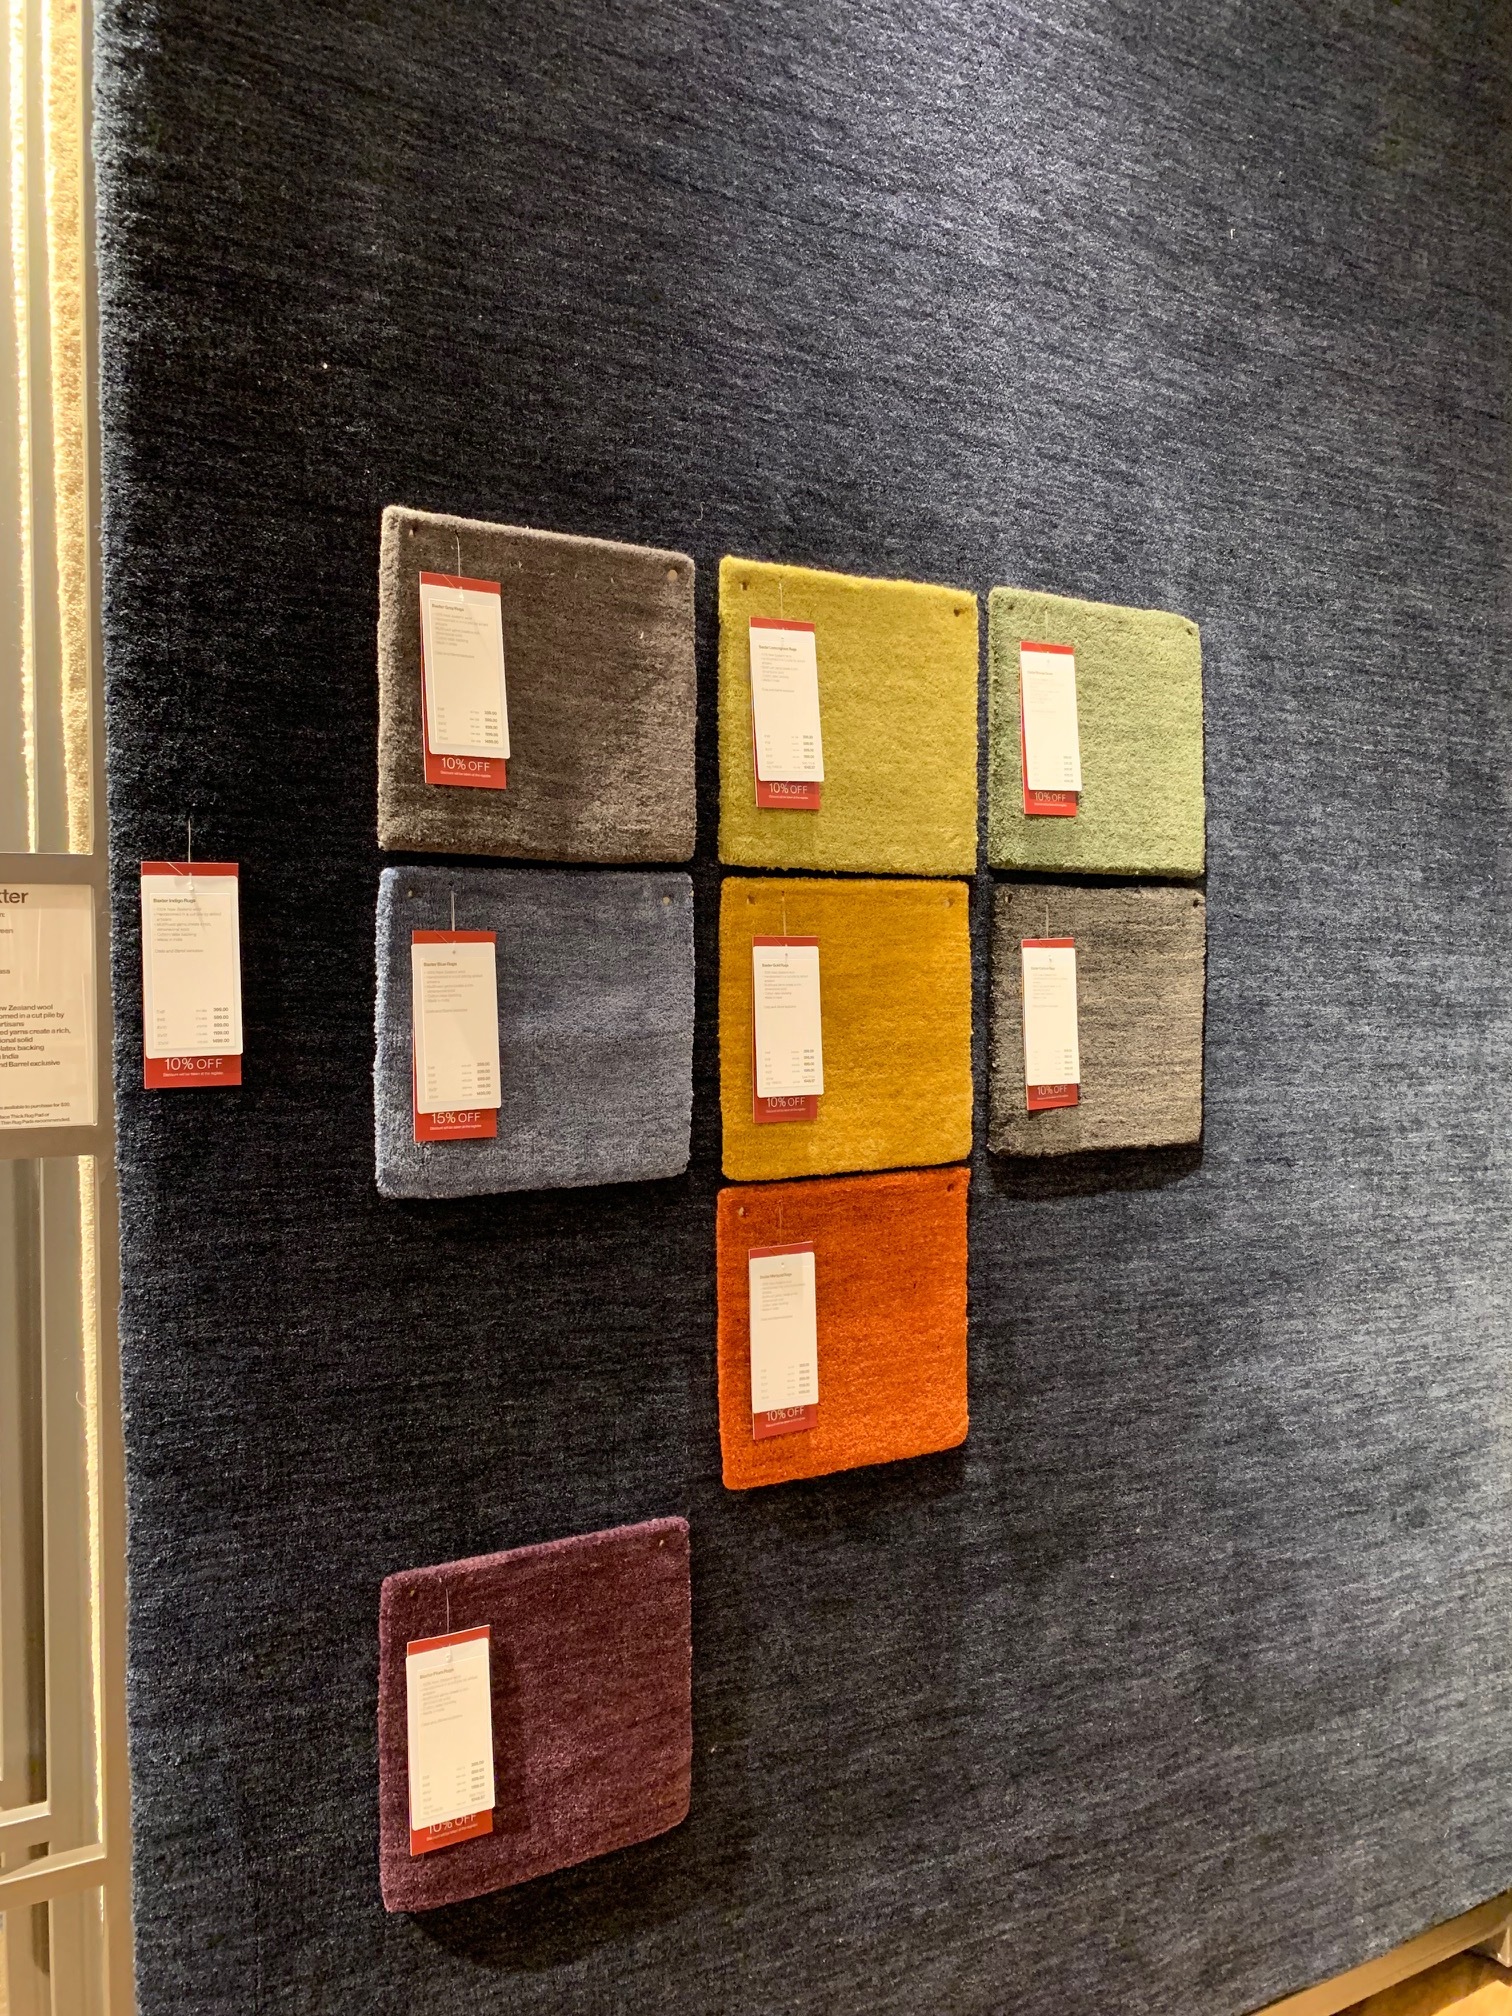
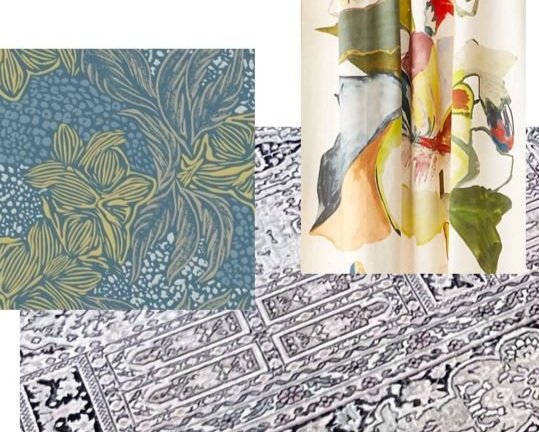
The process of finding new rugs took about 6 months. I looked and looked - I vacillated over the design direction. As is my curse I like so many styles. Our old rugs were Pottery Barn - and to span the challenging length and width of the Chalet livingroom and den area - 10 x 24 - I had previously gone with 3 rugs. The Images above show the progression of the Rug hunt. Top left was a Crate Kids design I tried to order but, it was Sold Out! It still makes me cringe! Then I decided to shift my focus to a layered look ordering the top middle geometric design from Rugs USA - I thought I would layer a rug I have over it - they were delivered all the furniture was moved but, the moment Steven started rolling out the rug I said “Stop it’s bringing on a Vertigo Episode” so back they went and the hunt continued. Finally I ended up at my local Crate and Barrel store (I really am a big fan of this brand -Hello Brand Ambassadorship anyone? my dining table and glass door cabinets in the diningroom are from Crate) there I bought three Baxter Rugs a 5x8, a 8x10 and a 6x9. They are made of New Zealand Wool and have shed little to none. I’m very pleased.

IMG_9933.jpg

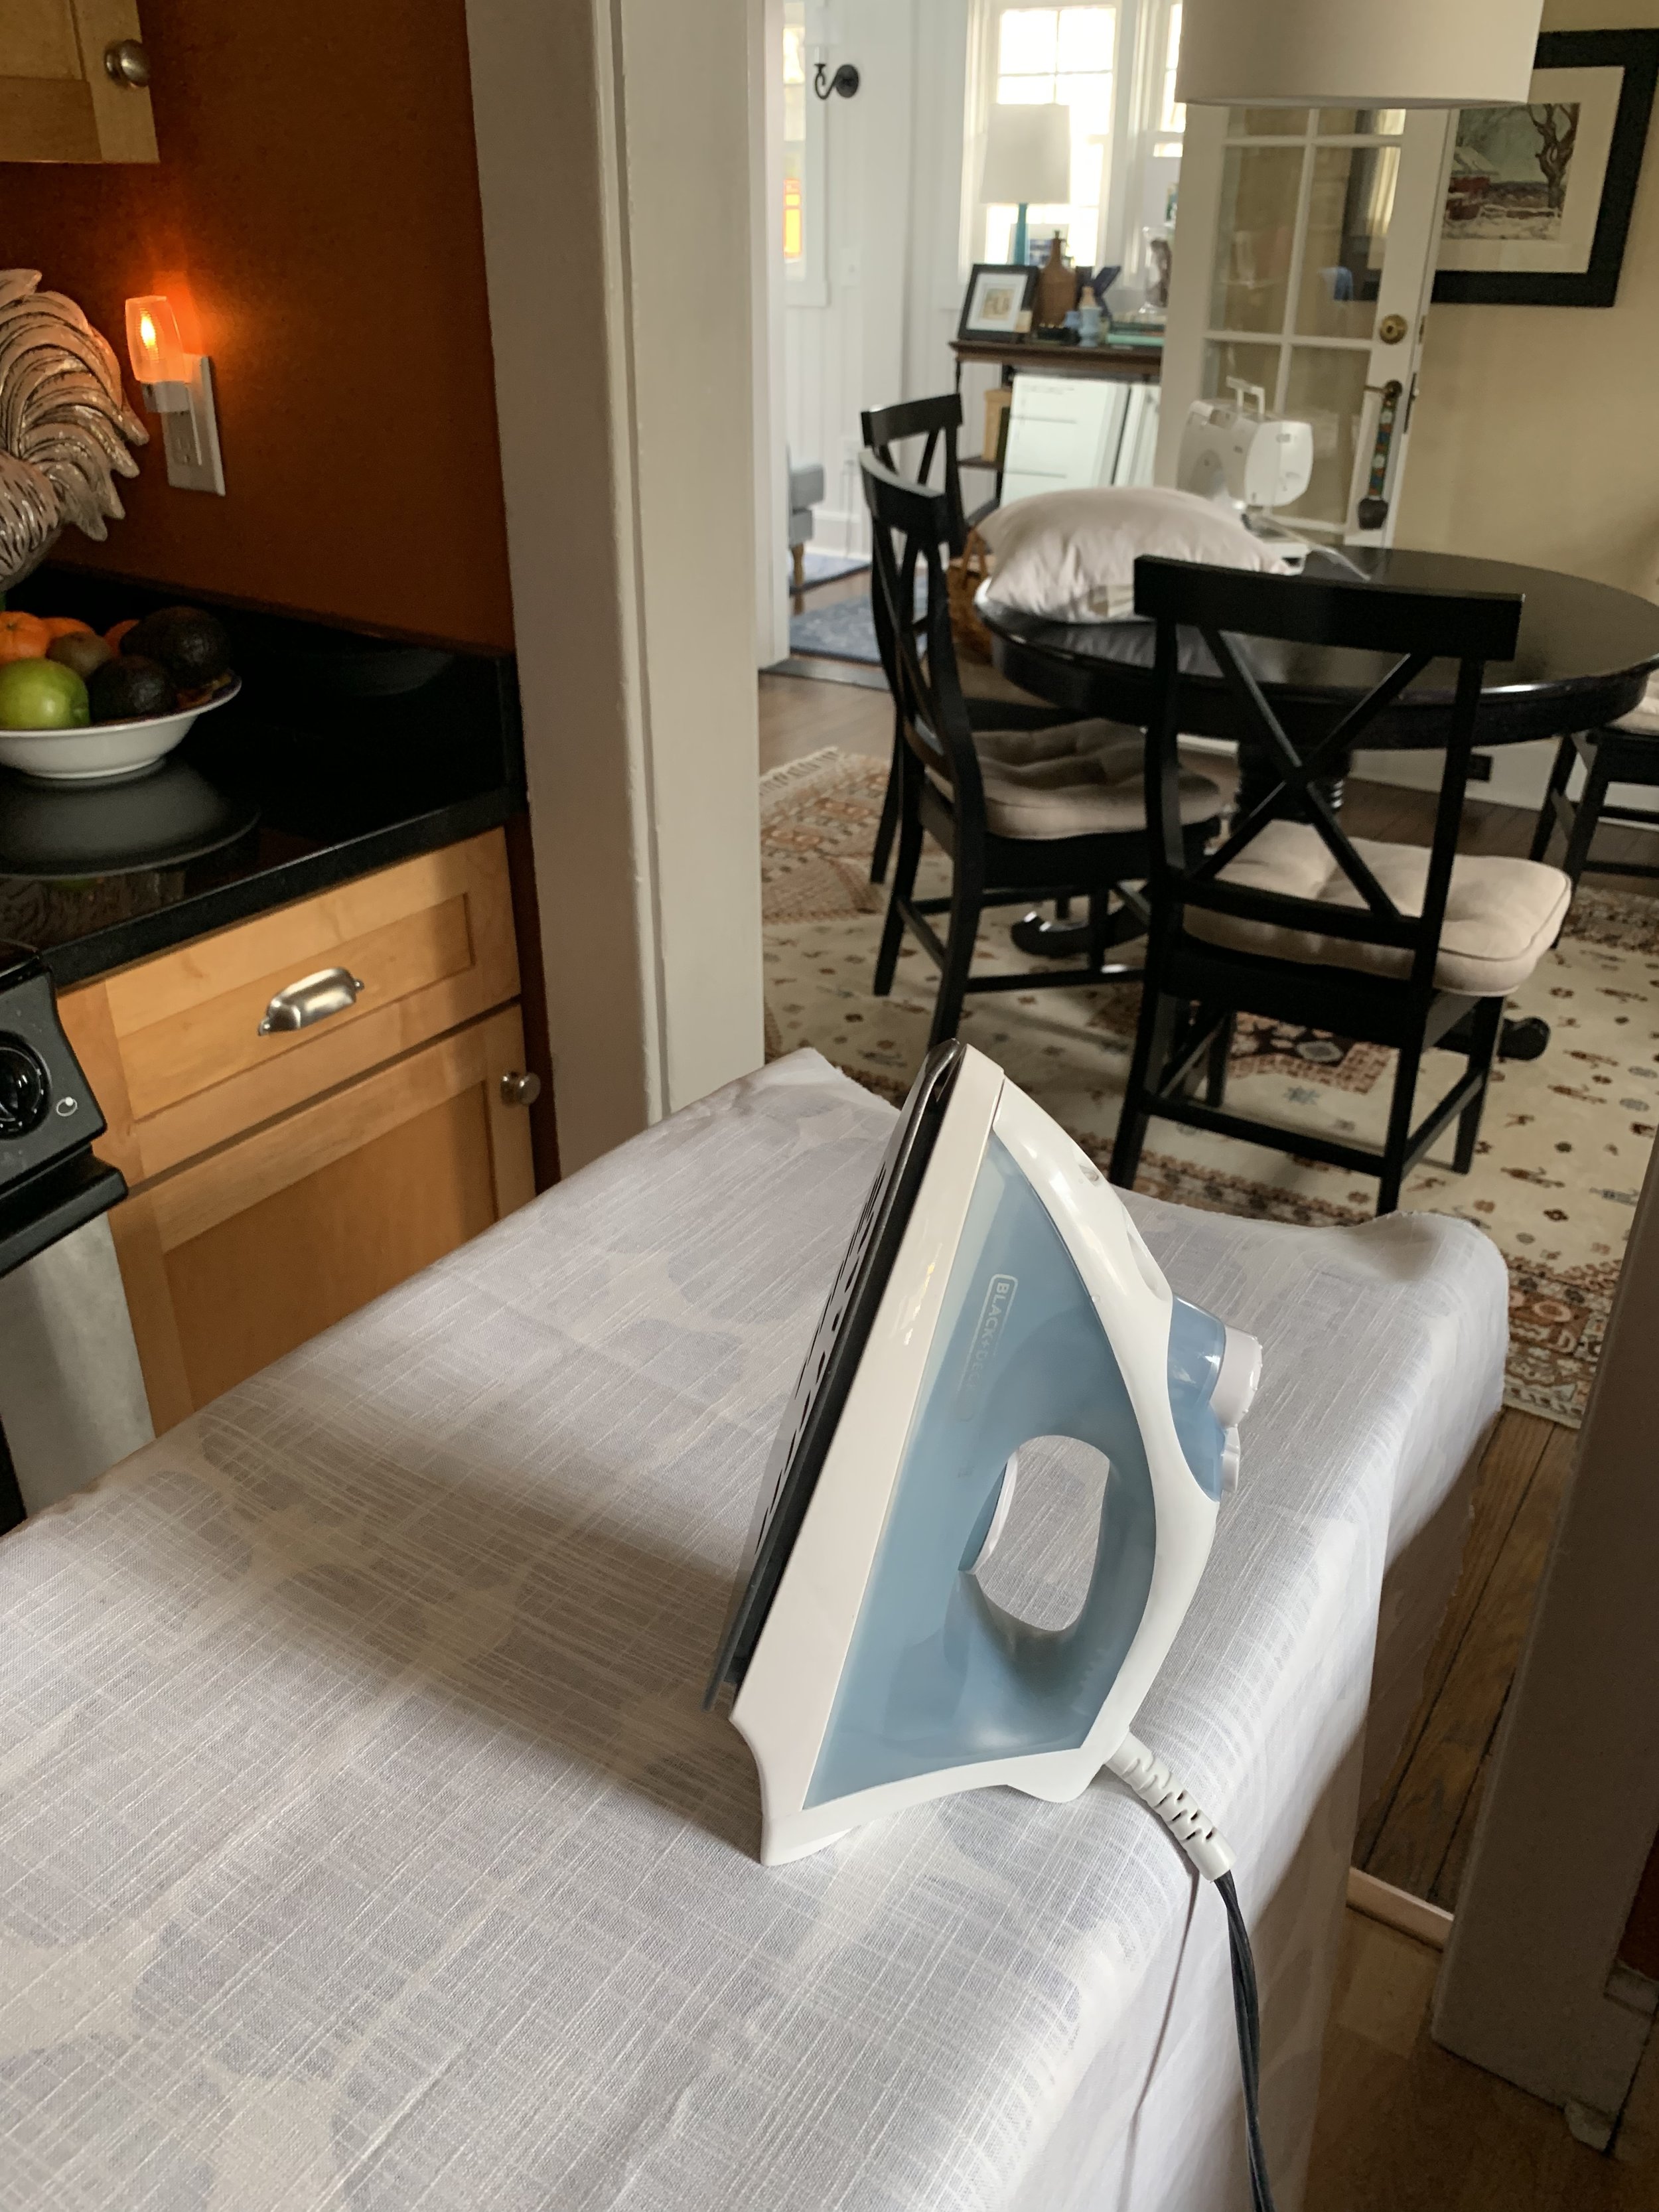
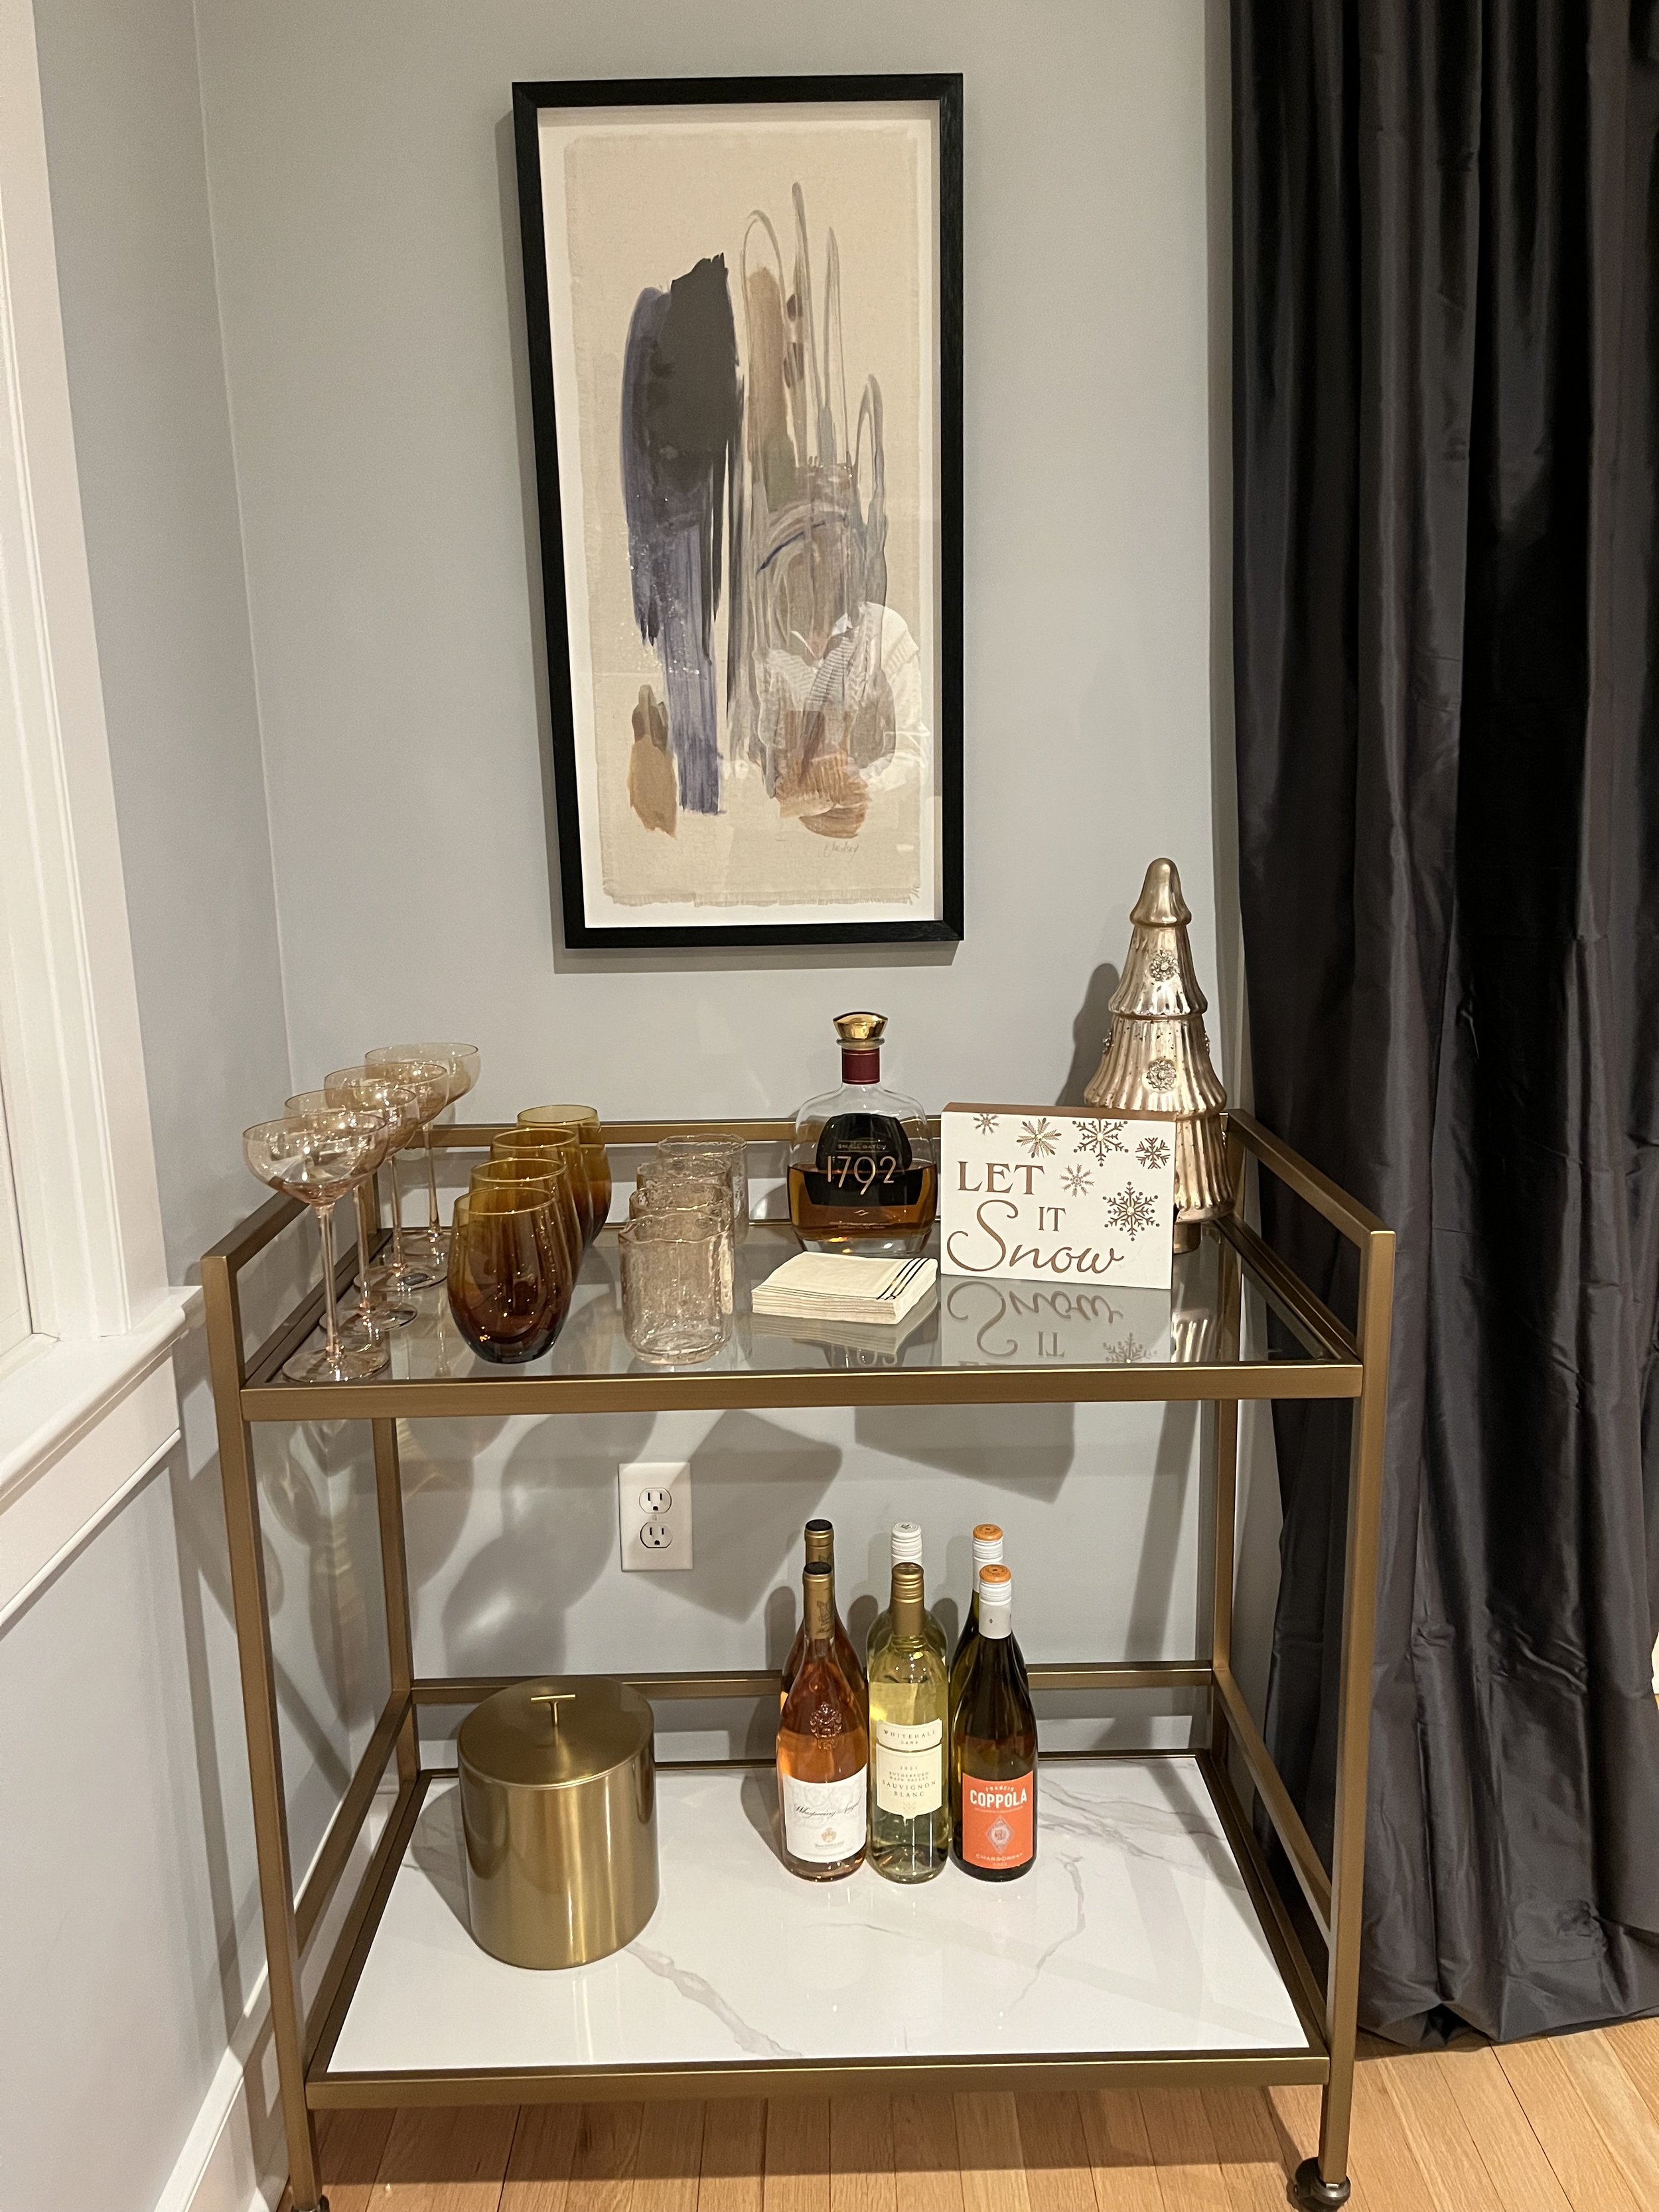
I completely restyled the little spot in the diningroom last month. I love it now! I still needed to change the shade to a modern drum shade - it took a while to find just the right one. Many shades were either too small or too large. I just picked up the pretty patterned number below on Monday at my local At Home store - while I was there working with a client.
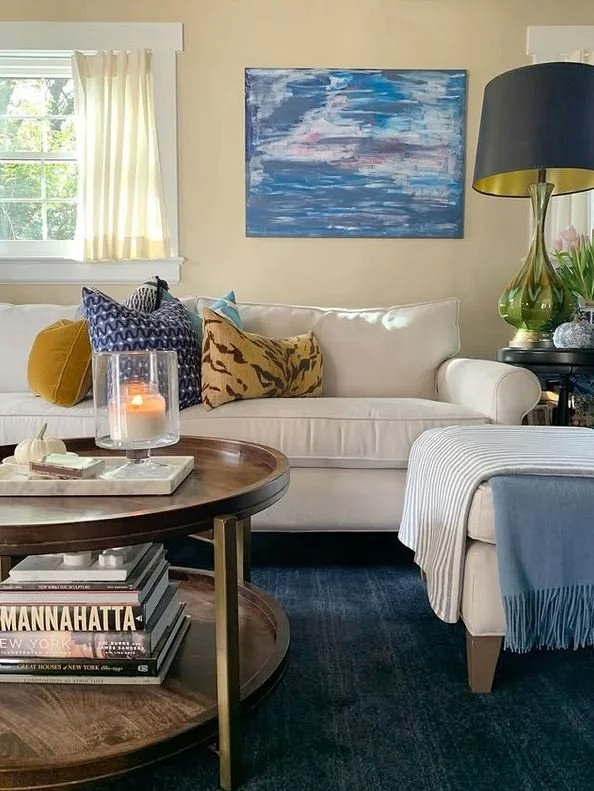
June 2019

June 2019

June 2019

June 2019

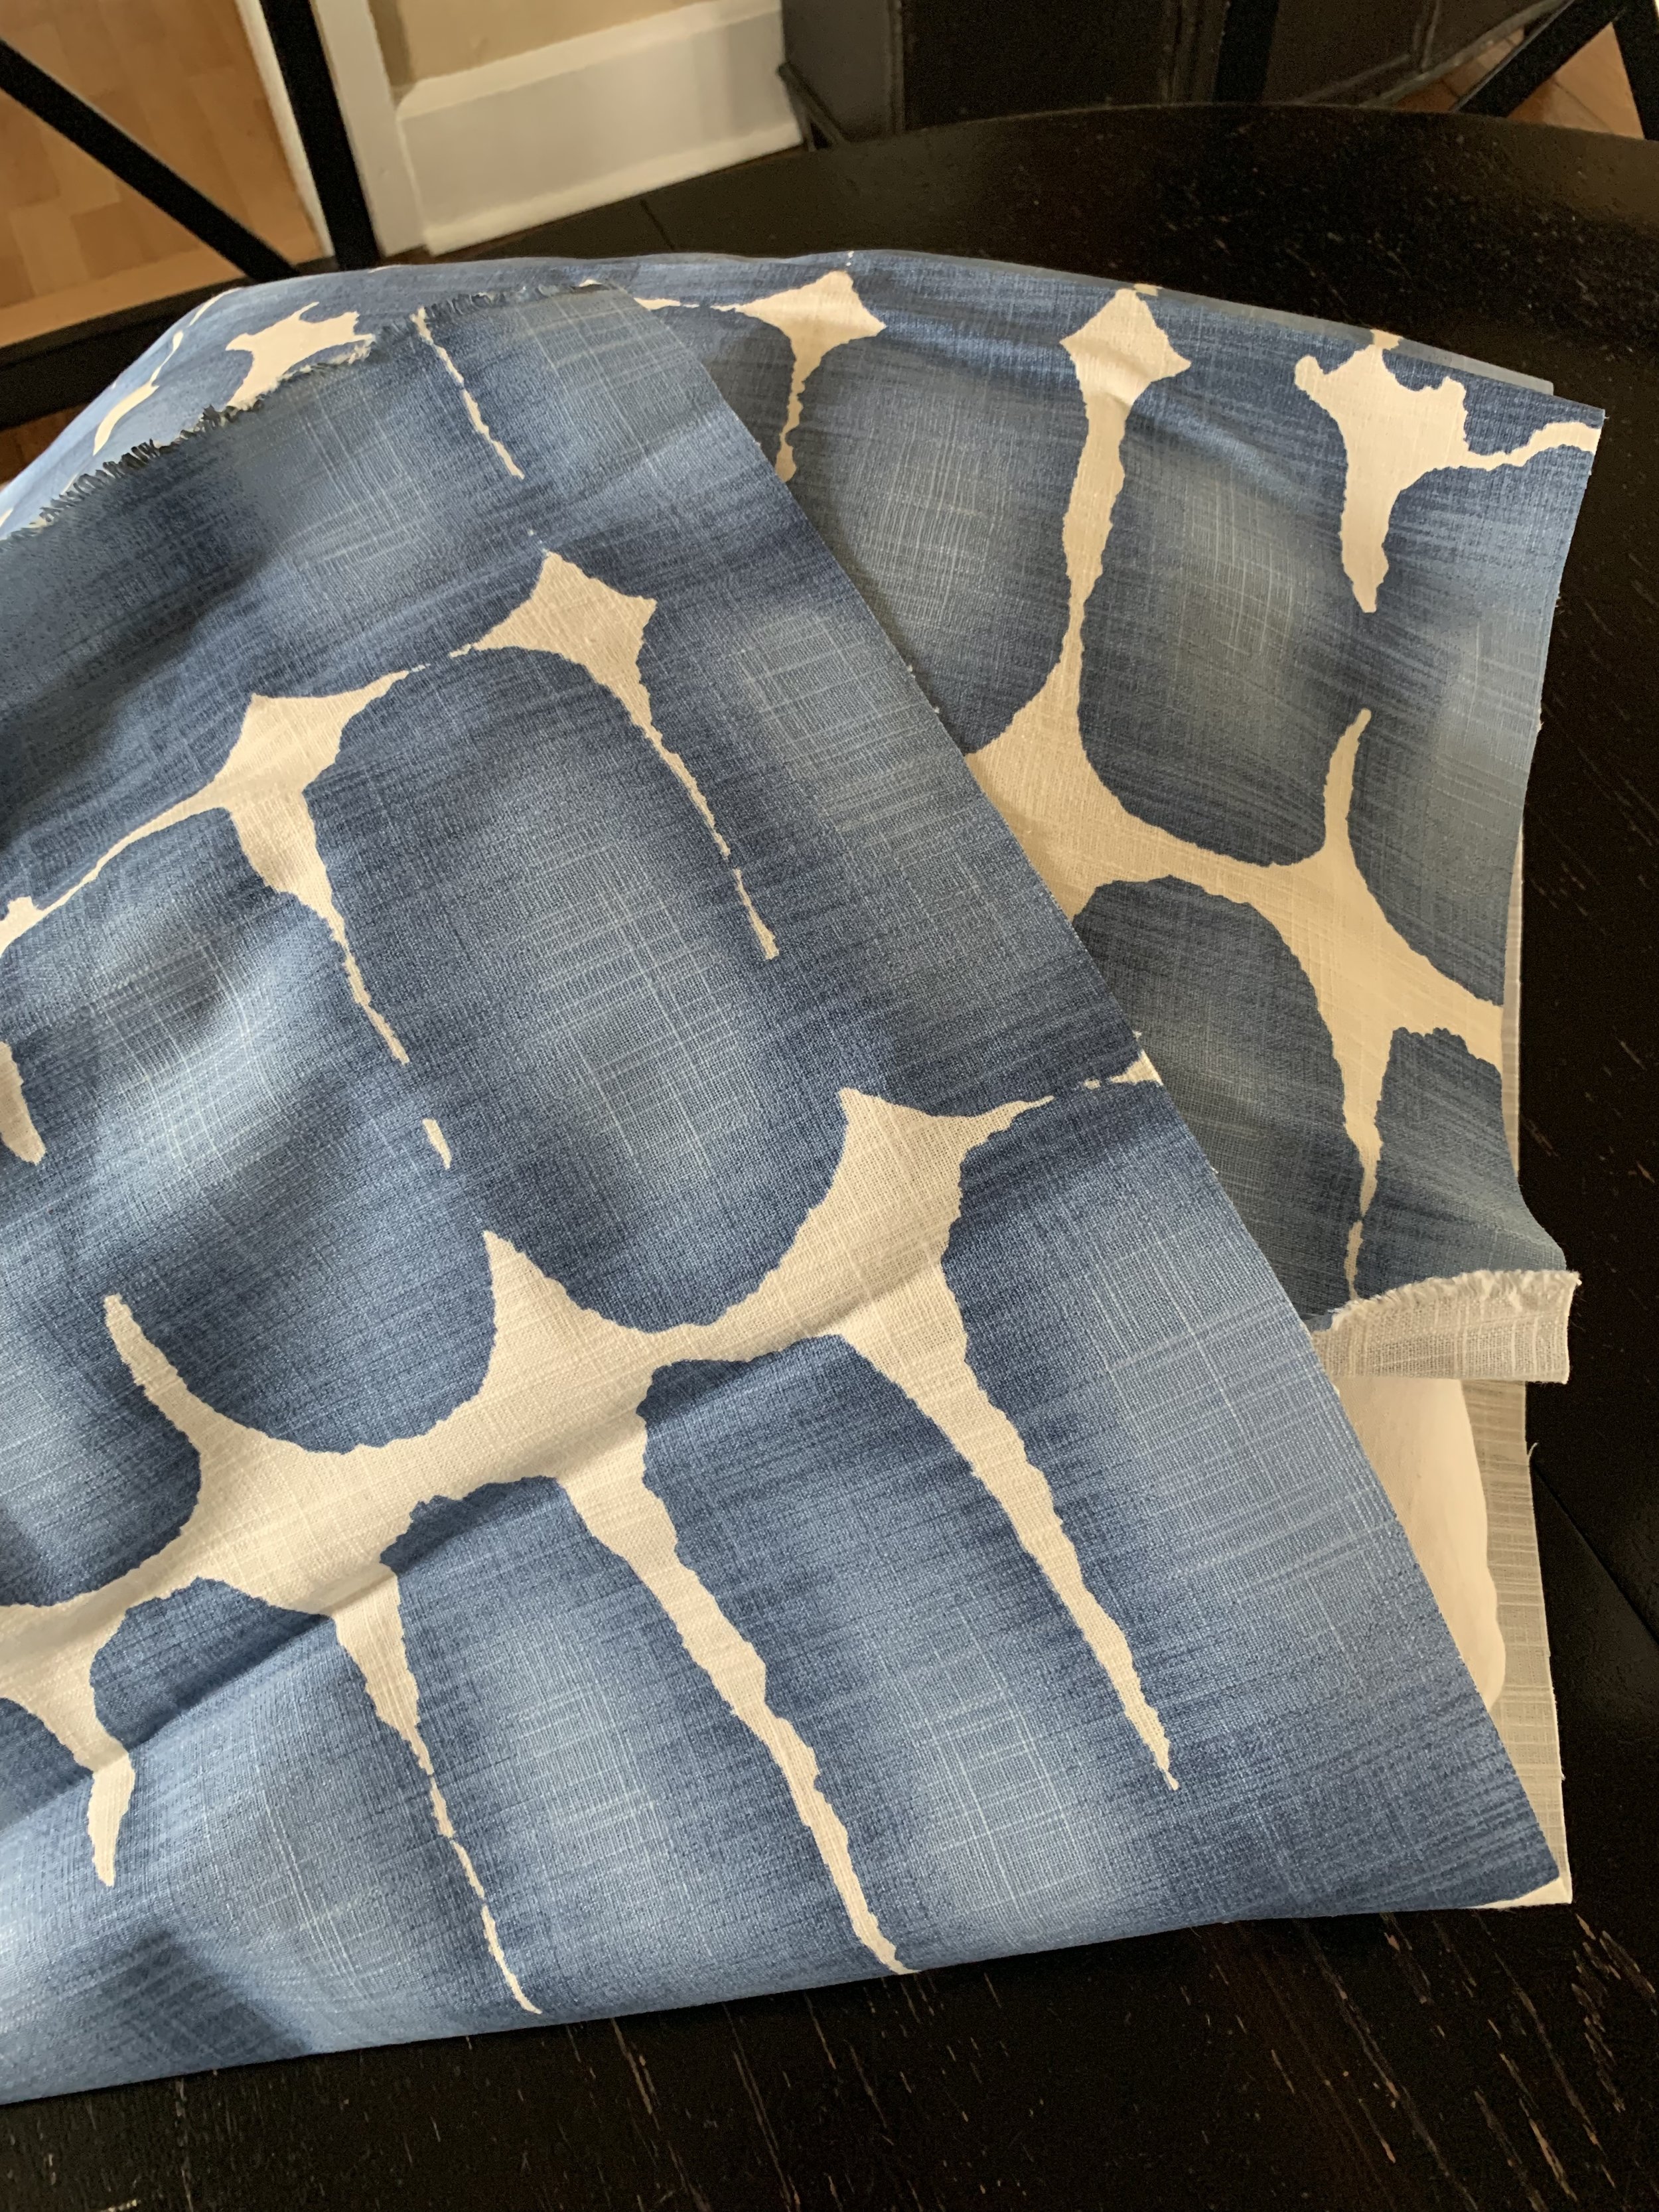
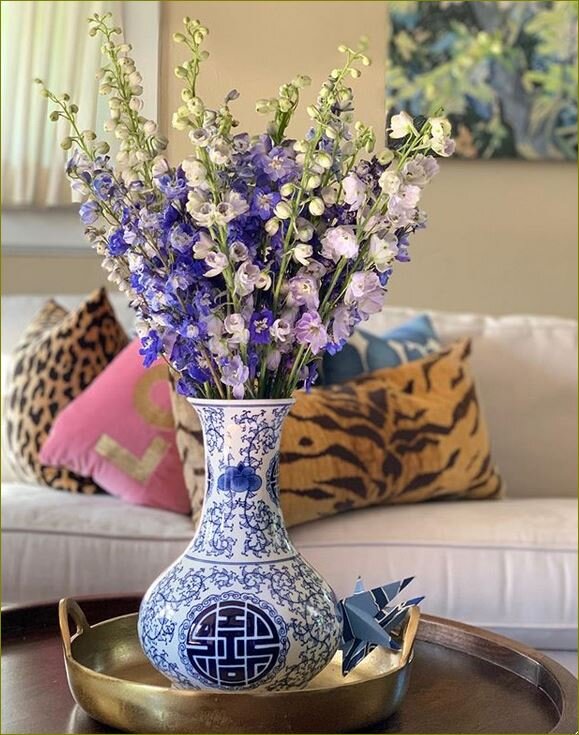
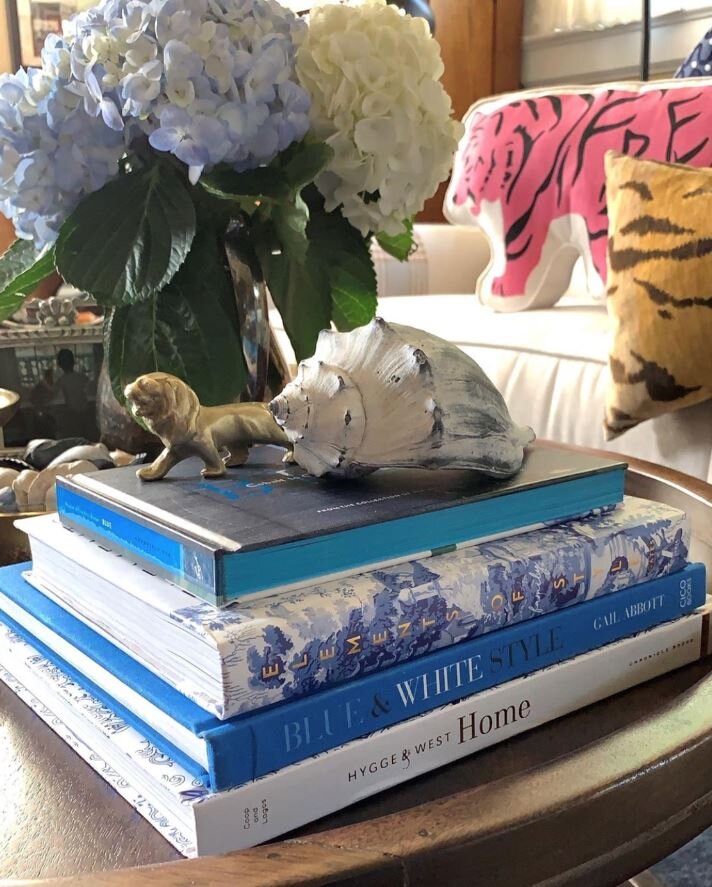
Will I say that I’m done… NO… I still think I may want to add a layering rug under the coffee table to make the room pop more. I would love more pattern; recently I added Bessie to the wall, more books and collections to the Coffee Table and here we are. The design scheme is more streamlined and I’m pleased… I no longer think my style is Cacophony of Crap! I think my style has traditional elements with a bit of Modern, Chinoiserie and Vintage thrown in. I’d label it:

Traditional Mix.


please follow along....PNG

Til next time!

Gold Heart Meryl.png

Artistic Artery

I’m SO very happy with the design changes we made to the Chalet Hall.

JVPUE2714 (1).JPG

Let’s remember what the space looked like… We enjoyed the Benjamin Moore Hawthorn Yellow for 10 years but, it was time for a change.

IMG_5715.jpg

Everyone who views this understands why my signature tag on IG is SayNoToEmptyWalls and my second IG feed bears that same handle @saynotoemptywalls.

IMG_6141.jpg
full wall of art.JPG

Pink was first used as a color name in the late 17th century. It is the color most often associated with charm, politeness, sensitivity, tenderness, sweetness, childhood, femininity and romance.

Although this was my project everyone got involved. Liam helped from the first trip to Home Depot for swatches to the final paint purchase Pink Prism and you can see he even did a bit of painting! After I spent two weeks cutting in around all the windows and many doors - Steven took pity on me and rolled the paint.

IMG_8792.jpg

This lovely Egyptian Lady was the first piece I rehung. If you don’t think light plays with wall color… just look - it reads as two different shades. From here I moved around the space towards the stairs - rehanging the local history images and for the main stair wall I decided on a portrait gallery.

IMG_7186.jpg
IMG_7188.jpg

I was restrained as I worked my way around. I was determined to have it be purposeful and not hodgepodge. The Man With The Golden Helmet - a copy on canvas of the Rembrandt is always a focal point and he went right back on the same nail he was hung on before.

IMG_6480.JPG

If you’re not familiar with the Chalet’s architecture - we have a center chimney which means we have two hallways upstairs around that chimney. The first has entrances to the bath, linen closet and L’s room - and here on this side we have this hall to the master. I left this space blank for a few weeks. I mean come on .. I am sooo in love with this color and I also needed to give myself time to map out the installation.

IMG_7595.jpg

I knew this fine lady Camille (Camille Doncieux (1847 - 1879) the first wife of Claude Monet and the subject of - La Japonaise (Camille Monet in Japanese Costume) 1876, was coming out of storage to be placed in the center and that everything would radiate from her. - The original work is on display in Lorna and Robert Rosenberg Gallery #252 in the Museum of Fine Arts Boston. A dear friend was there recently and sent me a picture of the original. (thanks so much Alison!)

IMG_7649.jpg

Again, I was taking my time - Mrs. Monet sat here alone for well over a week… I had to feel what it would be. It had to evolve. I didn’t want to rush the process and be unhappy in the end.

IMG_7656.jpg
IMG_7655.jpg
IMG_7812.jpg

I LOVE how it turned out. What seemed like such a large area was quickly filled but, I’ve managed to squeeze in 2 small pieces since this image was taken.

IEFR3313.JPG
please follow along....PNG

Til next time - go grab a hammer and hang up some art or paint a space something unexpected!

Gold Heart Meryl.png

Form and Function

Today I’m sharing some recent projects.

I’m not much of a DIYer.. but, I do make Pillow Slip Covers… yeah - I sew a little. Just this week I made these two covers. I’m psyched at how they turned out and happy to bring some more blue and white into the livingroom. I remember the first time I made a cover years ago and how much work it was - man I was clueless but, like most things I figured it out.

IMG_7939.jpg

Pillow Slip Cover:

  • First wrap the fabric around the pillow form - measure for total finished edge and minus 1” to 1-1/2” smaller than size of insert. (This is how you achieve a full finished look of the pillow.)

  • Iron fabric

  • Start folding & figuring out the top and bottom edges - what part of the pattern you want to showcase. You’ll want the top pocket to extend over the bottom one a great deal to prevent opening or puckering. (I like to bring the opening down quite a bit so that if the pillow gets turned around you won’t notice the opening.)

  • Iron to make your edges crisp.

  • Pin edges and remeasure. Take your time. This step is critical. You may need to adjust and use the iron again. Again keeping in mind that you need to make the cover smaller than the actual pillow form.

  • Turn the fabric inside out and prep to start sewing.

  • Slowly run your stitch along one side and repeat. (yes, I only sew two seams!!!)

  • Turn right side out paying close attention to fully pushing out the corners.

  • Insert pillow form and voila! 


2019-02-27+11.39.36.jpg

Like I said I am not much of a DIYer but, I do want to tackle projects around the Chalet and with help from my husband I’m learning how!

I recovered a Chair!

We have an old oak chair in our bedroom that holds extra blankets and pillows at bedtime.

Last month I had a light-bulb moment… I have a lot of different fabrics from Fabric.com in a bin waiting to be made into Pillow Slip Covers and this time I decided to upgrade the chair and introduce another lovely blue and white pattern into our bedroom.

2019-02-27+11.38.36.jpg

Isn’t she sweet - I have no idea how old she is. (she’s old) To the best of my recollection she was in the basement at my parents while I was growing up. Previously she’d even been a desk chair for my husband and then she sat in our basement here at the Chalet - until I thought she’d be a good option next to my highboy dresser.

2019-02-27+13.55.46.jpg

What a change in about an hour! I love how it turned out!

IMG_7838.jpg

finished with all the blue 3wm.jpg
ls room 2014 wm.jpg

Let’s talk about the Bolster Pillow we installed in our sons room. When I redesigned Liam’s room last summer - I knew having his bed against an outside wall would necessitate a pillow option when the temperatures dropped.

The Chalet has scant insulation and shown here at right you see that his bed was on his interior wall for years. (Holy Cow look at the stuff!)

The only way to stop the cold from transferring to his bedding was to build a Bolster Pillow and attach it to the wall leaving an air-gap.

I drew it out and went to JoAnn Fabrics picking out foam and Blue Microfiber fabric. Friends I love me a good Microfiber and lucky for me my hubby had wood on-hand to make the backer.

IMG_4967.jpg

Installing the Wall Cleat was the first step.

IMG_4972.jpg

Then hanging the backer to make sure it was level and the gap was correct.

IMG_5037.jpg

It came together quickly. 1 sheet of MDF, 1 Cleat on Backer, 1 Wood Strip at bottom of Backer board to hold square to wall.

IMG_5040.jpg

A little time with the staple gun and finito!

IMG_4977.JPG

Here it is friends! Liam loves that he can sit on his bed Sofa style! I love that I don’t need to jam a million pillows and blankets between his bed and the wall. Living in an older home has it’s charms but, it also has it’s challenges - I am thrilled that we were able to tackle this one with a wonderful result!

Bolster:

  • 1 sheet of MDF

  • 1 - 2 x 4 ripped to create Wall Cleat and Cleat on Bolster

  • 1 Wood Strip to hold the backer board square to wall.

  • Foam

  • Fabric

    About 2 hrs of time - For Build and Installation. Additional time to source materials.

please follow along....PNG

Til next time! Here’s to creating what YOU need!

Gold Heart Meryl.png