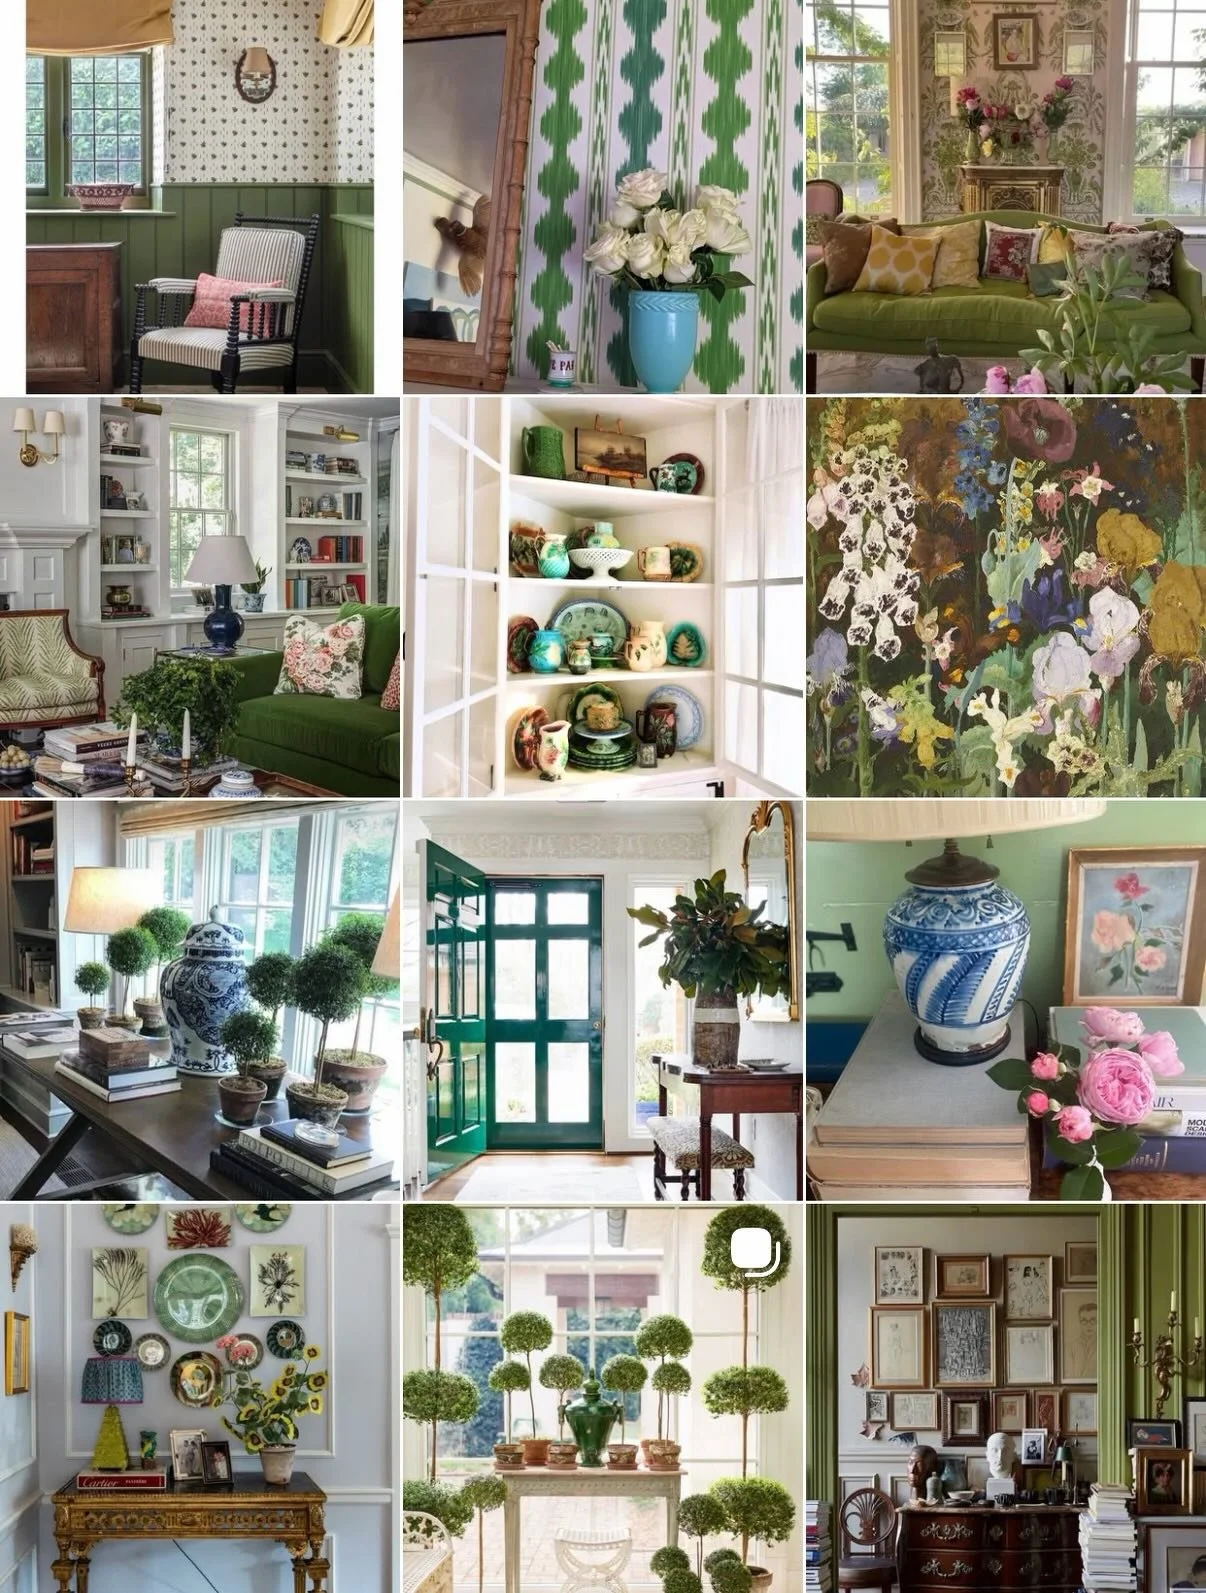
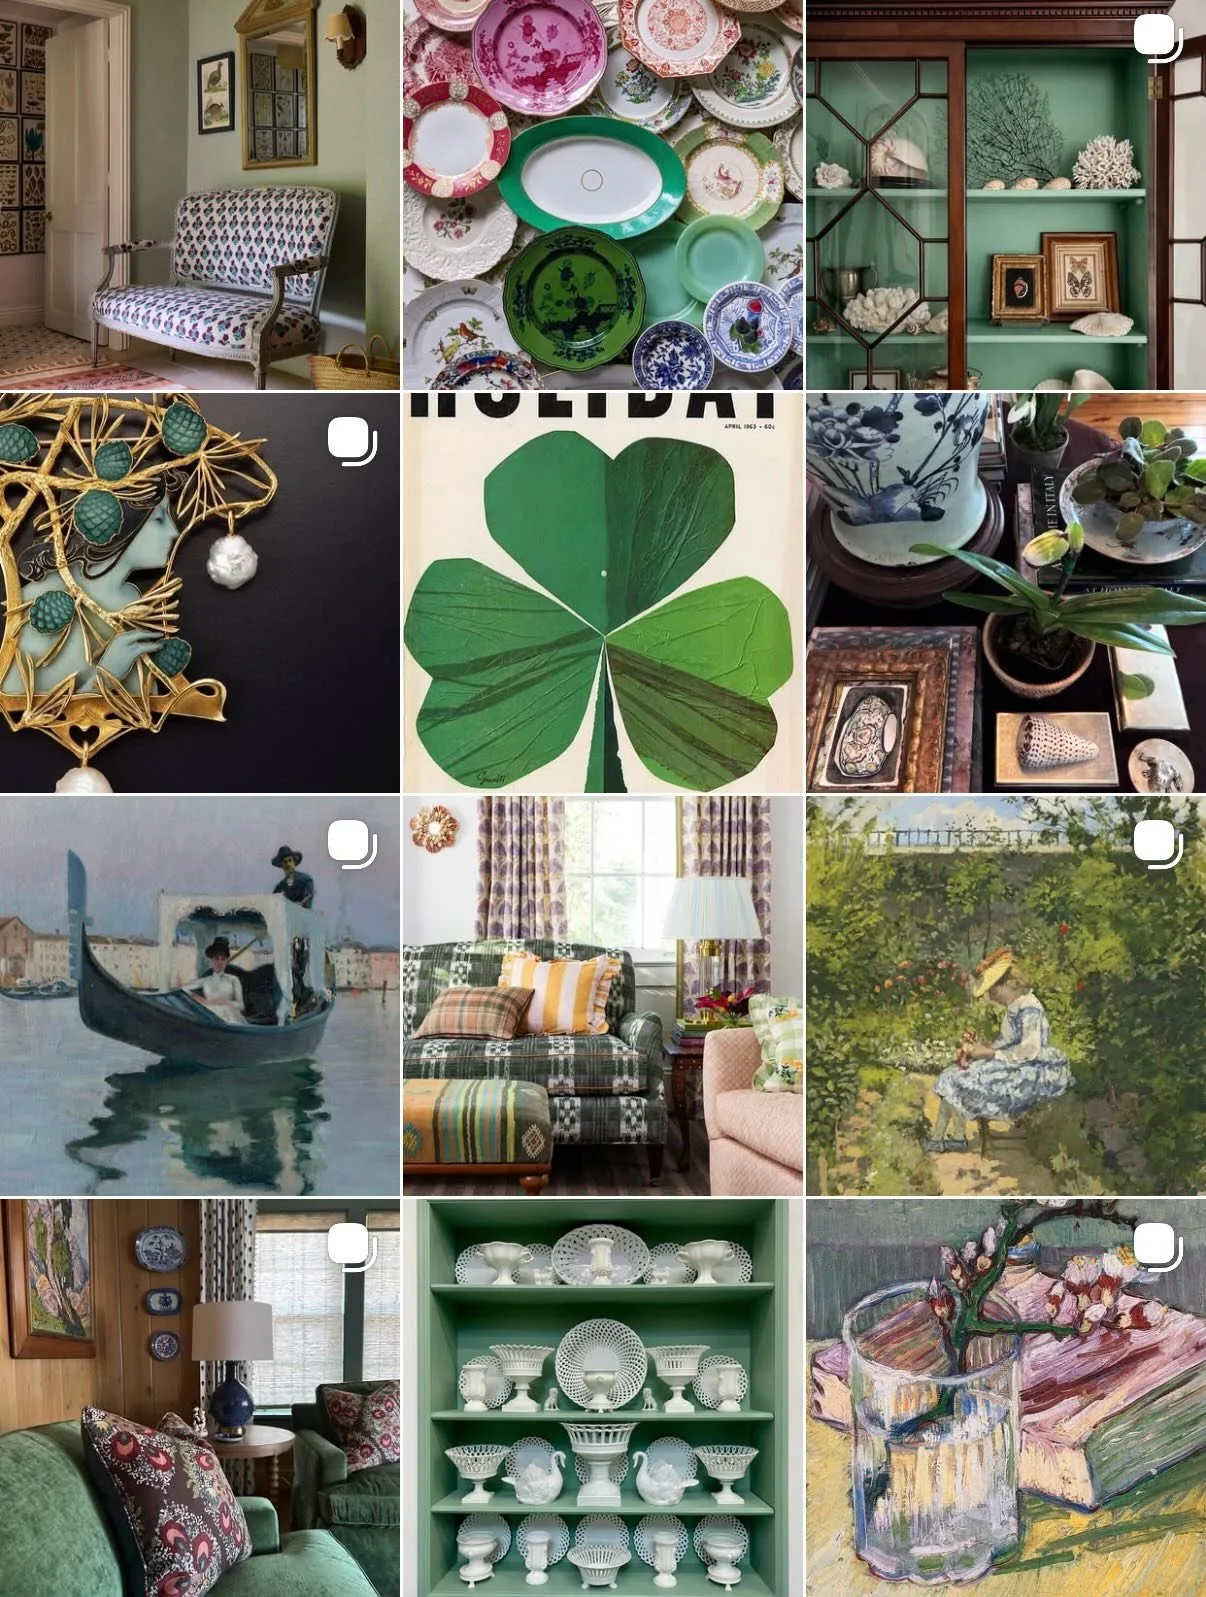
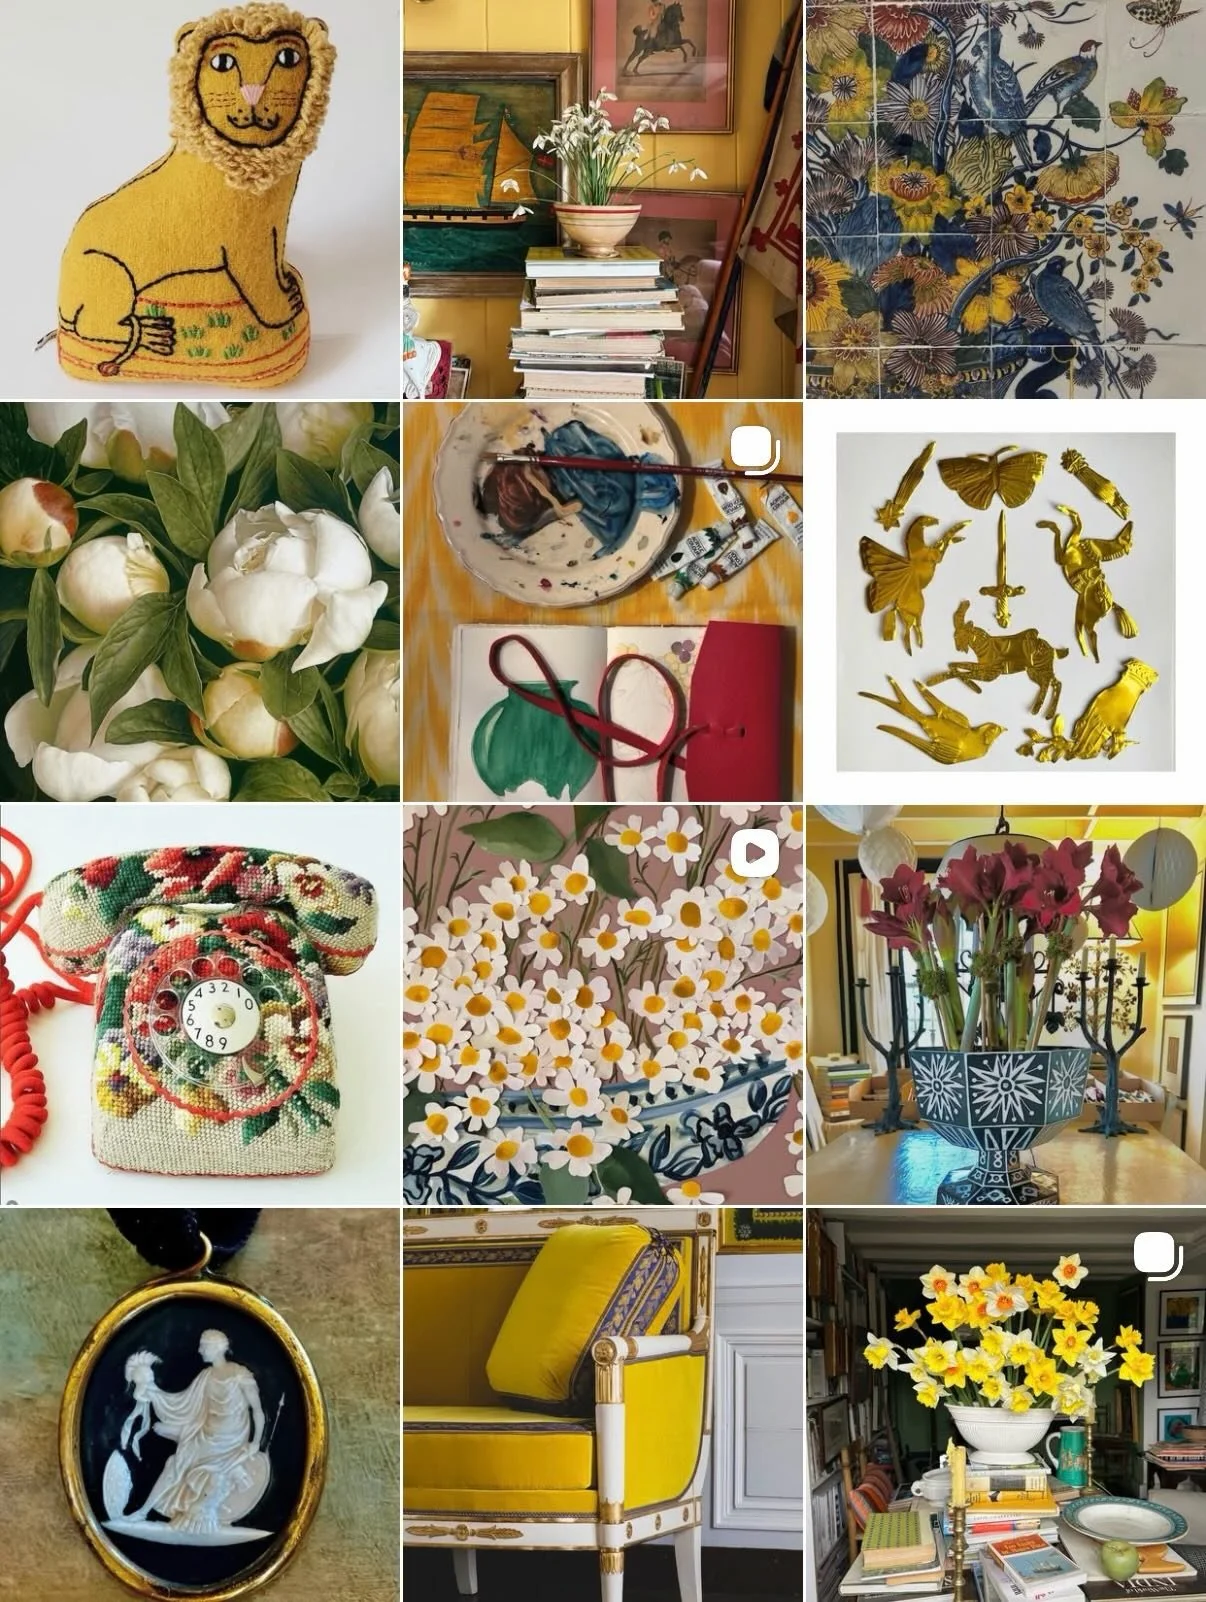
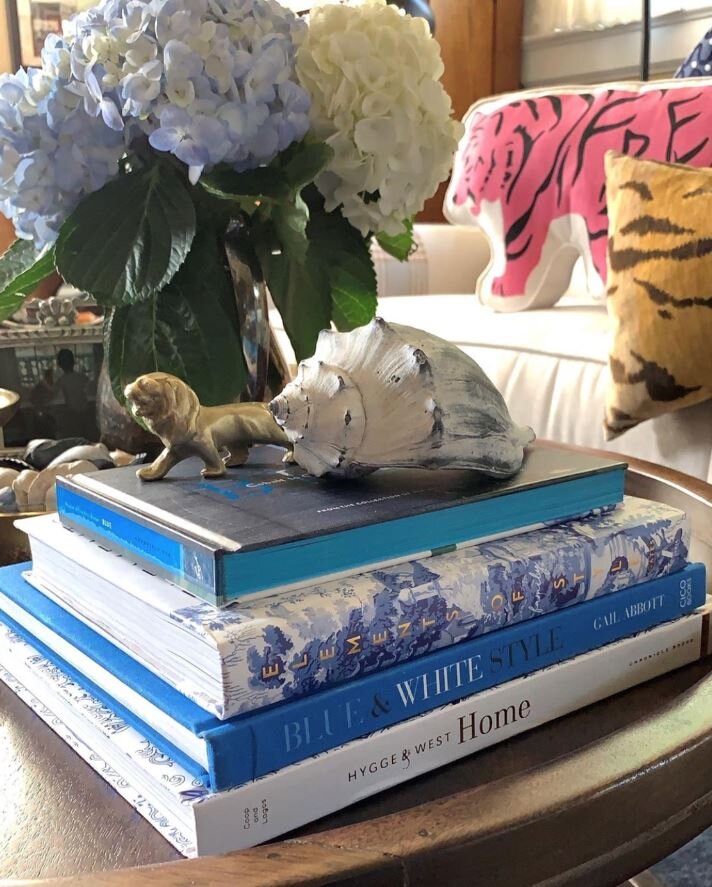
Artistic Artery

I’m SO very happy with the design changes we made to the Chalet Hall.

JVPUE2714 (1).JPG

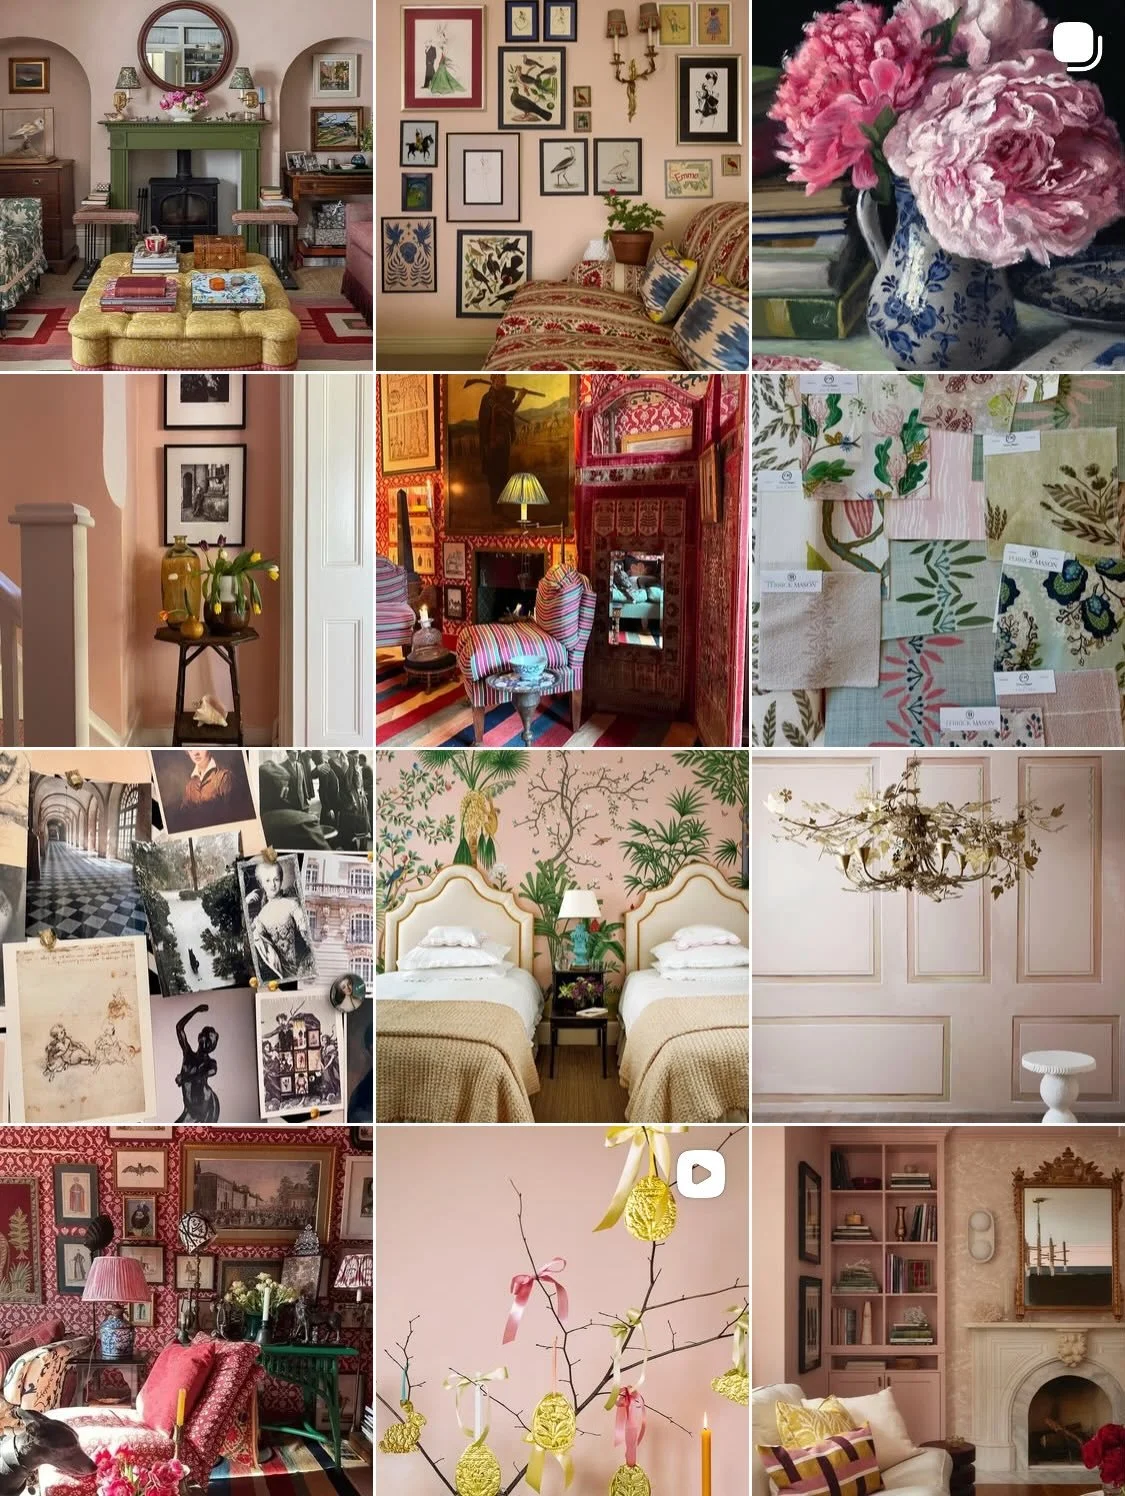
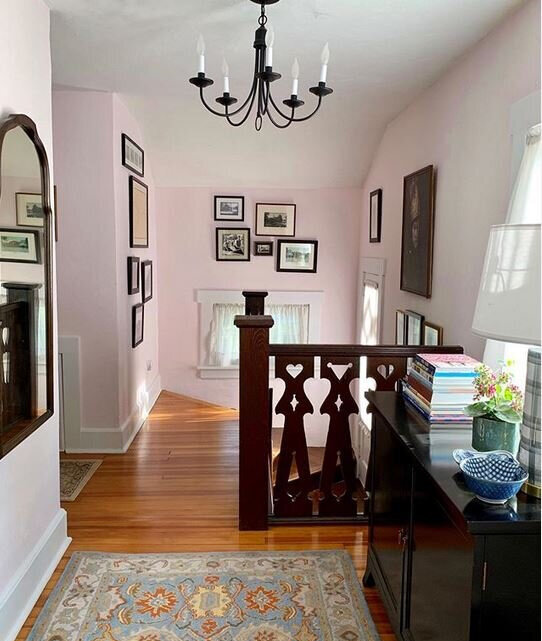
Let’s remember what the space looked like… We enjoyed the Benjamin Moore Hawthorn Yellow for 10 years but, it was time for a change.

IMG_5715.jpg

Everyone who views this understands why my signature tag on IG is SayNoToEmptyWalls and my second IG feed bears that same handle @saynotoemptywalls.

IMG_6141.jpg
full wall of art.JPG

Pink was first used as a color name in the late 17th century. It is the color most often associated with charm, politeness, sensitivity, tenderness, sweetness, childhood, femininity and romance.

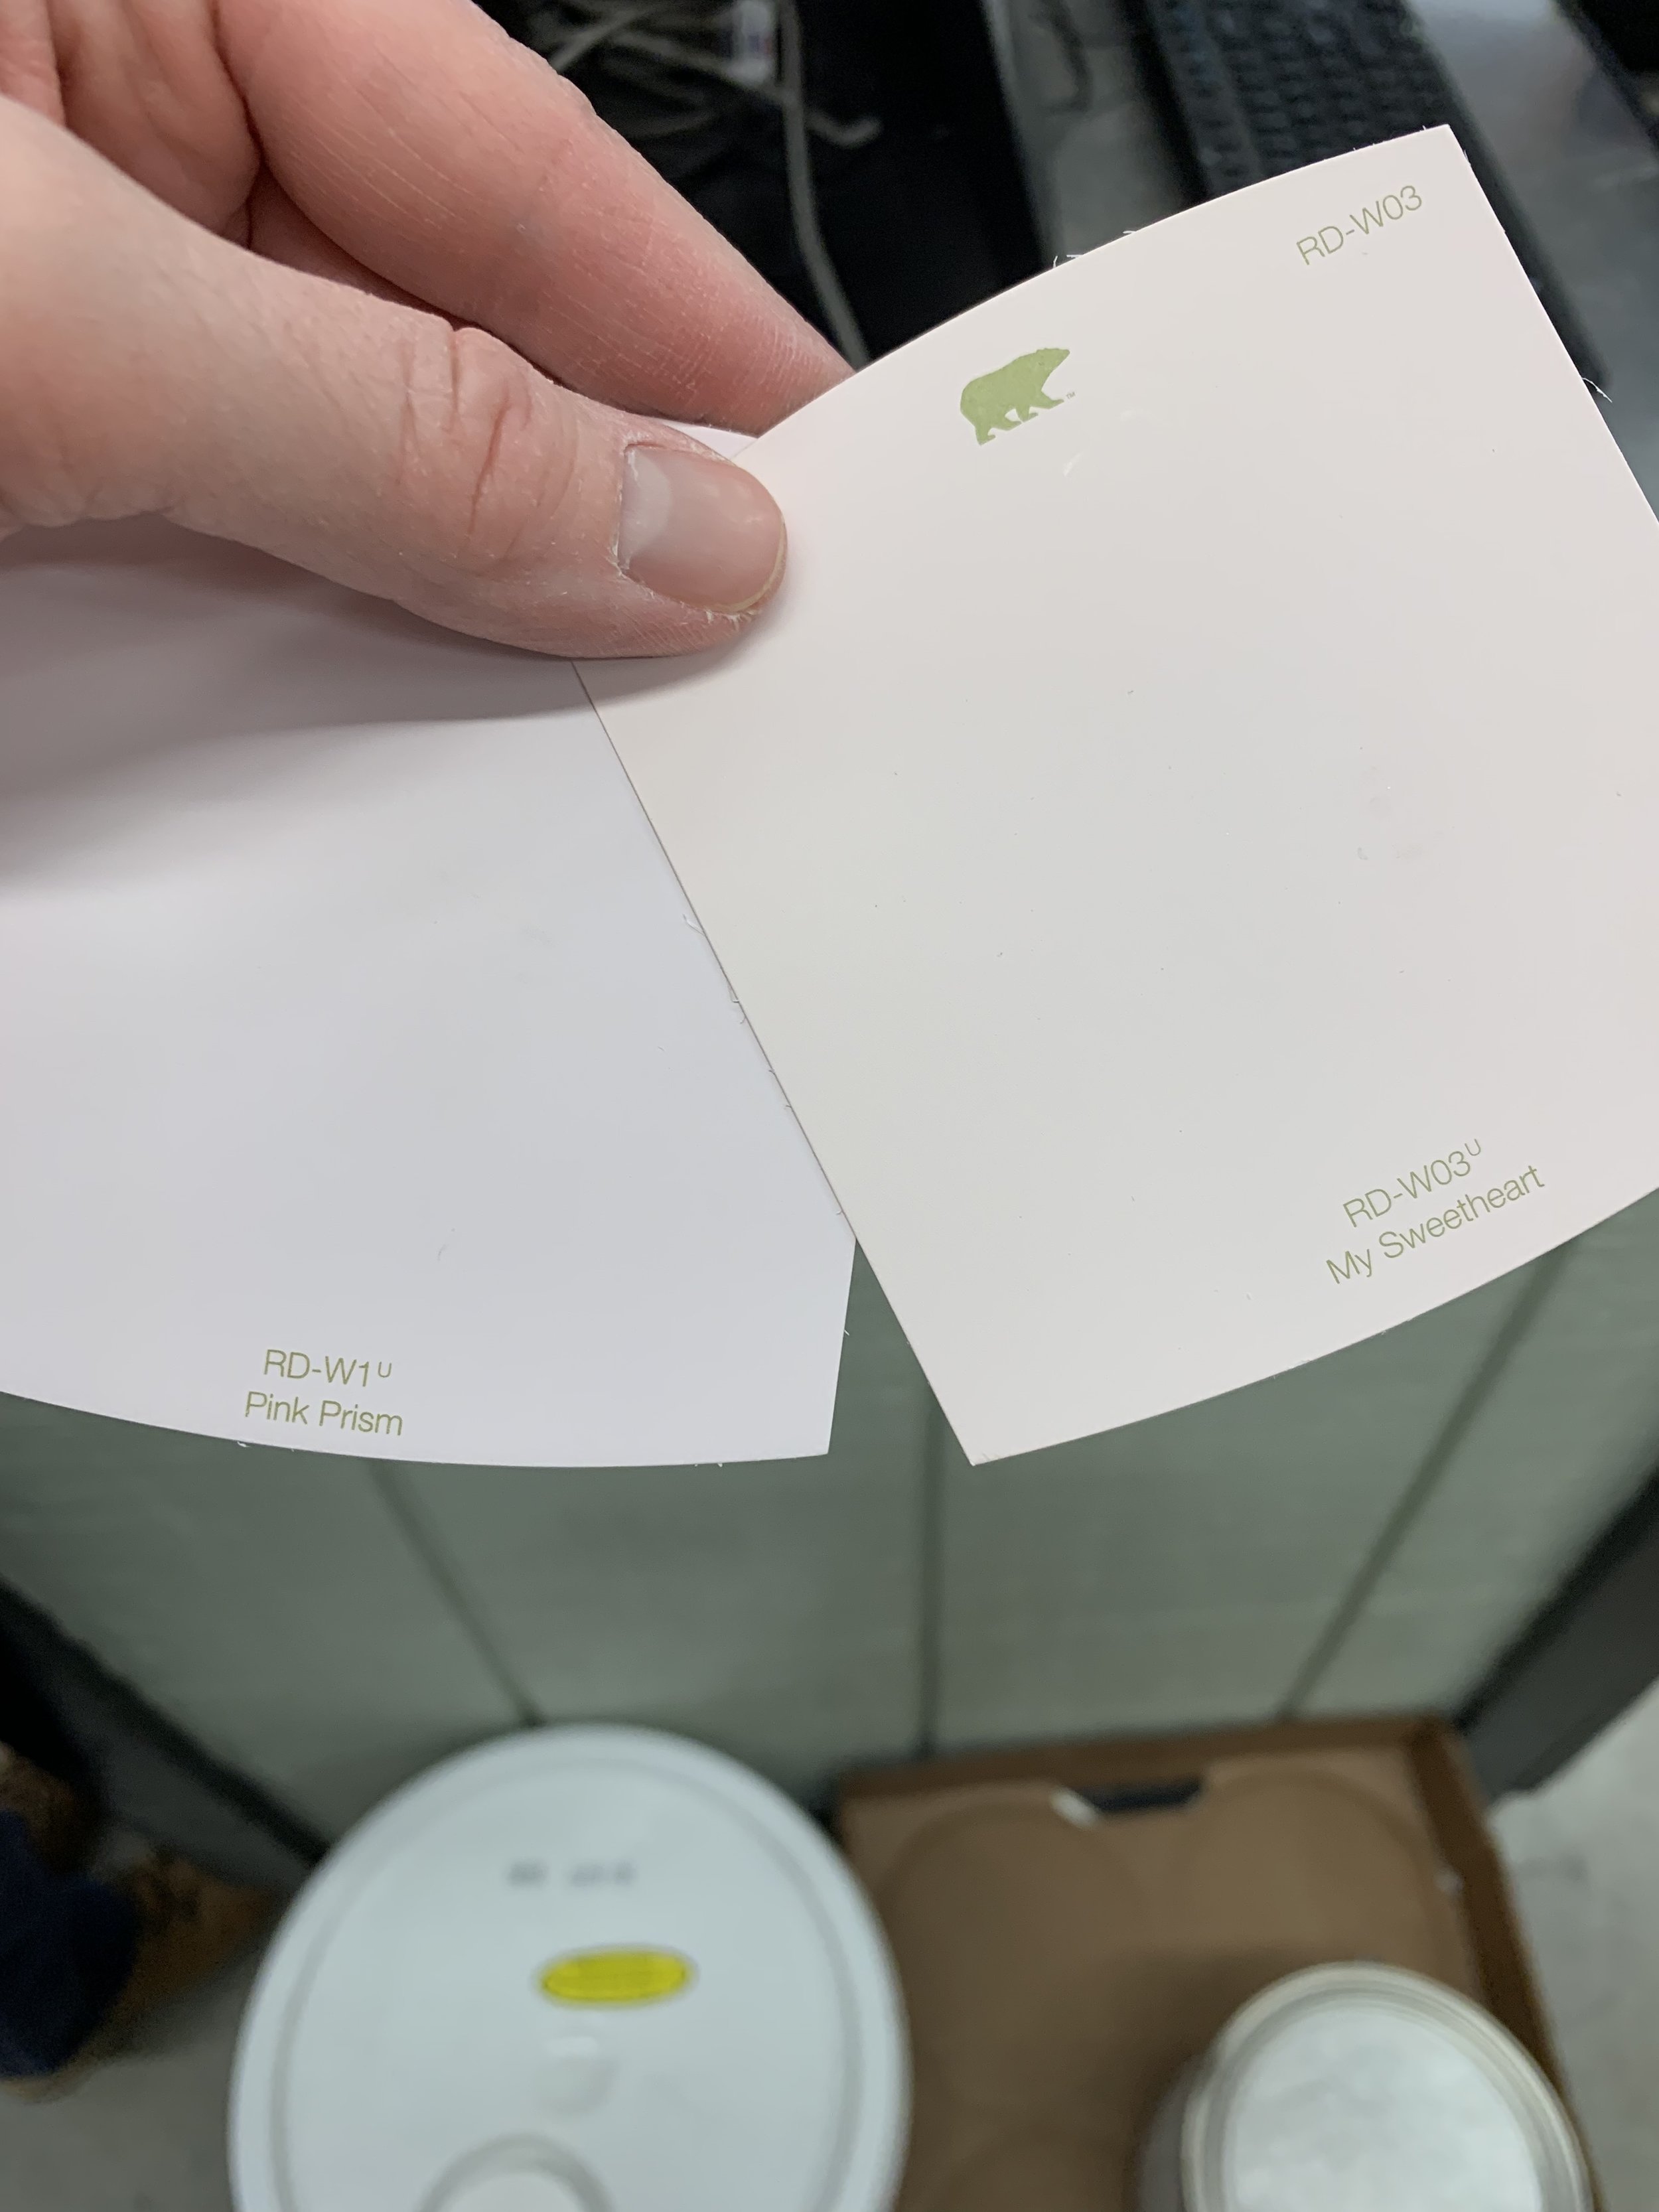
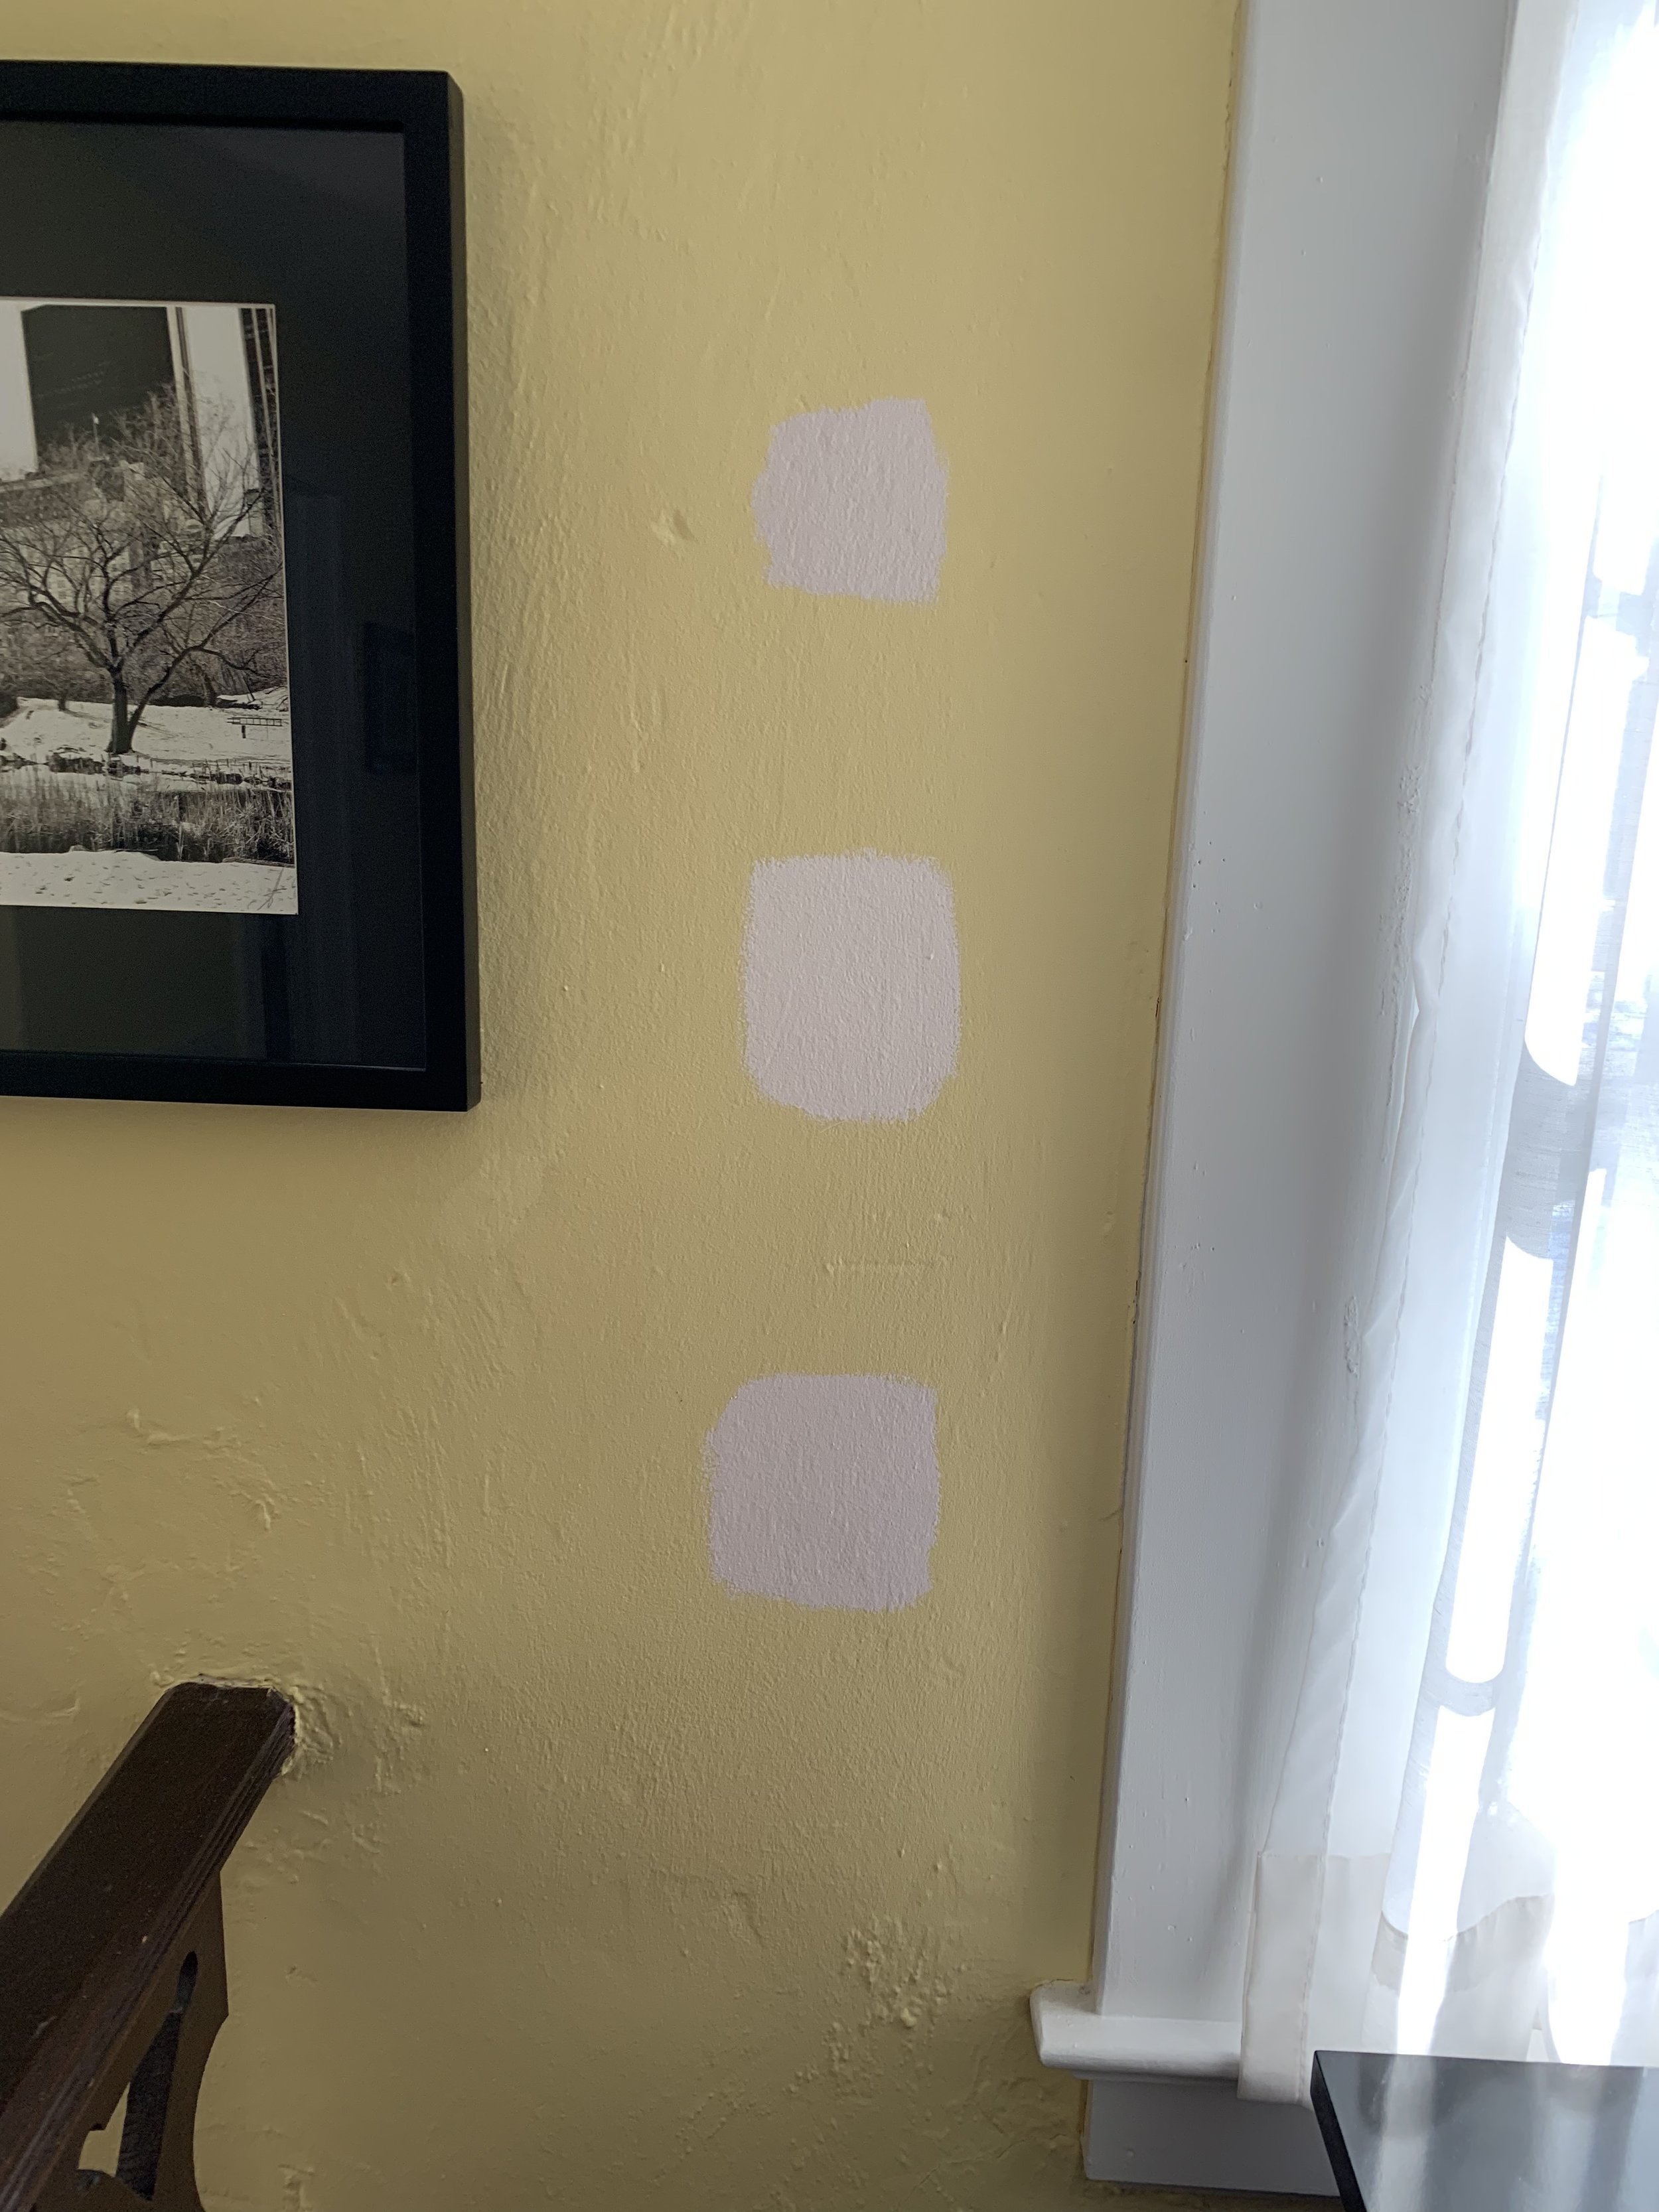
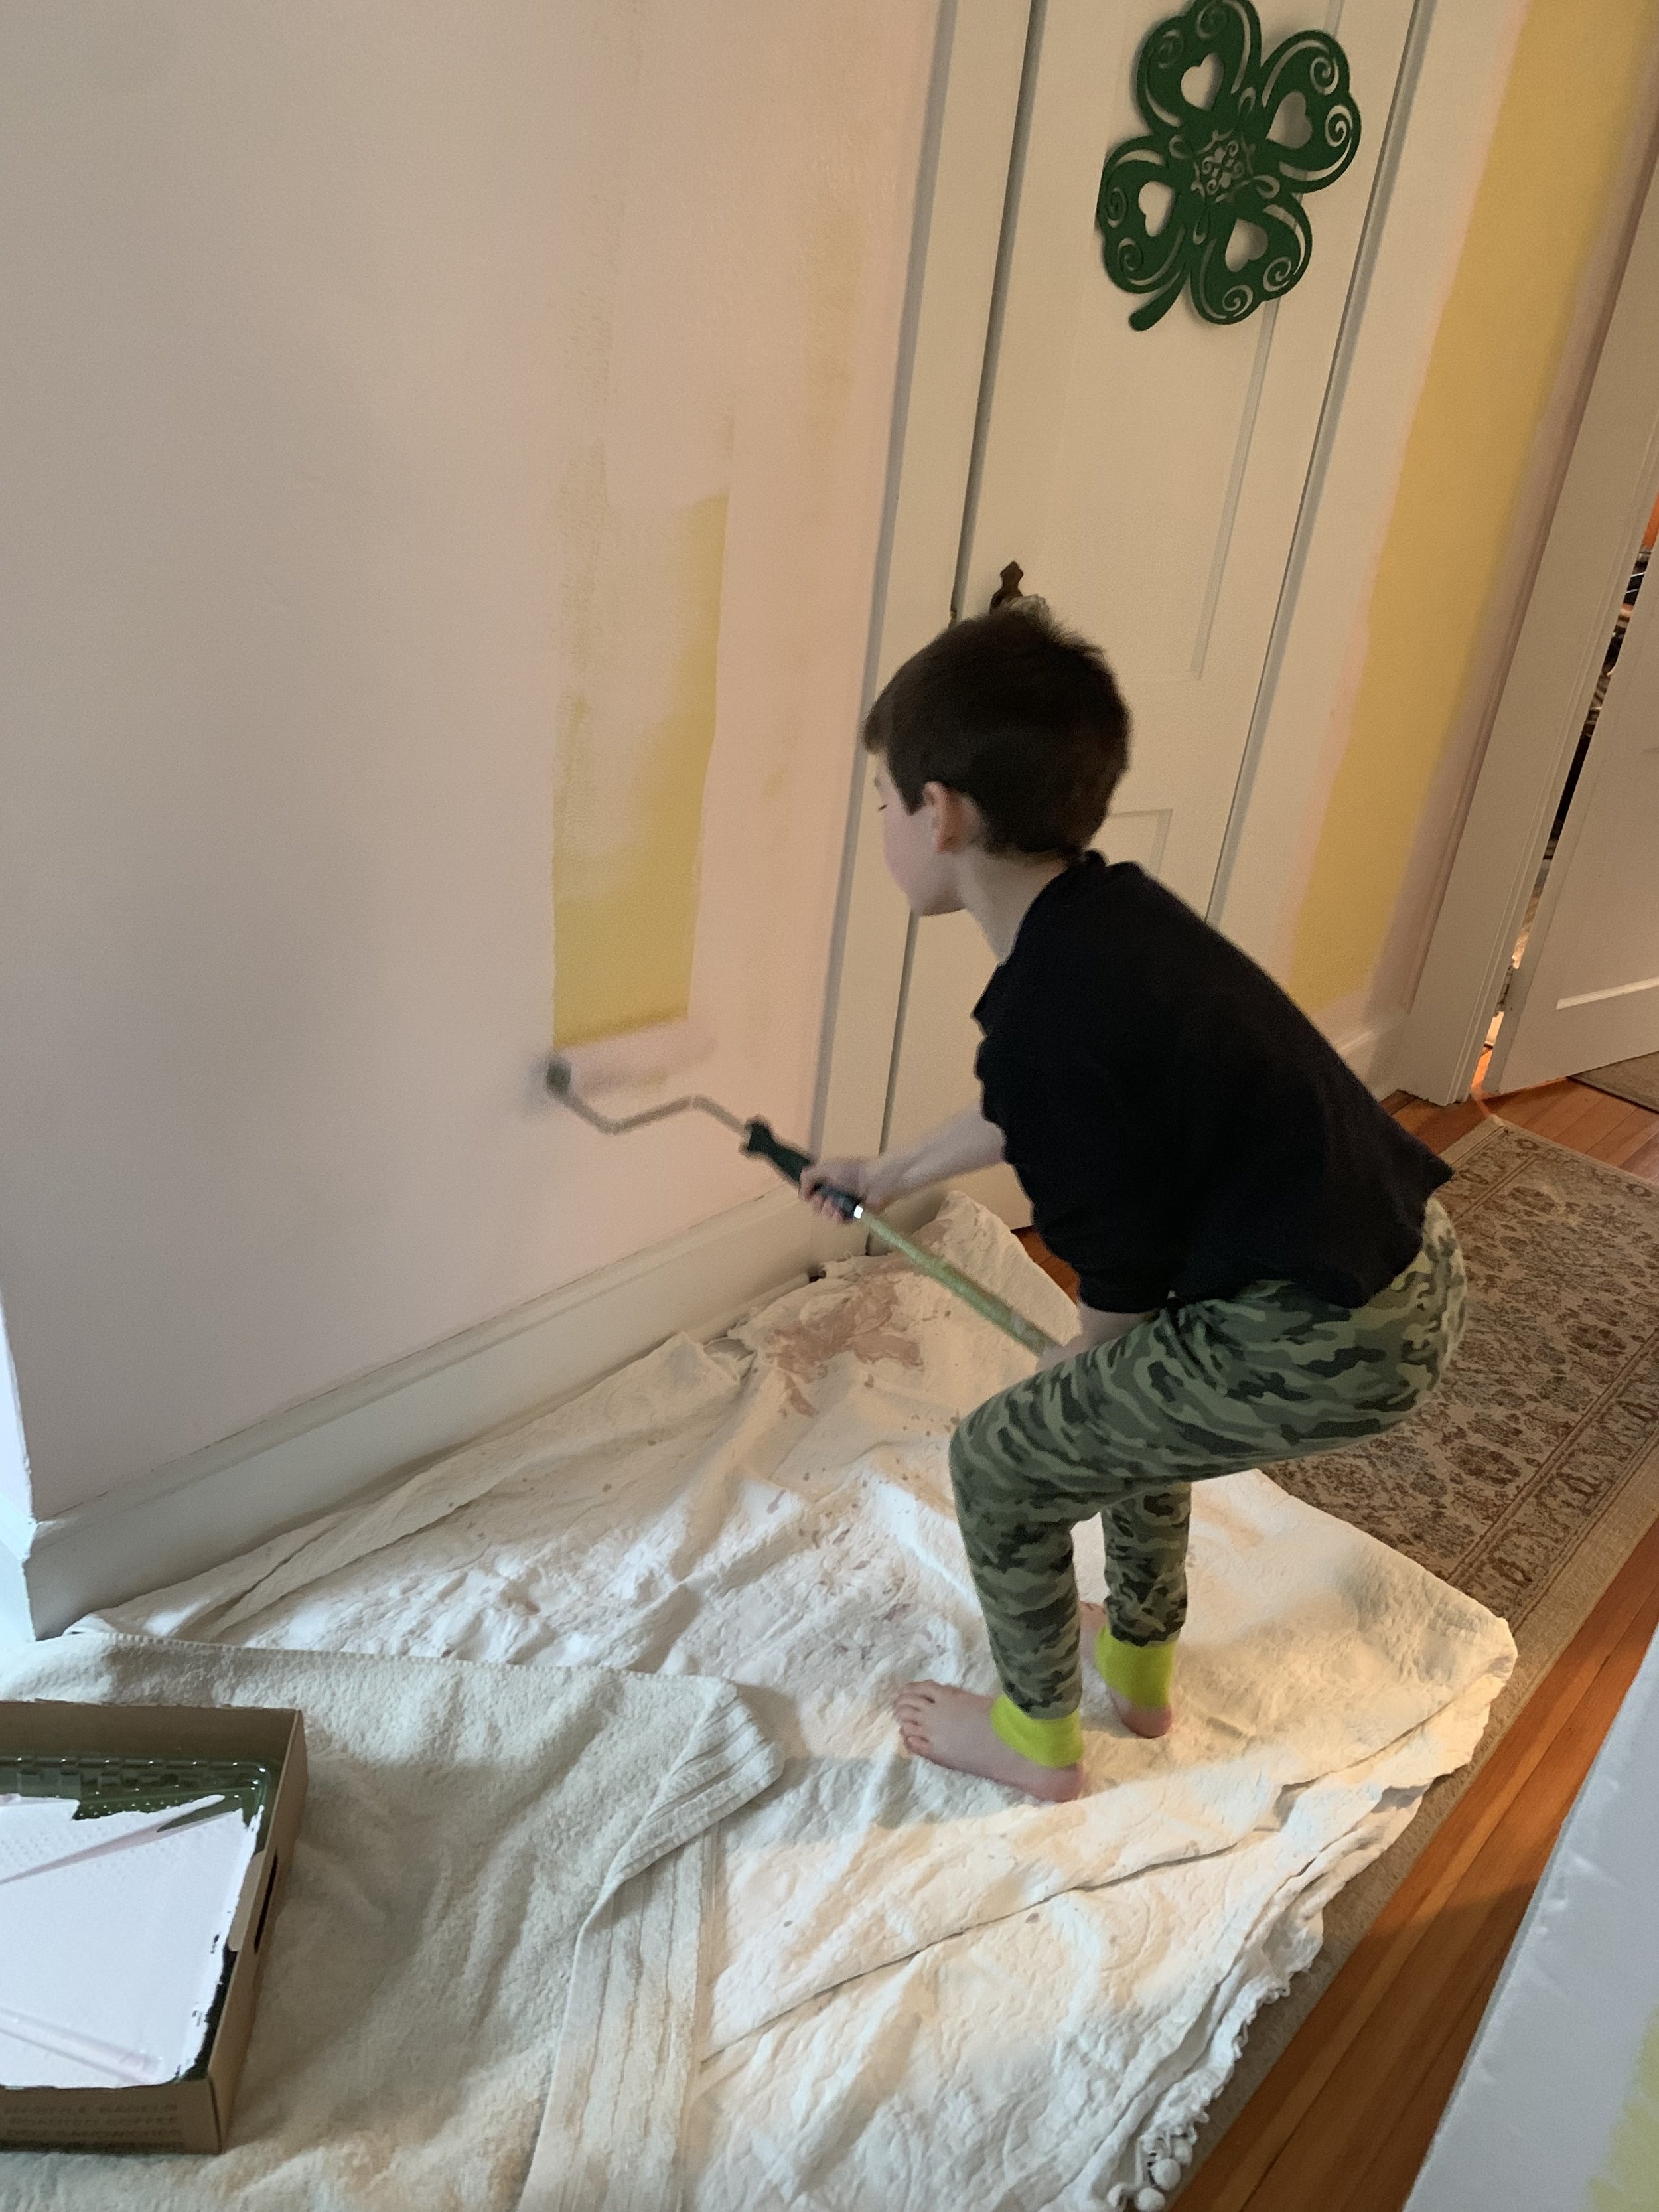
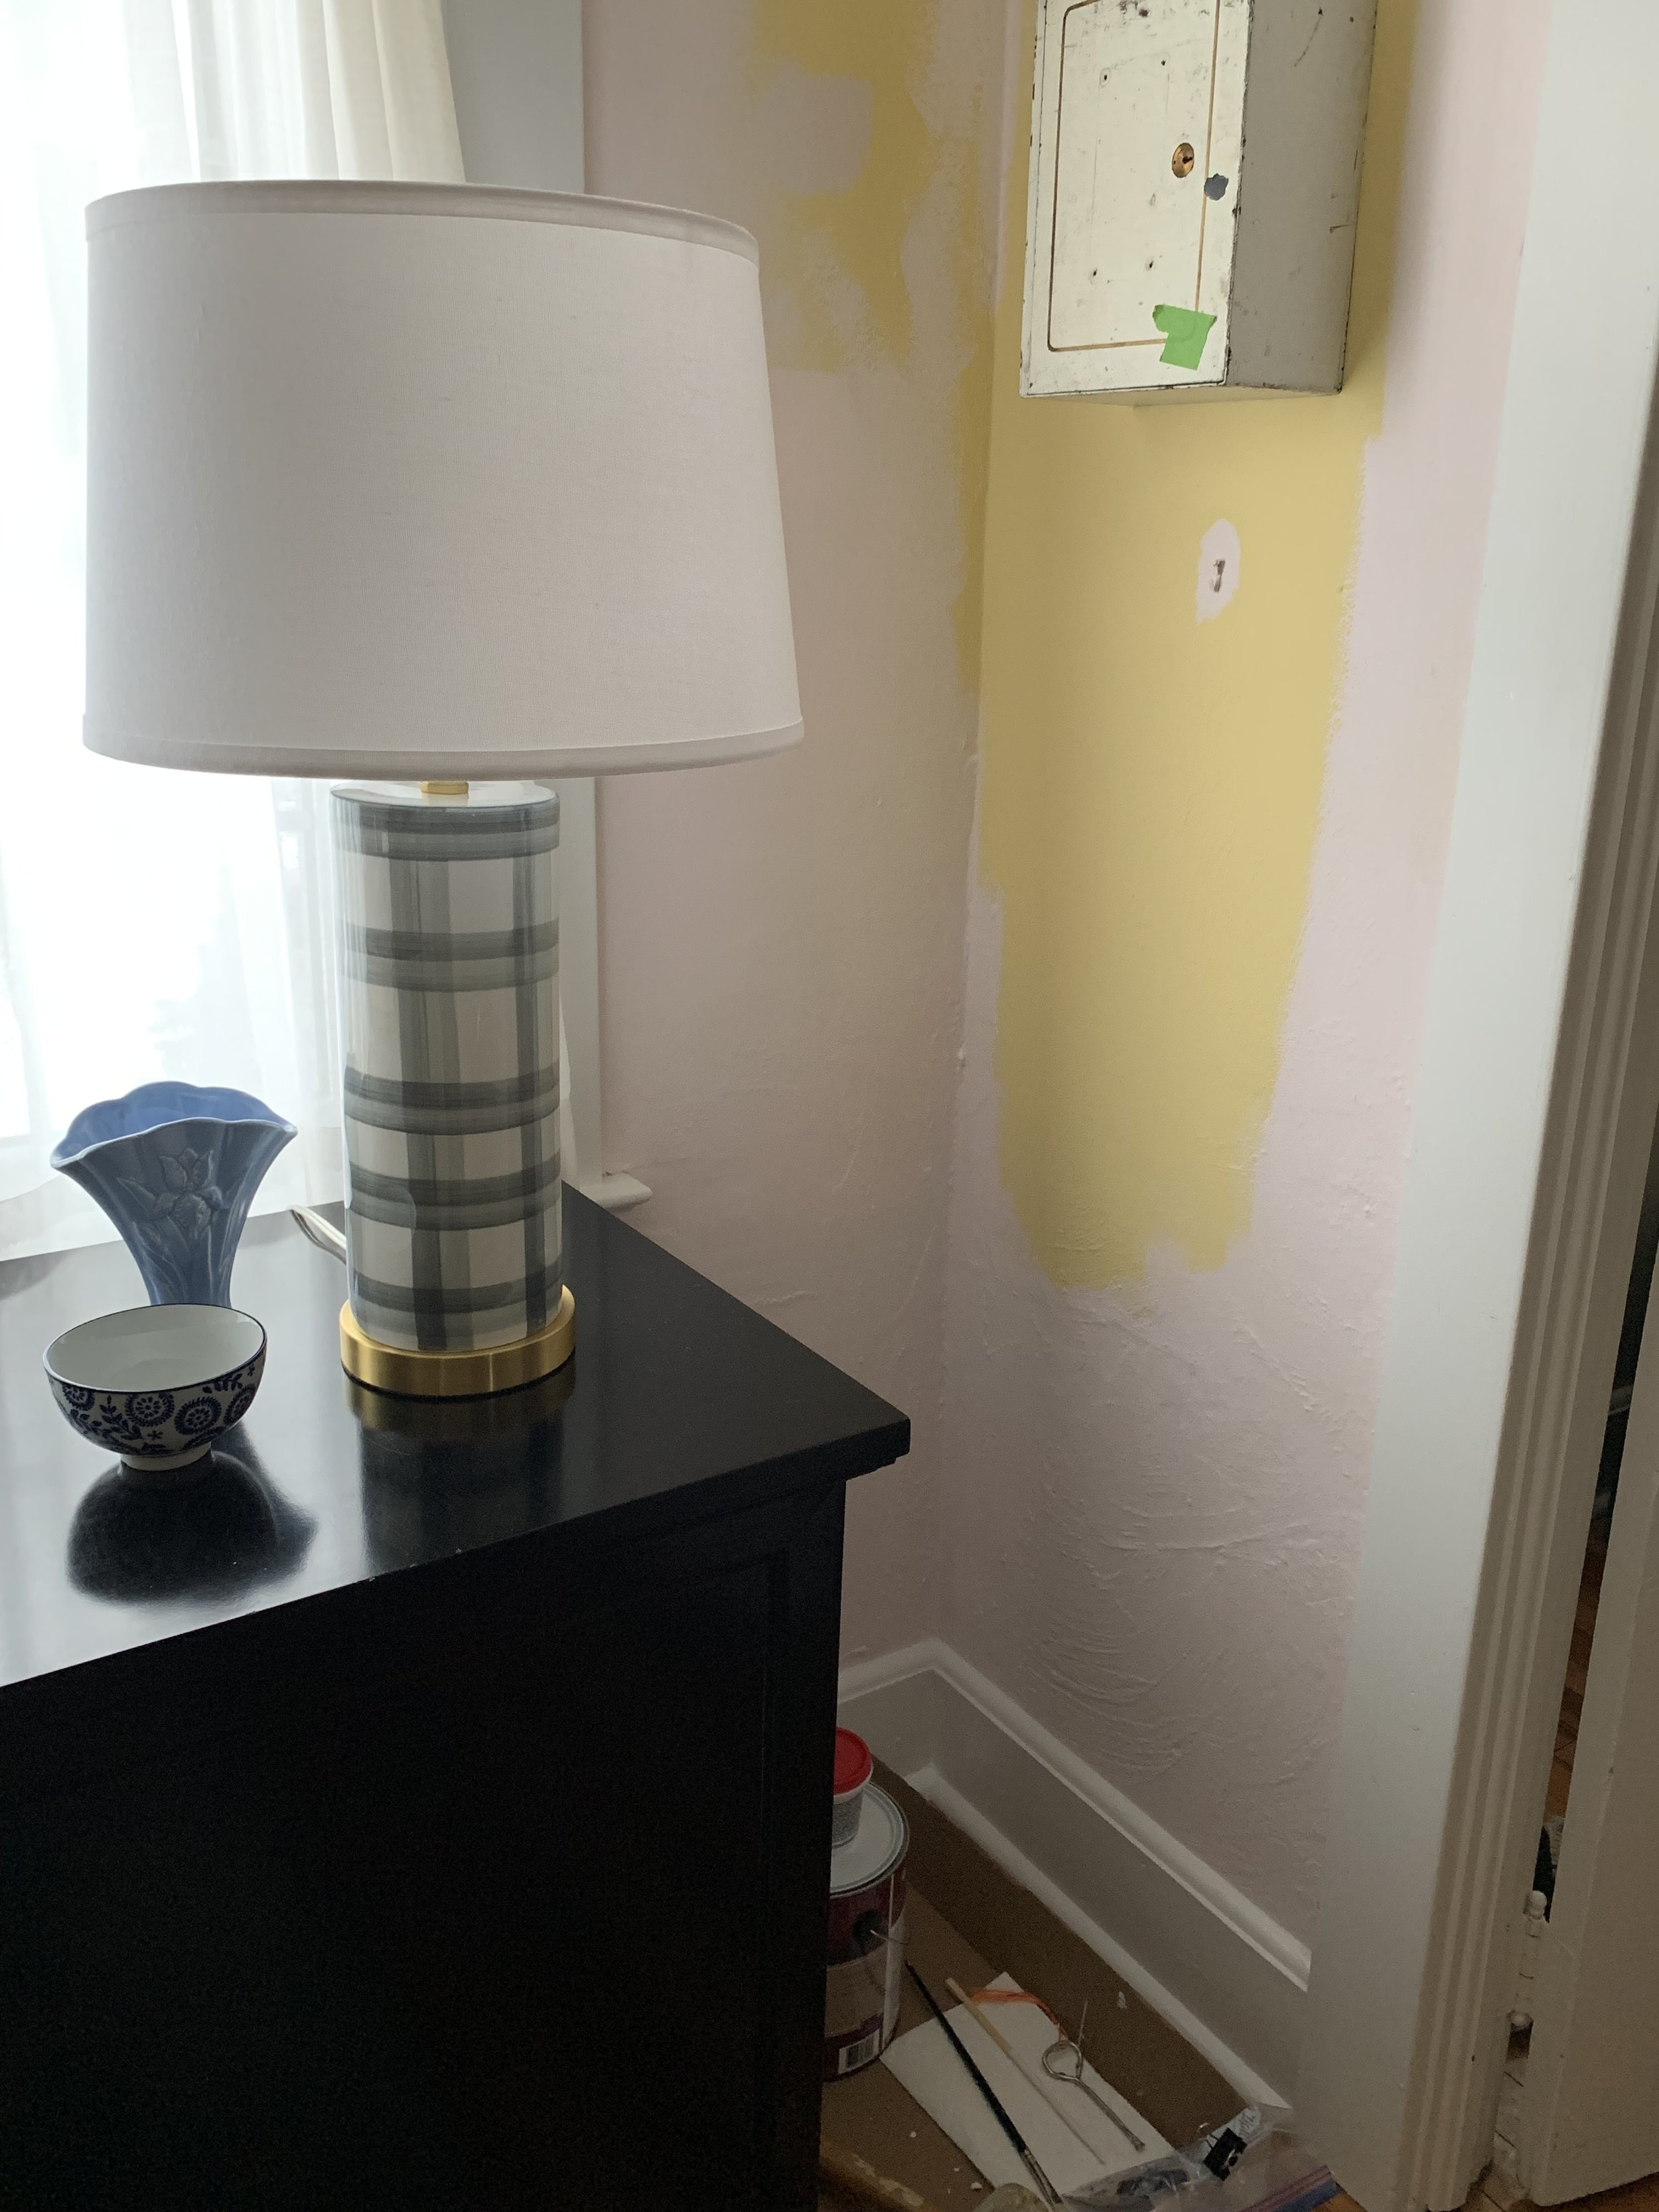
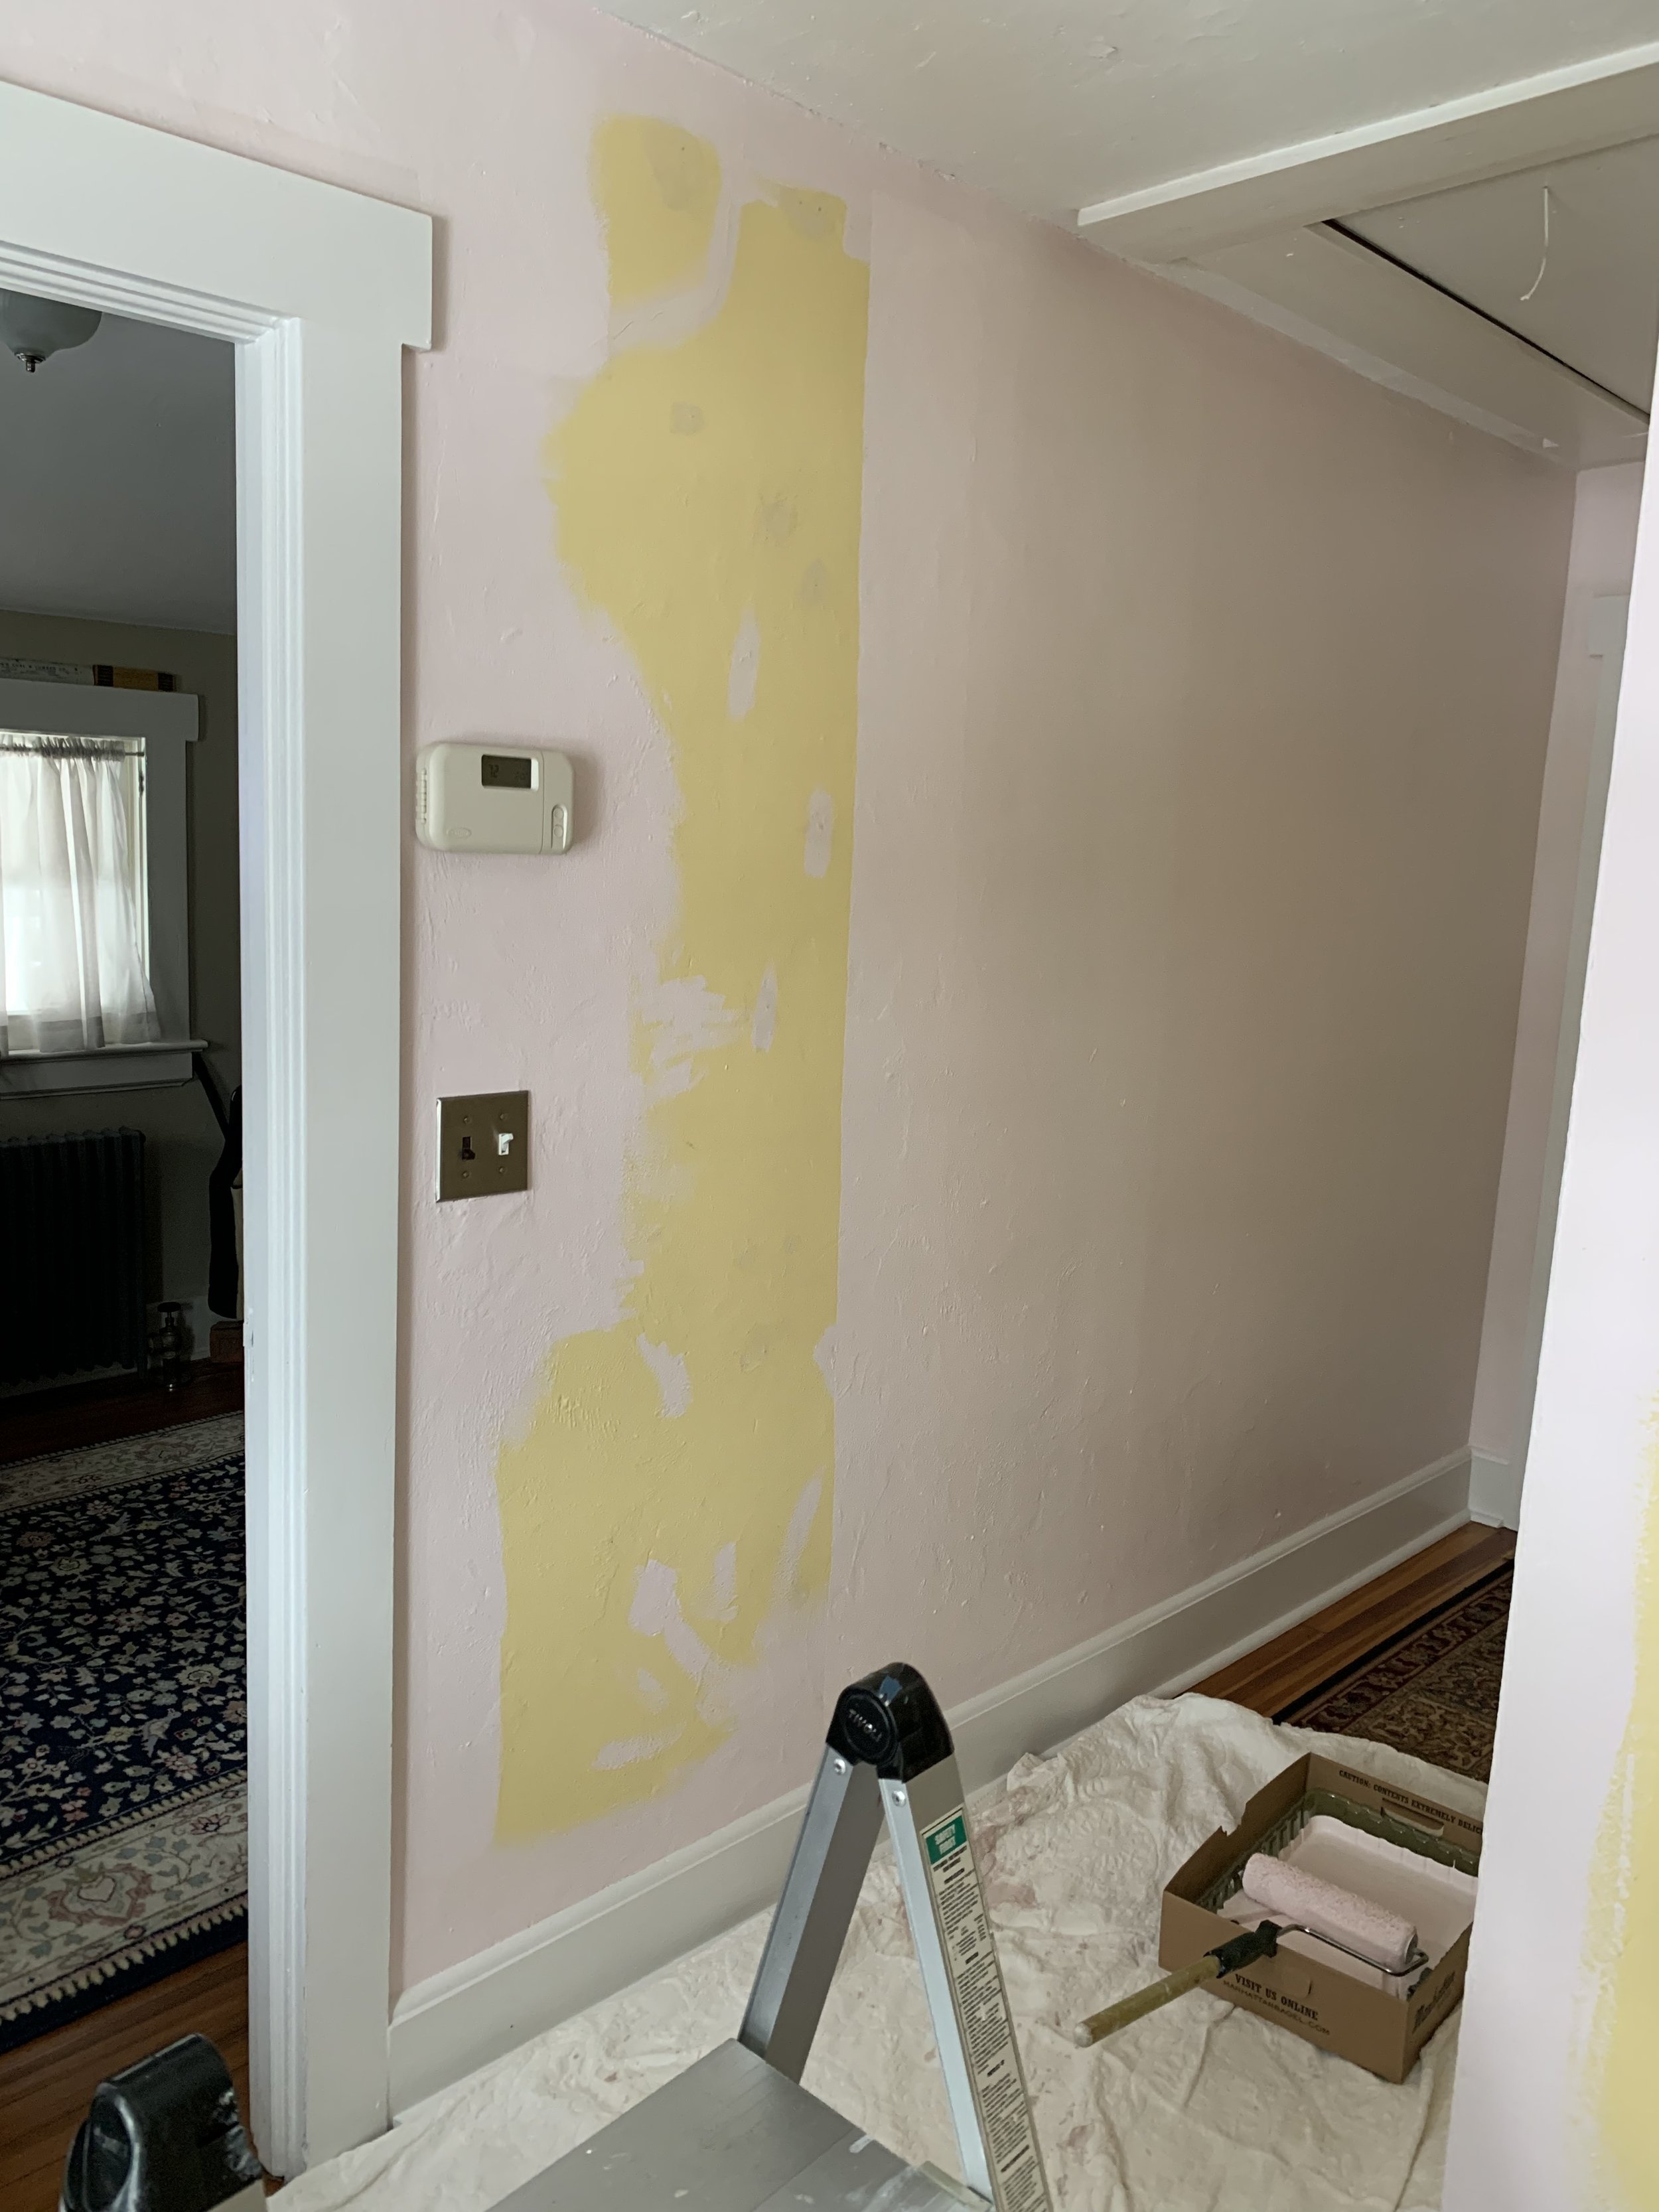
Although this was my project everyone got involved. Liam helped from the first trip to Home Depot for swatches to the final paint purchase Pink Prism and you can see he even did a bit of painting! After I spent two weeks cutting in around all the windows and many doors - Steven took pity on me and rolled the paint.

IMG_8792.jpg

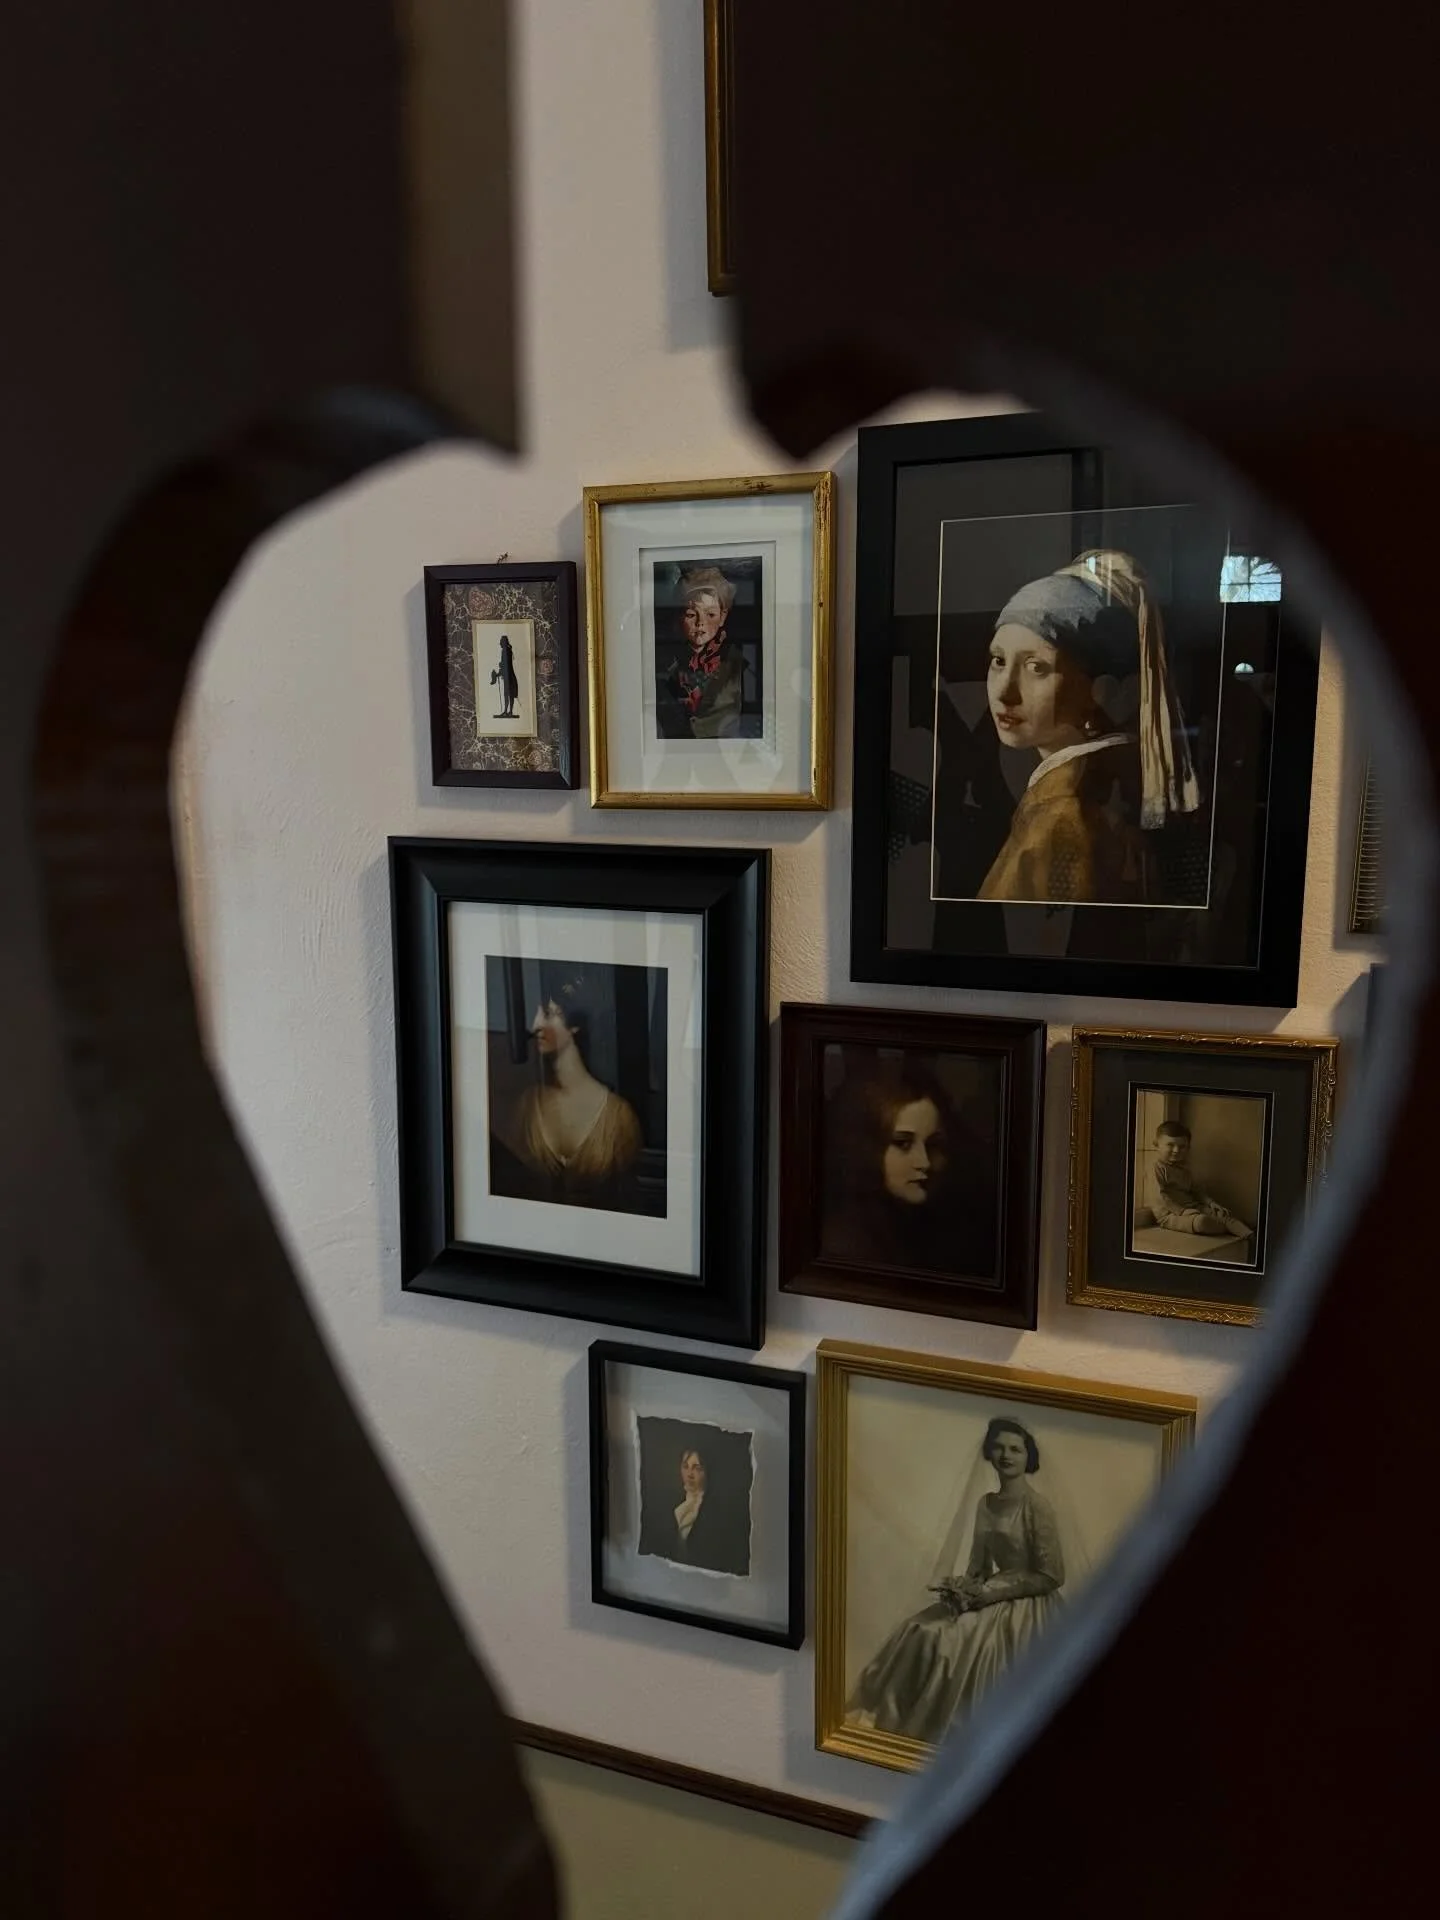
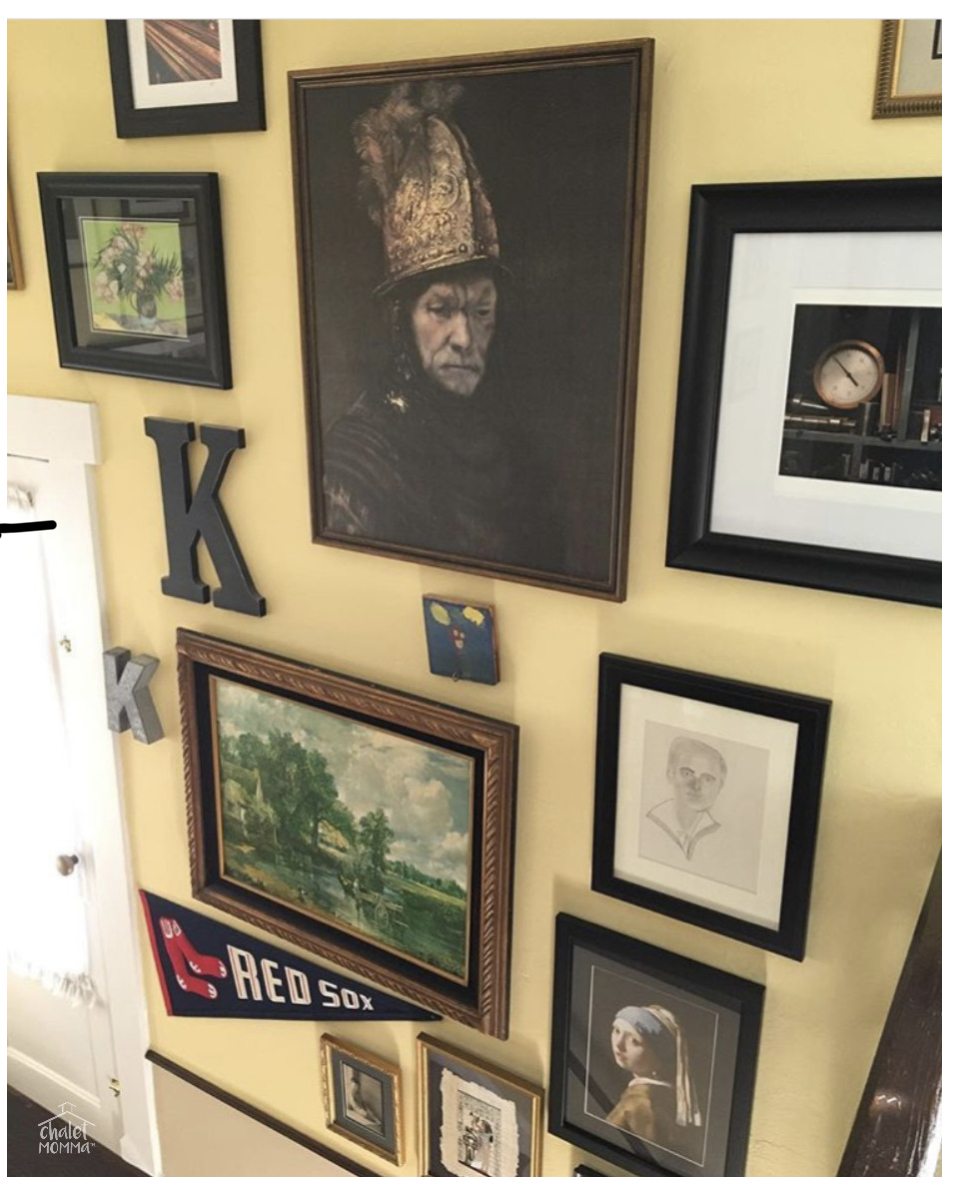
This lovely Egyptian Lady was the first piece I rehung. If you don’t think light plays with wall color… just look - it reads as two different shades. From here I moved around the space towards the stairs - rehanging the local history images and for the main stair wall I decided on a portrait gallery.

IMG_7186.jpg
IMG_7188.jpg

I was restrained as I worked my way around. I was determined to have it be purposeful and not hodgepodge. The Man With The Golden Helmet - a copy on canvas of the Rembrandt is always a focal point and he went right back on the same nail he was hung on before.

IMG_6480.JPG

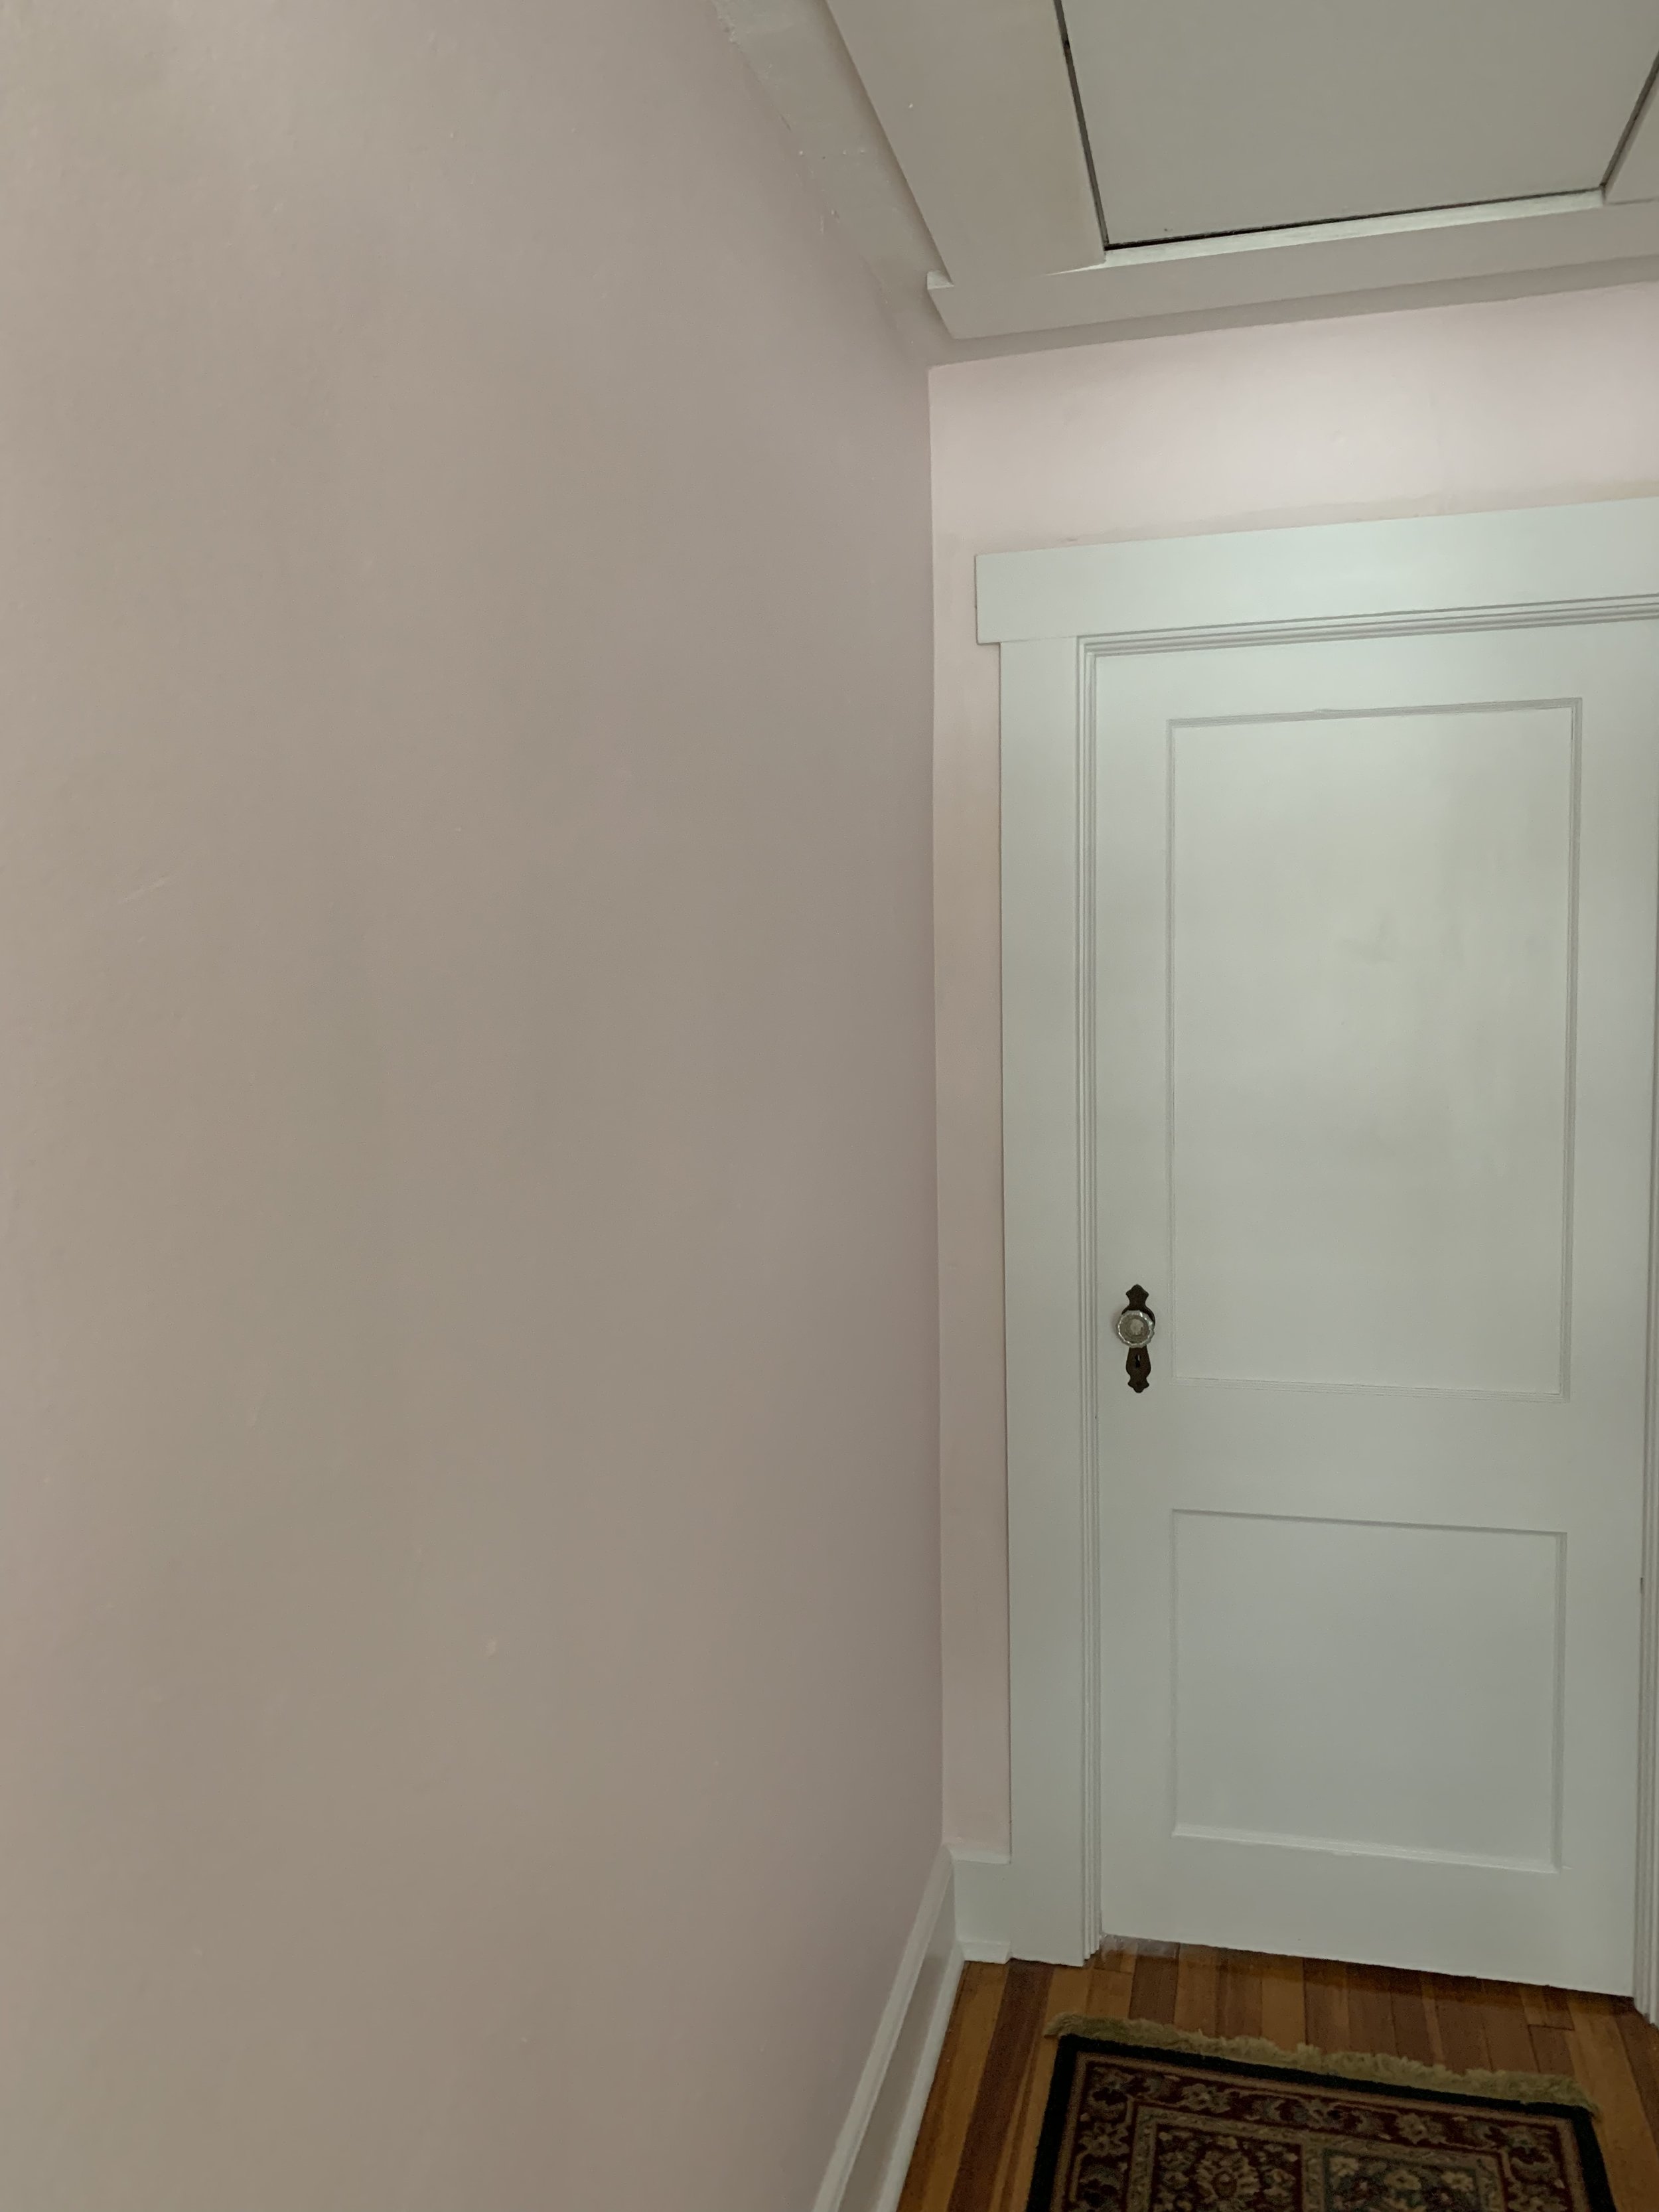
If you’re not familiar with the Chalet’s architecture - we have a center chimney which means we have two hallways upstairs around that chimney. The first has entrances to the bath, linen closet and L’s room - and here on this side we have this hall to the master. I left this space blank for a few weeks. I mean come on .. I am sooo in love with this color and I also needed to give myself time to map out the installation.

IMG_7595.jpg

I knew this fine lady Camille (Camille Doncieux (1847 - 1879) the first wife of Claude Monet and the subject of - La Japonaise (Camille Monet in Japanese Costume) 1876, was coming out of storage to be placed in the center and that everything would radiate from her. - The original work is on display in Lorna and Robert Rosenberg Gallery #252 in the Museum of Fine Arts Boston. A dear friend was there recently and sent me a picture of the original. (thanks so much Alison!)

IMG_7649.jpg

Again, I was taking my time - Mrs. Monet sat here alone for well over a week… I had to feel what it would be. It had to evolve. I didn’t want to rush the process and be unhappy in the end.

IMG_7656.jpg
IMG_7655.jpg
IMG_7812.jpg

I LOVE how it turned out. What seemed like such a large area was quickly filled but, I’ve managed to squeeze in 2 small pieces since this image was taken.

IEFR3313.JPG
please follow along....PNG

Til next time - go grab a hammer and hang up some art or paint a space something unexpected!

Gold Heart Meryl.png

Form and Function

Today I’m sharing some recent projects.

I’m not much of a DIYer.. but, I do make Pillow Slip Covers… yeah - I sew a little. Just this week I made these two covers. I’m psyched at how they turned out and happy to bring some more blue and white into the livingroom. I remember the first time I made a cover years ago and how much work it was - man I was clueless but, like most things I figured it out.

IMG_7939.jpg

Pillow Slip Cover:

  • First wrap the fabric around the pillow form - measure for total finished edge and minus 1” to 1-1/2” smaller than size of insert. (This is how you achieve a full finished look of the pillow.)

  • Iron fabric

  • Start folding & figuring out the top and bottom edges - what part of the pattern you want to showcase. You’ll want the top pocket to extend over the bottom one a great deal to prevent opening or puckering. (I like to bring the opening down quite a bit so that if the pillow gets turned around you won’t notice the opening.)

  • Iron to make your edges crisp.

  • Pin edges and remeasure. Take your time. This step is critical. You may need to adjust and use the iron again. Again keeping in mind that you need to make the cover smaller than the actual pillow form.

  • Turn the fabric inside out and prep to start sewing.

  • Slowly run your stitch along one side and repeat. (yes, I only sew two seams!!!)

  • Turn right side out paying close attention to fully pushing out the corners.

  • Insert pillow form and voila! 


2019-02-27+11.39.36.jpg

Like I said I am not much of a DIYer but, I do want to tackle projects around the Chalet and with help from my husband I’m learning how!

I recovered a Chair!

We have an old oak chair in our bedroom that holds extra blankets and pillows at bedtime.

Last month I had a light-bulb moment… I have a lot of different fabrics from Fabric.com in a bin waiting to be made into Pillow Slip Covers and this time I decided to upgrade the chair and introduce another lovely blue and white pattern into our bedroom.

2019-02-27+11.38.36.jpg

Isn’t she sweet - I have no idea how old she is. (she’s old) To the best of my recollection she was in the basement at my parents while I was growing up. Previously she’d even been a desk chair for my husband and then she sat in our basement here at the Chalet - until I thought she’d be a good option next to my highboy dresser.

2019-02-27+13.55.46.jpg

What a change in about an hour! I love how it turned out!

IMG_7838.jpg

finished with all the blue 3wm.jpg
ls room 2014 wm.jpg

Let’s talk about the Bolster Pillow we installed in our sons room. When I redesigned Liam’s room last summer - I knew having his bed against an outside wall would necessitate a pillow option when the temperatures dropped.

The Chalet has scant insulation and shown here at right you see that his bed was on his interior wall for years. (Holy Cow look at the stuff!)

The only way to stop the cold from transferring to his bedding was to build a Bolster Pillow and attach it to the wall leaving an air-gap.

I drew it out and went to JoAnn Fabrics picking out foam and Blue Microfiber fabric. Friends I love me a good Microfiber and lucky for me my hubby had wood on-hand to make the backer.

IMG_4967.jpg

Installing the Wall Cleat was the first step.

IMG_4972.jpg

Then hanging the backer to make sure it was level and the gap was correct.

IMG_5037.jpg

It came together quickly. 1 sheet of MDF, 1 Cleat on Backer, 1 Wood Strip at bottom of Backer board to hold square to wall.

IMG_5040.jpg

A little time with the staple gun and finito!

IMG_4977.JPG

Here it is friends! Liam loves that he can sit on his bed Sofa style! I love that I don’t need to jam a million pillows and blankets between his bed and the wall. Living in an older home has it’s charms but, it also has it’s challenges - I am thrilled that we were able to tackle this one with a wonderful result!

Bolster:

  • 1 sheet of MDF

  • 1 - 2 x 4 ripped to create Wall Cleat and Cleat on Bolster

  • 1 Wood Strip to hold the backer board square to wall.

  • Foam

  • Fabric

    About 2 hrs of time - For Build and Installation. Additional time to source materials.

please follow along....PNG

Til next time! Here’s to creating what YOU need!

Gold Heart Meryl.png

Ravishing Raven

I’ve been a fan of black in design for years. I’m sharing some images I’ve collected and what I think about the trend that has really grown legs over the lasts few years.

ruthie on the cover better colorway.jpeg

I’ve kept every single issue of Domino Magazine published - in it’s premiere issue shown left from Spring 2005 Designer Ruthie Sommers graced the cover and had the most scrumptious home I’d ever seen.

This was pre Instagram … pre Pinterest. Finding a magazine that showed spaces we wanted to live in… by cool people and the fact that it shared how to shop those designs… Like To Know It can thank Domino as the originator… but, I digress…The image above is from that issue. Dark walls are common place in 2019 oh but not so 14 years ago. This image literally blew my mind!

Here are some more that are just so good!!!

BLACK: LACKING HUE AND BRIGHTNESS; ABSORBING LIGHT WITHOUT REFLECTING ANY OF THE RAYS COMPOSING IT.

This dark rug really started my wheels turning… this design… white walls dark rug with light leather is the design I have in my minds eye for the walk out basement level here at the Chalet.

My friends Christina’s livingroom is a space I really admire - the comfy camel leather couch, mud cloth pillow and that dark rug!

I do a Friendly Friday every week on the Gram - I share a grid of beauty from my saved images. Every week I focus on a different theme usually tied together by color…. I hope you’re following along over there!

please follow along....PNG

Are you a fan of black in design or decor? Do you use it in your own home or your clients?

Please comment below!

Til next time!

Gold Heart Meryl.png